Advertisement
Advertisement
Table of Contents

Summary of Contents for BAY SPORTS AIR GLIDE
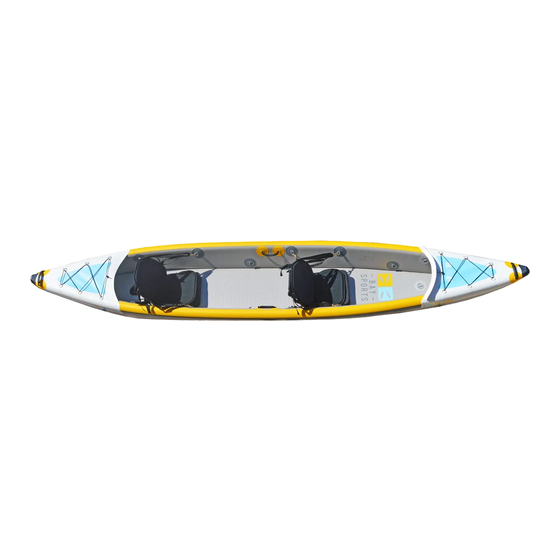
- Page 1 INFLATABLE kayak USER GUIDE...
-
Page 2: Table Of Contents
TABLE OF CONTENTS UNPACKING PAGE 3 INFLATION PAGE 4 FIN SET UP PAGE 5 DRAINAGE PAGE 6 DEFLATION & PACKING AWAY PAGE 7 STORAGE PAGE 8... -
Page 3: Unpacking
2. Upon opening the carton, check contents to ensure the following are all inside: • 1 x Air Glide Inflatable Kayak • 1 x Hand pump + hose • 1 x 9” skeg/fin •... -
Page 4: Inflation
INFLATION 1. Unroll your kayak on a flat surface, such as on sand or grass. 2. Unscrew the valve covers on the kayak. 3. Connect the pump hose to the valve of the floor section with a simple push and turn clockwise until it is securely in place. -
Page 5: Fin Set Up
FIN SET UP 1. Slide the fin into the fin box, the dorsal pointing toward the stern (rear) of the kayak. 2. Gently push and wriggle the fin back toward the end of the fin box. 3. Slide the fin keeper into the slot that runs underneath the fin, with the teeth facing up toward you. -
Page 6: Drainage
DRAINAGE 1. Unscrew the drainage screw caps by turning anti-clockwise. Fold them back and tuck them under the lip to hold them in place, to allow the water to drain without the cap covering the drainage holes. 3. From the front of the kayak, lift it up to allow water to run down to the drainage section, located in the rear of the kayak. -
Page 7: Deflation & Packing Away
DEFLATION & PACKING AWAY 1. Remove the seats and fin first, then unscrew the valve covers on the kayak. 2. Protecting your fingers with a soft cloth (t-shirt or towel), simply push the valve down and turn 90 degrees clockwise to lock the valve in the open/ deflate position. -
Page 8: Storage
STORAGE The advantage of inflatable kayaks is their compact nature. You can stow it away under the deck of your boat, in the boot of your vehicle, or neatly away in a home cupboard. 1. Before Storing: Rinse the kayak, fin, paddles, seats & leash in fresh water, and where possible, allow them to dry out. - Page 9 THANK YOU CONTACT US www.baysports.com.au hello@baysports.com.au 4-8 Waine Street, +61 (0) 474 219 619 Freshwater, NSW, 2096 SHARE YOUR EXPERIENCE @BaySportsCo @BaySports_Co...


Need help?
Do you have a question about the AIR GLIDE and is the answer not in the manual?
Questions and answers