Advertisement
Quick Links
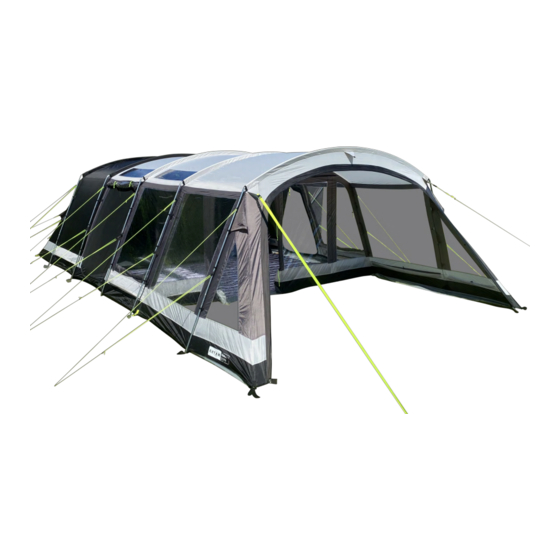
Pitching & Striking Instructions for :-
FAMILY 6
Visit our YouTube Channel for an instructional video of this model
PLEASE ENSURE YOU READ THE INSTRUCTIONS THOROUGHLY
PRIOR TO ASSEMBLING YOUR NEW PURCHASE
(ANY DAMAGE THAT OCCURS AS RESULT OF FAILURE TO READ INSTRUCTIONS IS NOT COVERED BY THE WARRANTY)
Advertisement

Related Manuals for Khyam FAMILY 6


Summary of Contents for Khyam FAMILY 6
- Page 1 Pitching & Striking Instructions for :- FAMILY 6 Visit our YouTube Channel for an instructional video of this model PLEASE ENSURE YOU READ THE INSTRUCTIONS THOROUGHLY PRIOR TO ASSEMBLING YOUR NEW PURCHASE (ANY DAMAGE THAT OCCURS AS RESULT OF FAILURE TO READ INSTRUCTIONS IS NOT COVERED BY THE WARRANTY)
-
Page 2: Component Checklist
Component Checklist Prior to assembling your new purchase please carefully check the contents to make sure you are not missing any parts. Family 6 Carry Bag Tent Tent Poles & Carry Bag Porch Groundsheet Pegs/Peg bag Repair kit WARNING: If this tent/awning is not erected in accordance with the instructions damage could be caused to the poles or fabric. - Page 3 Pitching your tent/awning Unroll the tent and peg the four corners - we recommend the use of a SPS Footprint to keep the bottom of the tent/awning clean. - Pegging points may need adjusting/tightening once the tent is erected. Unfold and peg out front porch section, then assemble all roof poles (x5) and feed into pole sleeves. Starting at the rear of the tent, fix side leg poles into roof pole and lift until pole is stood in place.
- Page 4 Pitching your tent/awning Attach the plastic clips on all poles, and then peg out front & rear storm straps. Fit poles into side door canopy - Small curved pole slides into sleeve. 2x ‘J’ shaped poles attach onto ends of curved pole and locate into plastic cups fixed to tent. Close any open doorways then peg all remaining pegging points and guy lines, Corner pegging points may need adjusting to gain correct tension - should be inline with sides of tent.
- Page 5 Packing your tent/awning Unpeg the tent leaving just the four corners and storm straps pegged. Remove Side Canopy poles and unzip side doors **TIP - Tie the guy lines up to prevent tangling - unzipping side doors allows air to escape when dropping tent Starting at one end of the tent, remove plastic clips, loosen webbing strap and remove pin from base of pole Remove side pole and set aside - Leave roof poles in place for now as this helps to weigh tent down and expel air Work your way across tent repeating process...
- Page 6 Packing your tent/awning Fold Porch section over the top of main tent, start to fold the tent over in sections Keep folding the tent into sections until you end up with one long rectangle, squeezing out any remaining air as you go. You need to aim to have the width of the folded tent less than the width of the carry bag.
- Page 7 Q. How long are products covered for? We go that bit further at Khyam. We don’t just guarantee our products for a set time frame. We like to be more flexible because the lifespan of our products varies depending on a few factors. For example, a heavily used or poorly maintained item will probably have a shorter life than an averagely used or well-looked after item.
- Page 8 Q . Are Khyam awnings & tents water resistant? All Khyam flysheet fabrics are coated to withstand in excess of 5000mm head of water in the hydrostatic head test. This is a measure by which we can test the resistance of water penetration. This is the measurement when the fabric is new and in use over a period of time this level will drop.
- Page 9 OTHER USEFUL POINTS TO BEAR IN MIND. 1. Never remove pegs by pulling up on the poles or fabric by doing this you may damage the pole or awning invalidating the guarantee. Always use a peg puller or another peg 2.
Need help?
Do you have a question about the FAMILY 6 and is the answer not in the manual?
Questions and answers