Advertisement
Quick Links
Advertisement

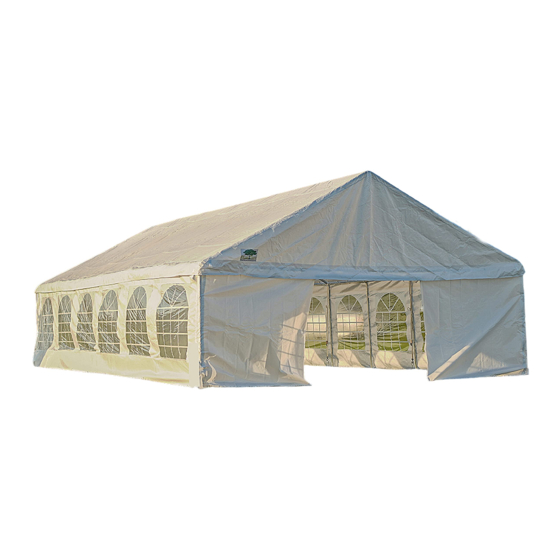
Summary of Contents for ShadeTree 20'x40' Heavy-Duty, Fire-Resistant Event Tent w/Sidewalls
- Page 1 SHADE TREE™ 20'x40' Heavy-Duty, Fire-Resistant Event Tent w/Sidewalls - 500g/m2 PVC Fabric...
- Page 2 Shade Tree 20’ x 40’ PVC Tent Part List Measurement Graph Quantity Description Table 62” Galvanized Pole w/ 2 connectors 76” Galvanized Pole w/ 2 connectors 57.5” Reinforcement Bar for horizontal connector 30” Reinforcement Bar for vertical connector...
- Page 3 Shade Tree 20’ x 40’ PVC Tent Part List Joint Description Graph Quantity 120º 3 Way Joint 120º 4 Way Joint 120º 3 Way Joint w/tab 120º 4 Way Joint w/tab Straight 3 Way Joint w/tab Straight 4 Way Joint w/tab 90º...
-
Page 4: Frame Assembly
Frame Assembly... - Page 5 To assemble the canopy frame, you will need to start by collecting the following poles and connectors: Part Quantity #1 Pole #2 Pole A Connector A1 Connector A2 Connector B Connector B1Connector B2 Connector...
- Page 6 Assembly Instructions Start by assembling the top peak of the canopy frame with #2 poles, A1 connectors, and B1 connectors. (A1 connectors need to be positioned on the ends as shown in the diagram above.) Connect the #1 poles to A1 and B1 connectors on one side. Attach an A2 connector to the outside #1 pole.
- Page 7 Support Bar Installation...
- Page 8 To assemble the support bars, you will need to start by collecting the following parts: Parts Quantity Short Bolts with Nuts 57.5” reinforcement bar 30” reinforcement bar Attach a 57.5” reinforcement bar to each A2 connector. Then connect the rest of the 57.5” reinforcement bars to each B2 connector using a nut and bolt.
- Page 9 Assembling Leg Poles Attach # 2 poles to 2 of the outside corners (A connectors) Attach # 2 poles to all B connectors on the same side as used in step 10.
- Page 10 Attach Canopy to Roof Drape canopy over entire roof structure. Using the bungee balls, connect the canopy to the poles from inside the tent.
- Page 11 Final Leg Pole Assembly Repeat steps 10 & 11 for installing the remainder of the leg poles. Attach a C connector to each #2 pole On the long sides of the tent, install a D connector to each #3 pole. Install a #2 pole between each connector On the short sides, install a #2 pole to each C connector.
- Page 12 Attaching Sidewalls and End Walls Hold sidewalls in place while using bungee balls to attach the panels to the poles.

Need help?
Do you have a question about the 20'x40' Heavy-Duty, Fire-Resistant Event Tent w/Sidewalls and is the answer not in the manual?
Questions and answers