Table of Contents
Advertisement
Quick Links
I.D.SYSTEMS
84150
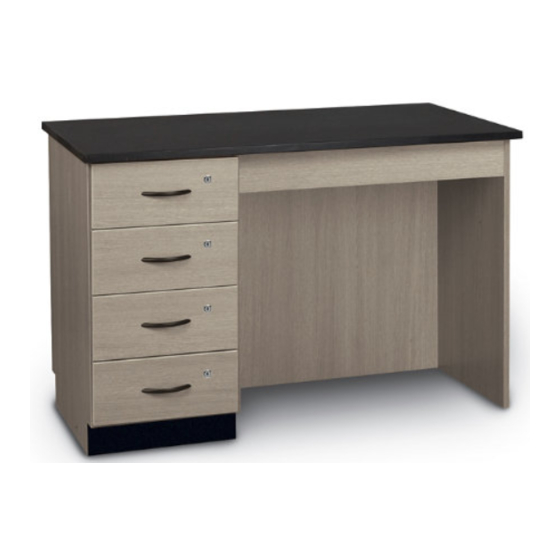
COMPACT ISLAND DESK
Illustrations are general in nature and
do not depict components and details
unrelated to the assembly process.
1
Note that there are two (2) Mounting Rails on
back side of Base Cabinets.
2
Remove at least top and bottom drawers from
Base Cabinet, to provide access during later
steps. Be sure to note their location, as they must
go back in same location when installation is
complete.
3249.IDS-84150.7/26/12
Stevens I.D.SYSTEMS
800.350.3270
®
www.IDSystemsStorage.com
STEP-BY-STEP INSTALLATION
Please unpack and assemble in an area away from children's activities. Remove all tools
and excess materials from work area after assembly of unit is complete. Dispose of pallet
and packaging materials in an environmentally friendly manner. If any parts are missing or
damaged, please call Stevens for immediate parts replacement (1-800-350-3270). When
ordering parts, give the Model Number and Color of the unit.
Pulls are preinstalled on the inside of fronts and must be reinstalled on the outside.
However, they are shown in their final mounting position on installation drawings.
Mounting
Rails
(back view)
©2012 Stevens Industries, Inc. Due to continuing product development, Stevens reserves the right to change specifications without notice.
™
ATTENTION
NOTE:
3
With Back Panel and End Panel flat on floor and
holes facing up: Install (3) Minifix Studs into
predrilled holes in Back Panel and (3) Minifix
Casings into predrilled holes in End Panel.
The Arrow on the Casings should be pointing
toward the corresponding drilled hole on the
Panel
Edge
NOTE:
End Panel edge.
Back Panel
End Panel
Minifix Casing
#0964-2939
Minifix
Stud
1
Advertisement
Table of Contents

Related Manuals for Stevens I.D.SYSTEMS 84150

Summary of Contents for Stevens I.D.SYSTEMS 84150
- Page 1 Stevens I.D.SYSTEMS ™ 800.350.3270 I.D.SYSTEMS ® www.IDSystemsStorage.com 84150 COMPACT ISLAND DESK STEP-BY-STEP INSTALLATION ATTENTION Please unpack and assemble in an area away from children's activities. Remove all tools and excess materials from work area after assembly of unit is complete. Dispose of pallet and packaging materials in an environmentally friendly manner.
- Page 2 84150 COMPACT ISLAND DESK STEP-BY-STEP INSTALLATION I.D.SYSTEMS ® Attach Toe Kick to Back Panel, by aligning Position pre-assembled Apron Assembly between predrilled holes and using four (4) 1 1/4" Screws. Base Cabinet and End Panel, with top edges aligned and Apron Assembly snug against Back 1 1/4"...
- Page 3 84150 COMPACT ISLAND DESK STEP-BY-STEP INSTALLATION I.D.SYSTEMS ® Note that there are two (2) predrilled holes in Place Countertop on top of Desk Assembly, each Base Cabinet Mounting Rail. Use four (4) centering it side-to-side and overhanging 1 1/4" Screws through these holes to attach Base the Back Panel by 1/2".
- Page 4 84150 COMPACT ISLAND DESK STEP-BY-STEP INSTALLATION I.D.SYSTEMS ® Using a level, adjust Levelers until sidewall, front edge and cabinet floor are plumb. Insert a 4mm hex wrench through access holes in cabinet floor to make adjustments. Shim as necessary. Once adjustments are complete, reinstall plastic plugs into access holes.
Need help?
Do you have a question about the 84150 and is the answer not in the manual?
Questions and answers