Advertisement
Quick Links
Please read the following instructions carefully before
installing your Rockustics
questions regarding installation that are not answered in
the following directions, please contact your local sound
contractor, or the Rockustics
support team.
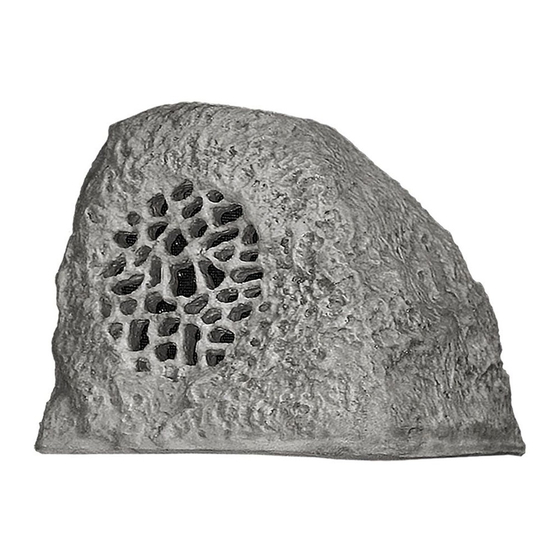
Basic Wiring
(Diagram
A) Locate speaker wire on the underside of the
rock. If necessary, strip the wire ends and trim the wire to the
appropriate length. Use the supplied silicone wire nut
to connect the positive (red) leads of the speaker and
input wires. Repeat this step with the negative (black) leads.
Rockustics recommends using 14ga or heavier Direct
Burial cable for the connection between the amplifier and
speakers.
NOTE: The provided wire nuts are meant for permanent
installation use only. If you are temporarily wiring the
speakers, do not use these wire nuts. In the event
you have used wire nuts, and need to re-wire your
system, do not attempt to unscrew the nuts. In-
stead, clip the wires below the nut, and follow the
steps in the
Basic Wiring
waterproof wire nuts (available at most hardware stores).
Optimizing Speaker Placement for
Best Sound
All Rockustics speakers can generate a high SPL (sound
pressure level). Be ready to rock, but be considerate of
your neighbors! Maximum acoustic performance should
be an important factor in determining speaker placement.
Here is how to achieve it:
Contact: MSE Audio, 855.663.5600 / 913.663.5600 / sales@mseaudio.com
Rock speaker. If you have any
®
®
/MSE Audio
®
technical
section with a new pair of
Original Rock Speakers
Diagram A
1) Establish where the most likely or average listening
position will be.
2) The speakers should be placed at or close to the
same distance from that point.
3) The actual distance between the listening position
and the location of the speakers is not critical. How
ever, keep in mind that as the distance between
listening area and speaker is increased, there will be
a noticeable decrease in perceived volume.
4) Be sure to confirm amp power matches the power
rating on the speaker. Over-driving the speaker can
lead to permanent damage that is not covered under
warranty.
Optimizing Aesthetics with
Speaker Placement
All Rockustics products are designed with a boost in high
frequency response to accommodate for placement near
plants and other landscaping features. Feel free to position
the product within your landscaping, camouflaged near
bushes or shrubs. Rockustics products strive to blend into
INSTALL INSTRUCTIONS
© 2021 MSE Audio. Rev. 02.19.2021
Ultra-Fidelity Outdoor Speakers
Advertisement

Subscribe to Our Youtube Channel
Related Manuals for Rockustics Stonehenge II


Summary of Contents for Rockustics Stonehenge II
- Page 1 Best Sound Speaker Placement All Rockustics speakers can generate a high SPL (sound All Rockustics products are designed with a boost in high pressure level). Be ready to rock, but be considerate of frequency response to accommodate for placement near your neighbors! Maximum acoustic performance should plants and other landscaping features.
- Page 2 Cautions and Maintenance Wiring for 70V/100V Applications All Rockustics Rock Series speakers are sealed and fully weatherproof. However, DO NOT place speakers For speakers with transformers, use Diagram C to find the where the grille will be in the path of a sprinkler system.
Need help?
Do you have a question about the Stonehenge II and is the answer not in the manual?
Questions and answers