Advertisement
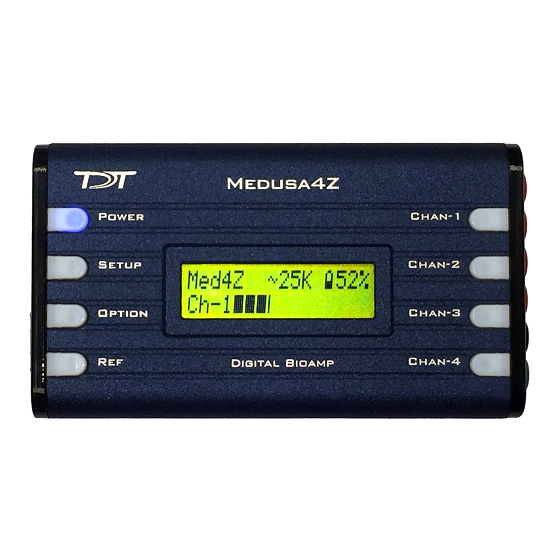
Turn unit on/off; Return to
home; Reset power down timer
Cycle through available settings
Change selected setting
View Ref electrode impedance
Hardware Setup
Use the provided fiber optic pair (black cable, white connectors) to
connect the O
port on the preamplifier to the O
PTICAL
on the base station as shown to the right. Connect one end into the
RZ with the raised rectangle side up and connect the other end into
the Medusa4Z with the V-shaped groove up.
Your First Steps to Recording
1. Set OFF (Reset) switch to ON
2. Press Power
3. Plug in fiber optics
4. Set desired sampling frequency
5. Go*
How do I change my settings? Setup
1. Press Setup to cycle through the settings categories
2. Press Option to cycle through that categories sub-
options
3. Whichever value Option is left on will be the setting
Important: The Medusa4Z has a recessed slide power switch on the left
side and ships with this switch O
Power Supply: 6 V – 16 V DC, > 1 A, tip polarity is irrelevant
On/Off (Reset): This should be left ON once you set the Medusa4Z.
Turning it to OFF will RESET the unit to factory defaults. The switch is
recessed so the user must intentionally try to move the switch.
Optical: Fiber optic port for connecting the Medusa4Z to the base
station. See Hardware setup for more details
GND – Ch 1: Electrodes can be plugged directly into the 1.5 mm
touchproof connectors on the side, which are depicted on the left.
PTICAL
→
→
Options
Set
This fast fact sheet provides basic
information for the Medusa4Z Bioamp. See
the System 3 Manual for more information.
. Switch this O
FF
I
port
N
*This will run the Medusa4Z at factory settings.
DEFAULT Settings:
Active Channels:
Sample Freq:
Impedance Frq:
Highpass Filter:
Auto Shutdown:
→
→
Setup
Options
Set
View channel
electrode
impedance
during initial setup.
N
>> Single <<
>> System Rate <<
>> 1kHz <<
>> 3Hz <<
>> Never <<
→
→
Setup
Options
Set
Advertisement
Table of Contents

Subscribe to Our Youtube Channel
Related Manuals for TDT Medusa4Z


Summary of Contents for TDT Medusa4Z
- Page 1 Change selected setting View Ref electrode impedance Important: The Medusa4Z has a recessed slide power switch on the left side and ships with this switch O . Switch this O during initial setup. Power Supply: 6 V – 16 V DC, > 1 A, tip polarity is irrelevant On/Off (Reset): This should be left ON once you set the Medusa4Z.
- Page 2 Auto Shutdown Never, 1 hour, 3 hours, 5 hours After a period of inactivity, the Medusa4Z will shut itself off to preserve power. Press Power to re-energize after Auto Shutdown. Important: You must use TDT Software (Drivers/RPvdsEx or BioSigRZ)
Need help?
Do you have a question about the Medusa4Z and is the answer not in the manual?
Questions and answers