Advertisement
Quick Links
Advertisement

Subscribe to Our Youtube Channel
Related Manuals for Technicolor OWA3111


Summary of Contents for Technicolor OWA3111
- Page 1 OWA3111 Quick Setup Guide...
- Page 2 1. B • • 2. C...
-
Page 3: Before You Start
1. Before you start • Carefully read the Safety Instructions and Regulatory Notices document included in your package before continuing with the installation of your OWA3111. • Do not make any connections until instructed to do so! 2. Check the content of your box... -
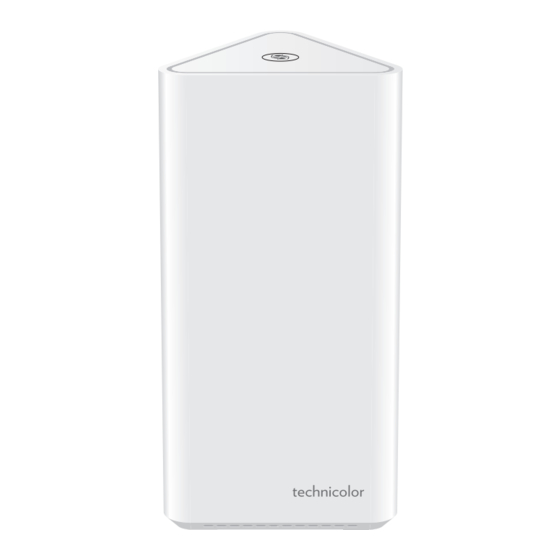
Page 4: Top Panel
OWA3111 is used to pair the OWA3111 with other Wi-Fi devices and informs you about the status of your OWA3111. If the Status LED ( ) of your OWA3111 is flashing green, your OWA3111 is • updating its software. In this case, wait until the LED becomes slowly blinking •... - Page 5 3.3. Back panel and bottom product label Wi-Fi Reset button (item A) When the OWA3111 is powered on and you press the Reset you can restart or reset “5.8. How to repair an unresponsive Wi-Fi extender” on it. For more information, see page 13.
- Page 6 • You will use this scenario in case you want to extend your existing EasyMesh Wi-Fi home network with additional coverage using the OWA3111. In such environment your Internet gateway or another Wi-Fi device is already operating as the Wi-Fi EasyMesh controller.
- Page 7 OWA3111 and then plug the other end into a nearby power outlet. 3 Press the power ( ) button on the back of the OWA3111. The Status LED ( ) will first be solid yellow during startup, then turn solid green. If this is not the case, check the connections you made.
- Page 8 ) of the OWA3111 and then plug the other end into a nearby power outlet. 3 Press the power ( ) button on the back of the OWA3111. The Status LED ( ) will first be solid yellow during startup.
- Page 9 OWA3111 and then plug the other end into a nearby power outlet. ” on 3 Press the power ( ) button on the back of the OWA3111. The Status LED ( ) will first be solid yellow during startup. 4 Wait until the Status LED ( ) slowly blinks yellow.
-
Page 10: Tips And Tricks
Internet gateway. Procedure 1 Briefly press the WPS ( ) button on the OWA3111. The Status LED ( ) on the OWA3111 starts blinking green. 2 Within two minutes, briefly press the WPS button on your Internet gateway (or a Wi-Fi extender connected to it). - Page 11 Make sure your OWA3111 isn’t joined already to an existing EasyMesh home network. Procedure 1 Briefly press the WPS ( ) button on the OWA3111. The Status LED ( ) on the OWA3111 starts blinking green. 2 Within two minutes, briefly press the WPS button on your Internet gateway or any Wi-Fi extender in the EasyMesh home network.
- Page 12 ƒ Another type of device, consult the documentation of your device. 3 After some time the Status LED ( ) on the OWA3111 turns back to its previous solid state (green, yellow or red). The Wi-Fi connection is now successfully established.
- Page 13 1 Unplug the power supply and move the OWA3111 closer to your access point, or to a place with less obstacles between the OWA3111 and your access point. 2 Plug in the power supply and wait two minutes to allow the OWA3111 to start up all services and evaluate the link quality.
- Page 14 ACCESS KEY printed on the label of your • Wi-Fi extender as password. Note: If this is the first time that you sign in, the OWA3111 may offer you to • change your password. 4 The Wi-Fi extender web interface appears with all settings available.
- Page 15 5.8. How to repair an unresponsive Wi‑Fi extender If at some point your Wi-Fi extender becomes unresponsive you can: Force it to restart: After restarting the OWA3111 will return to normal operation • with its last known working condition and configuration.
- Page 16 30cm between the radiator & your body. Technicolor Delivery Technologies – www.technicolor.com *6247426A* Copyright © 2020 Technicolor. All rights reserved. All tradenames referenced are service marks, trademarks, or registered trademarks of their respective companies. Specifications subject to change without notice.
Need help?
Do you have a question about the OWA3111 and is the answer not in the manual?
Questions and answers