Advertisement
Table of Contents
- 1 Table of Contents
- 2 Warnings and Precautions for Safety
- 3 Servicing Precautions
- 4 Comp Trip Summary
- 5 Trouble Shooting
- 6 Heavy Repair Method of Refrigerator by Application of Refrigerant
- 7 Specification
- 8 Circuit Diagram
- 9 Pcb Picture
- 10 Trouble Shooting
- 11 Troubleshooting Without Error Display
- 12 How to Install Refrigerator
- 13 How to Service Door Display
- 14 How to Service Funnel Assembly
- 15 Exploded View
- Download this manual
SERVICE MANUAL
CAUTION
PLEASE READ CAREFULLY THE SAFETY PRECAUTIONS OF THIS
BOOK BEFORE CHECKING OR OPERATING THE REFRIGERATOR .
Any reproduction, duplication, distribution (including by way of email, facsimile or other electronic means), publication,
consent of the LG Electronics entity from which you received this Service Manual. The material covered by this prohibition includes,
without limitation, any text, graphics or logos in this Service Manual.
Copyright © 2021 LG Electronics Inc. All rights reserved. Only training and service purposes.
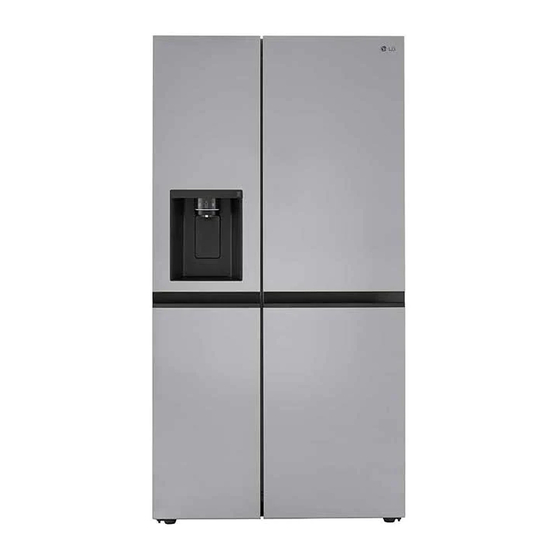
REFRIGERATOR
MODEL :
LRSXC2706*, LRSXC2306*
GS75S**, GS77** VS27L**, GS66S**
Advertisement
Table of Contents
Troubleshooting


Need help?
Do you have a question about the LRSXC2706 Series and is the answer not in the manual?
Questions and answers