Table of Contents
Advertisement
Quick Links
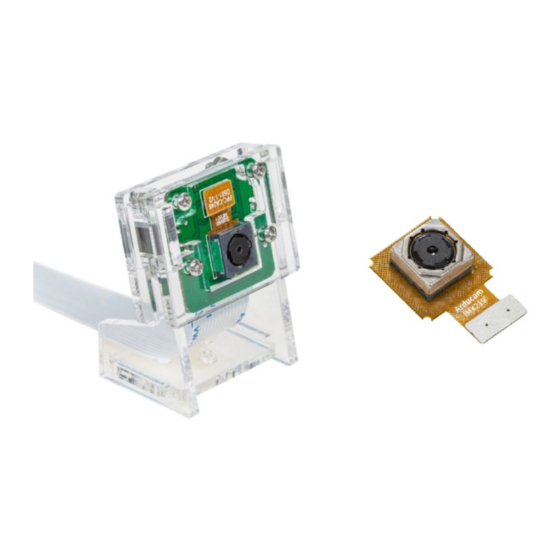
Motorized Focus Camera
on OctoPi
(5MP SKU: B0176)
QUICK START GUIDE
INTRODUCTION
Most 3D models take more than a few hours to print, so
you may wish to leave the 3D printer at some point in the
printing process. Using an Arducam camera to monitor 3D
printing can make you pay close attention to your creation.
Since most cameras are not made specifically for the use
of 3D printing software, it is impossible to obtain proper
support from the manufacturer.
Fortunately, Arducam can help you solve all installation
and setup problems. In this manual, we will introduce the
method to use Arducam motorized focus camera modules
to monitor 3D printers, which can see much closer than
the fixed focus lens.
Getting started here!
To facilitate copying, please refer to doc page:
https://www.arducam.com/docs/cameras-for-raspberry-
pi/native-raspberry-pi-cameras/how-to-use-arducam-
motorized-focus-camera-with-octopi-to-monitor-3d-
printers/
We will keep online up-to-date continuously.
1. Download and install OctoPi
If you have been accomplished OctoPi installation and
WiFi setup, please go to the chapter on How to use the
motorized focus camera.
1.1. Download link:
https://octoprint.org/download/
(8MP SKU: B0182)
SOFTWARE SETUP
The page also includes basic installation directions as well
as a video describing the installation process.
1.2. Configure WiFi
After you have successfully downloaded the OctoPi image
and "burned" it onto your SD card, you can start to set up
WiFi. More about WiFi setup and troubleshooting refer to
this link:
https://community.octoprint.org/t/wifi-setup-
and-troubleshooting/184
2. How to use the motorized focus
camera
2.1. Connect to the camera and reboot it
sudo reboot
2.2. Detect the camera
vcgencmd get_camera
2.3. Download and Install Arducam camera focus control
plugin
•
Arducam camera focus control plugin
This plugin is to control an Arducam motorized focus
camera using the OctoPrint Control tab.
SOFTWARE SETUP
It utilizes these custom commands from your slicer to
adjust focus while printing:
FOCUS>
to specify an absolute focus. This command is
handy to reset the focus when starting a new print after a
power failure.
Example:
@ARDUCAMFOCUSSET 100
to 100.
The entire range is 0~1023. Setting 0 corresponds to
infinity, and setting 1023 corresponds to a close focal
length of about 5CM.
•
Enable I2C Interface
The plugin uses I2C to communicate with the camera.
However, I2C is not enabled by default. The Arducam
Focus plugin will not function until you enable I2C.
@ARDUCAMFOCUSSET <ABS-
will move the focus
Advertisement
Table of Contents

Related Manuals for ArduCAM B0176


Summary of Contents for ArduCAM B0176
- Page 1 (5MP SKU: B0176) (8MP SKU: B0182) plugin • Arducam camera focus control plugin This plugin is to control an Arducam motorized focus QUICK START GUIDE camera using the OctoPrint Control tab. SOFTWARE SETUP INTRODUCTION Most 3D models take more than a few hours to print, so you may wish to leave the 3D printer at some point in the printing process.
- Page 2 BROADCAST,RUNNING,MULTICAST> MTU 1500 Inet 192.168.0.52 netmask 255.255.255.0 broadcast 192.168.0.255 Now you can view the Arducam Focus Control interface and use the tab to adjust focus. After executing the above command, the file boot/config.txt should now have the commands to enable I2C.
Need help?
Do you have a question about the B0176 and is the answer not in the manual?
Questions and answers