Advertisement
Quick Links
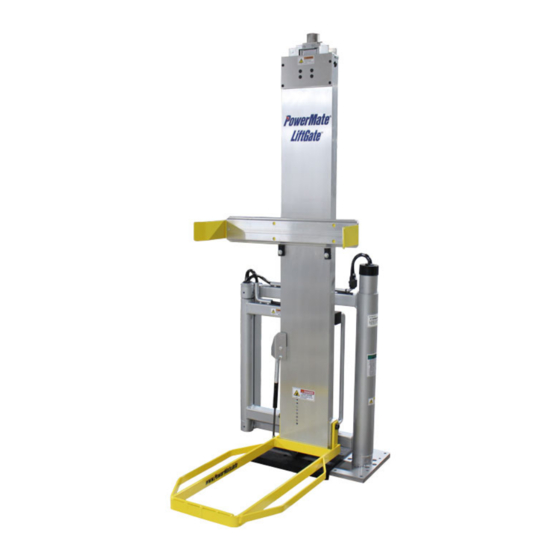
LE-1 Wire Coil Replacement Instructions
PowerMate LV-7 Ballnut Replacement Instructions
®
L P International Inc. / PowerMate
Box 696, 151 Savannah Oaks Dr., Brantford, Ontario N3T 5P9
Toll Free: 1-800-697-6283 Telephone: (519) 759-3292
Fax: (519) 759-3298 Email:
info@powermate.info
For all serial numbers (Product may not be exactly as shown.)
T02-017.00
Advertisement

Related Manuals for Powermate LiftGate LV-7


Summary of Contents for Powermate LiftGate LV-7
- Page 1 LE-1 Wire Coil Replacement Instructions PowerMate LV-7 Ballnut Replacement Instructions ® L P International Inc. / PowerMate Box 696, 151 Savannah Oaks Dr., Brantford, Ontario N3T 5P9 Toll Free: 1-800-697-6283 Telephone: (519) 759-3292 Fax: (519) 759-3298 Email: info@powermate.info For all serial numbers (Product may not be exactly as shown.)
- Page 2 PowerMate LV-7 Ballnut Replacement Instructions ® This process should take approximately ¾ - 1 hour. Step A: Remove the Screw Guard PROCEDURE: Swing the LiftGate unit out of the vehicle and engage the base main arm lock pin. Extend the unit until the toeplate is just touching the ground. This is to make disengaging the outer frame from the screw assembly easier.
- Page 3 PowerMate LV-7 Ballnut Replacement Instructions ® Remove the four (4) button head cap screws (3/16” Allen key) holding the outer frame to the screw assembly ballnut bracket. Grip the screw assembly and remove up and out, disengaging the drive screw from the motor.
- Page 4 PowerMate LV-7 Ballnut Replacement Instructions ® Step D: Remove Lower Drive Components PROCEDURE: Remove roll pin from lower coupling using a 3/16” punch. Be sure to properly support drive screw so as not to bend it. Remove the lower components from drive screw.
- Page 5 PowerMate LV-7 Ballnut Replacement Instructions ® Step F: Add New Ballnut PROCEDURE: Transfer the new ballnut onto the arbor tool. Slide the arbor and ballnut onto the bottom end of drive screw. Wind the ballnut onto thread of drive screw then remove the arbor.
- Page 6 PowerMate LV-7 Ballnut Replacement Instructions ® Step G: Add Lower Drive Components PROCEDURE: Re-install lower components of drive screw assembly in the correct order. Re-install the roll pin into the coupling. Support the drive screw so as not to bend it.
- Page 7 PowerMate LV-7 Ballnut Replacement Instructions ® Step I: Assemble Ballnut and Ballnut Locknut PROCEDURE: Re-install the ballnut, disc spring washer, ballnut bracket and ballnut locknut. Apply grease to the disc spring washer and top side of ballnut bracket around protruding ballnut.
- Page 8 PowerMate LV-7 Ballnut Replacement Instructions ® Step J: Install the Screw Assembly PROCEDURE: Guide the drive screw assembly back into the inner frame, making sure the bearing retainer and ballnut bracket are oriented properly for installation. Attach the drive screw to the motor.
- Page 9 PowerMate LV-7 Ballnut Replacement Instructions ® Step L: Install the Screw Guard PROCEDURE: With the Toeplate on the ground, insert the screw guard into position through the ballnut bracket. Guard will stop about 1” from proper fit. Gently push the guard inwards and allow it to drop into the screw guard bracket.
Need help?
Do you have a question about the LiftGate LV-7 and is the answer not in the manual?
Questions and answers