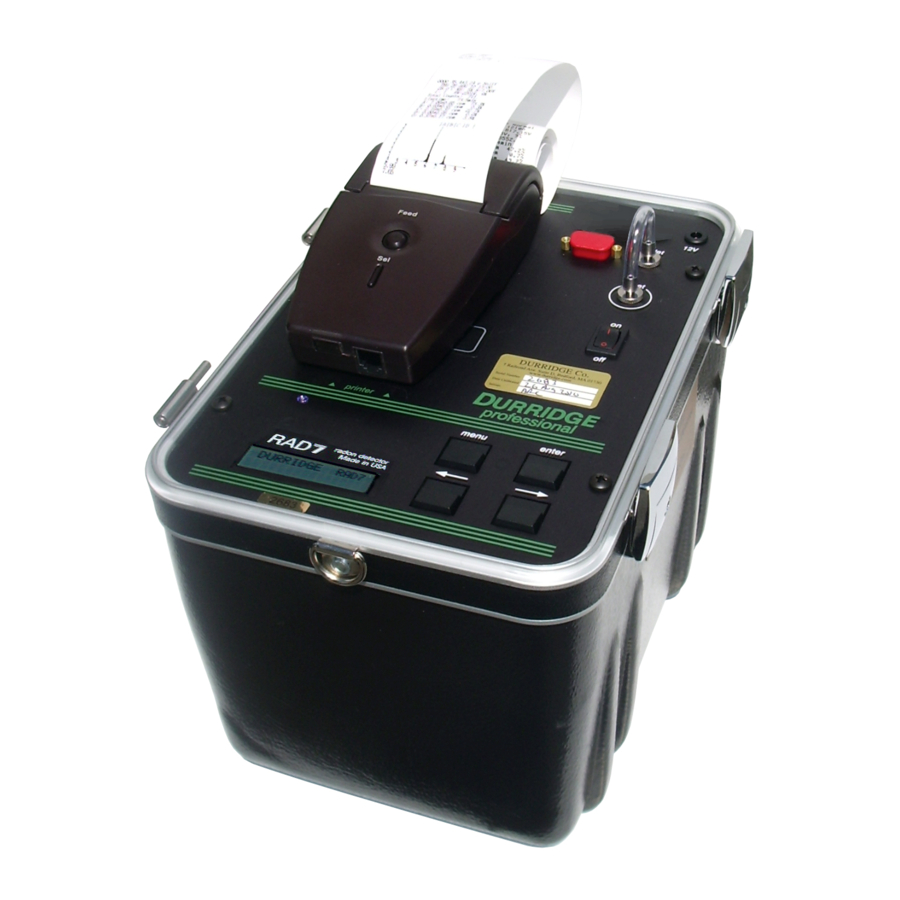
DURRIDGE RAD7 User Manual
Hide thumbs
Also See for RAD7:
- User manual (95 pages) ,
- Bluetooth connection manual (4 pages) ,
- Connectivity manual (4 pages)
Table of Contents
Advertisement
Quick Links
Advertisement
Table of Contents

Related Manuals for DURRIDGE RAD7


Summary of Contents for DURRIDGE RAD7
- Page 1 OPERATIONAL CHECK Operational Check Accessory for the RAD7 User Manual...
- Page 2 2 OPERATIONAL CHECK Figure 2 Operational Check Setup 2.1 Purge the RAD7 2.2 Hook up to the Operational Check 2.3 3-Hour Test 2.4 Cumulative Spectrum 2.5 Leak Check 2.6 Multiple RAD7s Figure 3 Multiple RAD7 Sensitivity Check Configuration Table of Contents...
- Page 3 Operational Check is instead intended to be used to make a quick check that your RAD7 is seeing and correctly identifying counts from radon and thoron. With careful record-keeping, it can also be used to check for leaks in the RAD7’s internal sample path.
- Page 4 2 OPERATIONAL CHECK After sitting sealed on a shelf for one month, the radon in the Operational Check container will have reached within 1% of a steady value, in which the rate of emission of radon into the container is equal to the rate of loss by decay and leakage.
- Page 5 2.1 Purge the RAD7 First, purge the RAD7 with dry air in an open loop for at least 5 minutes, then switch to 1-day protocol: select Setup, Protocol, 1-day, and push [ENTER]. Start a reading, still sampling fresh air through a drying unit.
- Page 6 2.6 Multiple RAD7s Before using the Operational Check to check a RAD7, the Operational Check must be left sealed for a month, in order for the radon inside the container to reach equilibrium. That means a RAD7 can have its operation checked each month on a regular basis. However, there is nothing to stop us hooking up multiple RAD7s in series in the loop connected to the Operational Check.
- Page 7 Web: www.durridge.com Email: service@durridge.com © Copyright 2021 DURRIDGE Company Inc. All rights reserved. DURRIDGE, the DURRIDGE logo, and the Works with the DURRIDGE logo are trademarks of DURRIDGE Company Inc., registered in the U.S. Revision 2021-12-16 Sec$on 2 Operational Check...
Need help?
Do you have a question about the RAD7 and is the answer not in the manual?
Questions and answers