Josef Kihlberg JK20A Repair Instructions
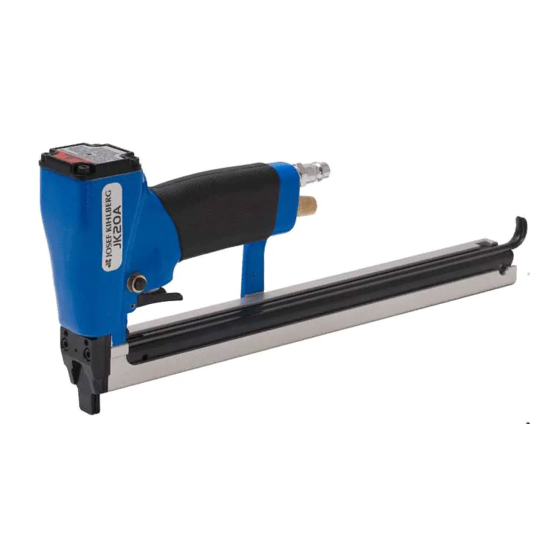
Pneumatic tacker
Hide thumbs
Also See for JK20A:
- Operating instructions manual (14 pages) ,
- Operating instructions manual (15 pages)
Table of Contents
Advertisement
Quick Links
May -2001
Pneumatic tacker
Pneumatiskt häftverktyg
Druckluft-Klammerungsgerät
Agrafeuse pneumatique
JK20A
Repair Instructions
Underhållsinstruktion
Reparaturanweisungen
Instruction d'entretien
Box 126, S-544 22 Hjo, Sweden
Telephone: +46 (0)503 328 00 Telefax: +46 (0)503 328 01
www.kihlberg.se
Josef Kihlberg AB
e-mail: reception@kihlberg.se
E
S
D
F
Advertisement
Table of Contents

Related Manuals for Josef Kihlberg JK20A


Summary of Contents for Josef Kihlberg JK20A
- Page 1 Pneumatic tacker Pneumatiskt häftverktyg Druckluft-Klammerungsgerät Agrafeuse pneumatique JK20A Repair Instructions Underhållsinstruktion Reparaturanweisungen Instruction d’entretien Josef Kihlberg AB Box 126, S-544 22 Hjo, Sweden Telephone: +46 (0)503 328 00 Telefax: +46 (0)503 328 01 www.kihlberg.se e-mail: reception@kihlberg.se May -2001...
-
Page 2: Table Of Contents
The employer is responsible for: Arbetsgivaren skall se till att: • enforcement of compliance with safety warnings and all • denna Underhållsinstruktion hålls tillgänglig för, samt other directions presented in these Repair Instructions; att den studeras och åtföljs av, all berörd personal; •... -
Page 3: Safety Warnings
Safety warnings Säkerhetsvarningar Sicherheitshinweise Instructions de sécurité E Read these warnings to prevent injuries to your- S Läs dessa varningar för att undvika skador på Dig self and to bystanders. själv eller åskådare. Refer to the section Maintenance for additional För ytterligare information se avsnittet Underhåll. - Page 4 Safety warnings (cont.) (Forts.) Säkerhetsvarningar Sicherheitshinweise (Vorts.) (cont.) Instructions de sécurité E Be sure that the tool is not pointed at yourself or S Rikta inte verktyget mot Dig själv eller någon any one else when connecting it to the com- annan vid anslutning till tryckluftsnätet.
-
Page 5: Maintenance Instructions
143002 143009 JK20A680L 143002 143010 JK20A680L 143002 143010 other /übrigeJK20A 143002 övriga/autres JK20A 143002 Für O-ringe Reparatur Pour O-rings Réparation D Zugängliche Ersatzteilsätze F Garnitures de pièces de rechange disponibles E Analysis of malfunction and whether and where S Analys av driftstörning och om och var läckage leakage occurs. - Page 6 Service of driving parts (cont.) (Forts.) Underhåll av drivande delar Wartung Antriebsteile (Vorts.) (cont.) Entretien des pièces motrices E Remove the cage. S Demontera hylsan. D Die Hülse demontieren. F Démontez la cage. E Change both O-rings as indicated by the arrows. S Byt de båda O-ringarna enligt pilarna.
-
Page 7: Service Of Trigger Valve
Service of trigger valve Underhåll av avtryckarventil Wartung Abzugventll Entretien de la valve détente E Take the staples out of the magazine. S Ta bort klammerna ut magasinet. D Die Klammer vom Magazin entfernen. F Eloignez les agrafes du magasin. E Remove the rear screw. - Page 8 Service of trigger valve (cont.) (Forts.) Underhåll av avtryckarventil Wartung Abzugventll (Vorts.) (cont.) Entretien de la valve détente E Assemble the valve parts as indicated. NB: do not S Montera ventildelarna som visas på bilden. Obs: mistake the marked O-ring for the one in the Förväxla ej den markerade O-ringen med den i middle of the housing! mitten av huset!
-
Page 9: Service Of Nozzle
Service of nozzle Underhåll av drivarstyrning Wartung Klammerführung Entretien de la bouche E Undo the screws of the nozzle. S Lossa skruvarna till drivarstyrningen. D Die Schrauben der Klammerführung lösen F Dévissez les vis de la bouche. E Remove the nozzle. S Tag bort drivarstyrningen. -
Page 10: Service Of Magazine
Service of magazine Underhåll av magasin Wartung Magazin Entretien du magasin E Remove the magazine lid towards the front. S Ta bort magasinslocket framåt. D Den Magazinsdeckel nach vorn entfernen. F Eloignez le couvercle magasin en avant. E Remove the pusher and its spring. Using a staple S Demontera frammataren och dess fjäder. -
Page 11: Recommissioning After Repair
Recommissioning after repair Idrifttagande efter underhåll Wiederinbetriebnahme Remise en service E Reconnect the tool to the air supply. S Koppla verktyget till tryckluftsnätet igen. Check that no air leaks occur, either in operation Kontrollera att inget luftläckage förekommer, or at rest. varken vid drift eller i viloläge. - Page 12 Recommissioning after repair Idrifttagande efter underhåll Wiederinbetriebnahme Remise en service E Check that the tool is properly lubricated. The tool S Kontrollera att verktyget smörjs riktigtVerktyget must be lubricated by an oil mist. skall smörjas medelst dimsmörjning. Oil specification for mist oiler: Oljerekommendation för smörjapparat: - Part no: 1 litre...
Need help?
Do you have a question about the JK20A and is the answer not in the manual?
Questions and answers