Table of Contents
Advertisement
Quick Links
Advertisement
Table of Contents

Summary of Contents for RollSeal RS-200
- Page 1 RS-200 Manually Operated Door Installation Manual 4801-5179B 9 February 2021...
-
Page 2: Table Of Contents
RS-200 Manually Operated Door Installation Manual Table of Contents Section 1: Introduction............................Section 1.1: Definitions of Informational Headings........................... Section 1.2: Scope of Manual................................Section 1.3: Limited Warranty................................Section 2: Installation............................. Section 2.1: Preparation..................................Section 2.2: Connect Tracks to Head Unit............................ -
Page 3: Section 1: Introduction
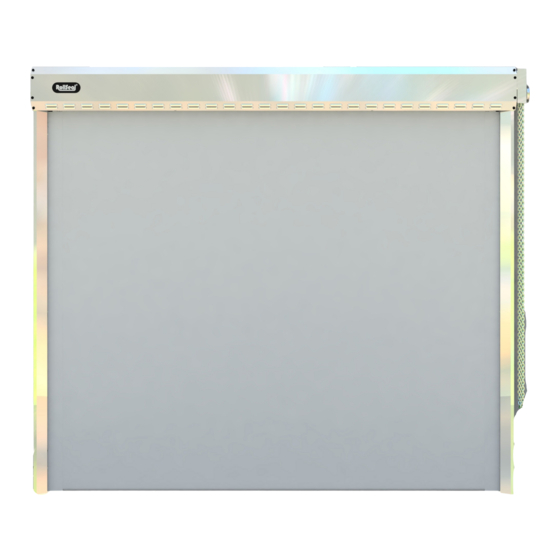
NOTICE: This document is subject to change without notice. The latest version is maintained at rollseal.net/rollseal-technicals/. This manual describes the installation of the RollSeal RS-200 manually operated door, which is designed for minimum-use cooler applications. If the door is to receive a chain tensioner, see the dedicated installation instructions (4802-7530) after completing this procedure. -
Page 4: Section 1.3: Limited Warranty
No entity has the authority to bind RollSeal to any representation or warranty other than this Limited Warranty. RollSeal shall not be liable for any damages or losses resulting from any application of the Product or caused by any defect, failure, or malfunction of the Product. -
Page 5: Section 2: Installation
RS-200 Manually Operated Door Installation Manual Section 2: Installation Section 2.1: Preparation 1. Open the shipping box. Ensure the following components are included: a. Head unit b. Left track assembly c. Left front track d. Right track assembly e. Right front track f. - Page 6 RS-200 Manually Operated Door Installation Manual 2. Cut away all but the bottom flap of the box, then move the pieces away from the door opening. 3. Remove the left and right front tracks from their packaging, then place them flat-side-down on some of the cardboard you cut.
-
Page 7: Section 2.2: Connect Tracks To Head Unit
RS-200 Manually Operated Door Installation Manual Section 2.2: Connect Tracks to Head Unit 1. Flip the head unit face-down. 2. Remove the three 5/16" x 1" bolts from each side of the head unit (six bolts total). 3. Position the left and right track assemblies on their respective sides of the head unit. -
Page 8: Section 2.3: Mount Door To Wall
RS-200 Manually Operated Door Installation Manual Section 2.3: Mount Door to Wall 1. Lift the door assembly, then walk the legs backward until it reaches the clear opening. 2. With someone holding each track in place, align the left track with the opening. -
Page 9: Section 2.4: Install Chain Hoist
RS-200 Manually Operated Door Installation Manual Section 2.4: Install Chain Hoist 1. Open the chain hoist box. Ensure the following contents are included: a. Chain hoist b. 1/4" x 1" key c. Hardware kit 2. Raise the chain hoist to the drive shaft protruding from the right side of the head unit. - Page 10 RS-200 Manually Operated Door Installation Manual 4. Insert the key into the keyway on the chain hoist, then slide the hoist onto the drive shaft until it reaches the track hoist mount. 5. Position the chain hoist so the four holes in it align with the four holes in the mount, the insert the provide 1/4" x 3" bolts. The bolts must be inserted from the mount side to keep them from hitting the head unit cover when it is reinstalled.
- Page 11 RS-200 Manually Operated Door Installation Manual 9. Install the chain keeper approximately 4' above the floor and 6" from the side of the track. 10. Apply one of the moving door labels (4501-6312; included in the hardware kit) 6" above the chain keeper.
-
Page 12: Section 2.5: Install Tracks And Cladding
RS-200 Manually Operated Door Installation Manual Section 2.5: Install Front Tracks and Cladding 1. Rotate the one of the front tracks 90° away from the door opening. 2. Insert the top of the track into the gap where the track meets the head unit. -
Page 13: Section 3: Warnings/Avertissements
RS-200 Manually Operated Door Installation Manual Section 3: Warnings/Avertissements WARNING/AVERTISSEMENT Only qualified personnel familiar with the construction and operation of this equipment and the hazards involved are to install, adjust, and/or service this equipment. Read and understand this manual in its entirety before proceeding.

Need help?
Do you have a question about the RS-200 and is the answer not in the manual?
Questions and answers