
Subscribe to Our Youtube Channel
Summary of Contents for C-TEC PDA103i
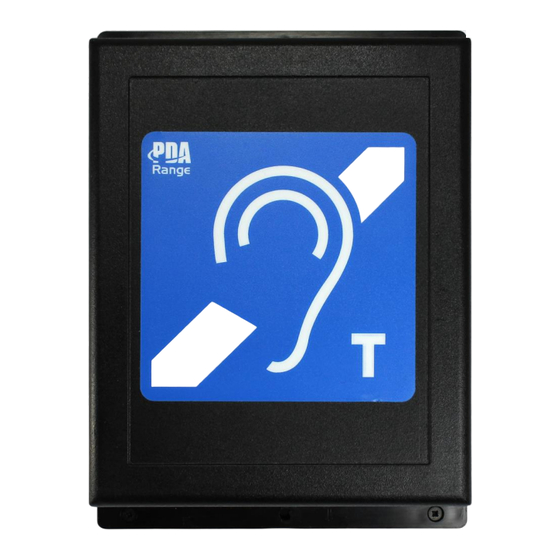
- Page 1 PDA103i WALL MOUNTED HEARING LOOP INSTALLATION INSTRUCTIONS Page 1 of 5 Approved Document No. DAU0001103 Rev 1...
- Page 2 This equipment must be installed by a suitably skilled and technically competent person. Please read these instructions carefully before installation SAFETY GUIDELINES DO NOT dismantle or attempt to modify the amplifier, there are no user-serviceable fuses or parts inside the amplifier. For repair, contact your supplier.
- Page 3 Diagram 1: Locating a Disabled refuge outstation next to a PDA103i Diagram 2 Connecting a PDA103i to the EVC302 Input level Output Level PSU to mains AC (bend cable to avoid lid) In the event of no plug socket being available, the Mains PSU can be replaced with a 14 to 20V DC 0.9A mains power supply.
- Page 4 The performance of the audio frequency induction loop system should meet the requirements of BS EN 60118-4 at the six locations shown in Diagram 2, namely 400 mA/m Diagram 4 Connecting the line out of an Intercom to a PDA103i Input level...
- Page 5 Cable Entry a) Drill a small pilot hole and then 10 mm hole in the back and de-burr the edges. b) Push the power supply plug through the grommet Push the grommet into the hole using a flat blade screwdriver if necessary. Take care not to damage the grommet.
Need help?
Do you have a question about the PDA103i and is the answer not in the manual?
Questions and answers