Table of Contents
Advertisement
Advertisement
Table of Contents

Related Manuals for LG LX-U150D


Summary of Contents for LG LX-U150D
- Page 1 LGEUK_LX-U150D_ENG_128P MICRO HI-FI SYSTEM OWNER’S MANUAL MODEL: LX-U150 (LX-U150A/D/X, LXS-U150) Please read this manual carefully before operating your set. Retain it for future reference. Designs and specifications are subject to change without notice for improvement. CD-R/RW...
-
Page 2: Safety Precaution
Safety Precaution CAUTION RISK OF ELECTRIC SHOCK DO NOT OPEN CAUTION: TO REDUCE THE RISK OF ELECTRIC SHOCK DO NOT REMOVE COVER (OR BACK) NO USER-SERVICEABLE PARTS INSIDE REFER SERVICING TO QUALIFIED SERVICE PERSONNEL. This lightning flash with arrowhead symbol with- in an equilateral triangle is intended to alert the user to the presence of uninsulated dangerous voltage within the product’s enclosure that may... -
Page 3: Table Of Contents
Before use Contents Before use ......3-5 Contents /About the symbols for instructions ......3 Front/Rear panel . -
Page 4: Before Use
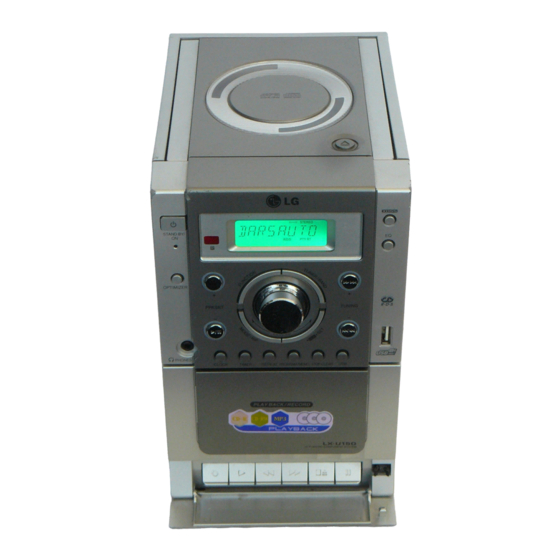
Before use Front/Rear panel CD DOOR POWER (1STANDBY/ON) button Remote Control Sensor POWER indicator OPTIMIZER (MP3) button VOLUME CONTROL KNOB HEADPHONE SOCKET ( PHONES): 3.5mm • CLOCK button • TIMER button • REPEAT button • PROGRAM/MEMO. button • STOP/CLEAR button •... -
Page 5: Remote Control
Before use Remote control Remote Control battery installation Detach the battery cover on the rear of the remote con- trol, and insert two R03 (size AAA) batteries with aligned correctly. Caution: Do not mix old and new batteries. Never mix dif- ferent types of batteries (standard, alkaline, etc.). -
Page 6: Connections
Connections Speaker System Connection Connect the speaker cords to the speaker terminals Right Speaker otes • Be sure to match the speaker cord to the appro- priate terminal on the components: + to + and – to –. • If you use front speakers with low maximum input rating, adjust the volume carefully to avoid excessive output on the speakers. -
Page 7: Operation
Operation Setting the Clock Press CLOCK. (If the clock requires setting, press and hold CLOCK for more than 2 seconds.) - The hours begin to flash. Select a 12 hour cycle or 24 hour cycle by pressing TUNING (+/-) on the front panel. (24HR) (12HR) Press SET to confirm the selected hour cycle. -
Page 8: Sleep Function / Audio Adjustment
Operation Sleep Function When the sleep timer is used, the power is auto- matically turned off after the specified time has elapsed. To specify the time delay before the power is turned off, press SLEEP. In the display window you can see for about 5 seconds. -
Page 9: Rds Function - Optional
Operation RDS Function - OPTIONAL About RDS This unit is equipped with RDS (Radio Data System), which brings a wide range of informa- tion to FM radio. Now in use in many countries, RDS is a system for transmitting station call signs or network information, a description of station programme type text message about the station or specifics of musical selection and the correct... -
Page 10: Presetting The Radio Stations
Operation Presetting the Radio Stations You can preset 50 stations for FM and AM. Press TUNER/BAND to select the FM or AM . Press TUNING (+/-) until the frequency indication starts to change,then release. Scanning stops when the unit tunes into a station. -
Page 11: Tape Playback / Recording
Operation Tape Playback Basic Playback Press FUNCTION repeatedly until the TAPE indicator appears. Open cassette deck by pushing STOP/EJECT( x / Z) button. Insert a cassette with the tape side to the bottom and then close the deck. Press PLAY ( B ). To Stop Play Press STOP/EJECT (x/ Z ) during playback. -
Page 12: Cd Playback
Operation CD Playback Basic Playback Press FUNCTION repeatedly until the CD indi- cator appears. If no disc is loaded then “NO DISC” is displayed. Press CD OPEN/CLOSE ( Z OPEN/CLOSE) and place a CD into the disc tray. To load an 8cm(3 inch) disc, place it into the inner circle of the tray. -
Page 13: To Program Play / About Mp3/Wma
Operation To Program Play You can arrange the order of the tracks on the discs and create your own program. The program can contain up to 20 tracks. Press PROGRAM/MEMO. (or PROGRAM/MEMO.on the remote control) on the stop mode. Press CD SKIP/SEARCH (.m/M>) buttons to select the track you want. -
Page 14: Usb Function
Operation USB Function Basic Playback 1. Plug the USB device into the USB connector of your unit. 2. Press the USB button to enter the USB mode. “CHECKING” appears in the display window, and then the total number of files is dis- played. -
Page 15: Reference
Reference Notes on Tapes Preventing overwriting a recording Removing the tab(s) of the cassette (with a small screwdriver) will prevent accidental erasure. Tab for side A Side A Tab for side B To record again, cover the hole of the tab with adhesive tape. -
Page 16: Specifications
Reference Specifications Power supply Power consumption Net Weight External dimensions (WxHxD) Frequency response Signal-to-noise ratio Dynamic range Tuning Range Intermediate Frequency Signal to Noise Ratio Frequency Response Tuning Range Intermediate Frequency Signal to Noise Ratio Frequency Response Output Power T.H.D Frequency Response Signal-to-noise ratio Tape Speed... - Page 17 The dealer (or his service agent) who sold the product will be reimbursed for any labour provided in the repair of this LG equipment, for a period of 12 months from the original date of purchase. These claims must be made in accordance with the published scale of service charges and relevant claims procedure.
Need help?
Do you have a question about the LX-U150D and is the answer not in the manual?
Questions and answers