Table of Contents
Advertisement
Quick Links
Advertisement
Table of Contents

Related Manuals for Kogan 4K GALAXY

Summary of Contents for Kogan 4K GALAXY
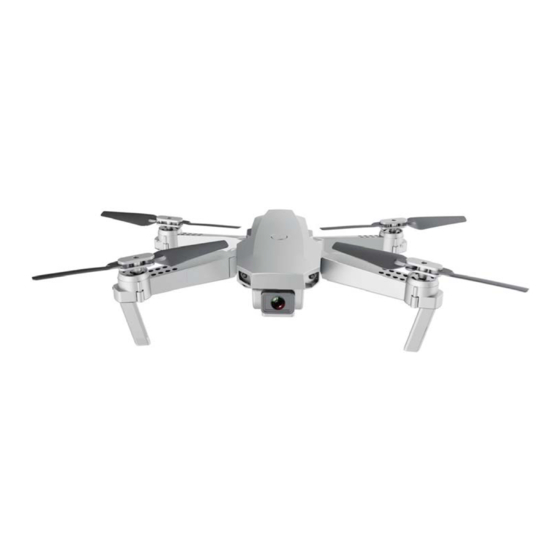
- Page 1 WIDE ANGLE 4K GALAXY DRONE KA4KGLXDRNA...
-
Page 3: Safety And Warnings
• Do not operate the device if it is damaged. In the event of damage, discontinue use immediately and contact help.Kogan.com for assistance. Battery Safety This device contains a Lithium Polymer (Li-Po) battery. As such, extra care should be taken to avoid risk of property damage or personal injury. - Page 4 OVERVIEW...
-
Page 5: Installation
INSTALLATION Remote Battery Installation Insert x3 AA batteries, paying careful attention to the polarity symbols (+ / -). Note: When the controller battery is low, the controller will emit a ‘beep-beep’ sound with flashing light. Ensure to land the drone safely and replace the batteries. Drone Battery Connect the USB cable to a USB outlet: To charge the device, connect the battery plug to... - Page 6 Drone Folding function: To fold the drone, please first fold the back arms and then fold the front arms. To unfold do the same process in reverse order. Drone fan installation: The ‘A’ arms should be installed to the upper left and the lower right corners of the drone.
-
Page 7: App Installation
APP INSTALLATION 1. Install app on Your Mobile Phone: Please scan the below QR code to download the app according to your phone’s system. Android 2. Connect Devices: • Enter the Settings, open the Wi-Fi option and find the device Wi-Fi hotspot name “KY/HD/Du/******”... - Page 8 4. Home Screen: 3 4 5 9 10 11 12 13 14 Functions: Back Fixing mode Photo Headless mode Music Gravity induction Video Gesture mode Image flip Control panel Media library Settings Split screen mode Effect filters Speed (30%, 60%, 100%) Manual focus Gyroscope correction...
- Page 9 Gesture Mode Click gesture button, the system will automatically recognise different gesture to take pics or videos. Gesture as below: Photo: From approximately 2m into front of the camera, hold one hand away from your body with your palm facing the camera. After the camera recognises the gesture, it will start a 3 second countdown and take a photo (your hand can be lowered at this point).
-
Page 10: Operation
OPERATION Remote Control 1. Mobile phone grip: Pull out the remote-control lower grip, clamp the phone securely in place. 2. 2.4G frequency: Turn on the remote control, push the throttle joystick to the highest and then pull to the lowest. You will hear a “tick” sound. The drone indicator light is on, match the right frequency to complete (2.4G frequency), then you can take off. - Page 11 4. Flight control: Throttle (left lever) Push the left lever Push the left lever The drone rises The drone descends upwards down Forward and backward (right lever) (with camera front side) Push the right lever The drone will move Push the right lever The drone will move upwards forward...
- Page 12 Fine-tuning controls (with camera front side): Use the fine-tuning controls if drone begins moving in one direction without any user input. Note: Calibration of the drone is required every time it is turned ON or if the environment/location changes. Without calibration the drone may not operate as intended even without input from the user.
- Page 13 Rotating fine tuning Turn Right Turn Left...
- Page 14 Headless mode When switching to headless mode, the drone will override its front and rear azimuths and reposition the front and rear using the remote control as a reference point. Such as: when the right lever is pushed forward, the drone will fly away from the remote control;...
- Page 15 Reset settings To reset the drone, push the sticks (Figure 1), 2 seconds after the remote control will plays “flute” sound. The drone’s lights will quickly flash a few times if the reset was successful. Figure 1 Emergency landing During the operation of the drone, if need to urgently stop. Press and hold the top left button.
-
Page 16: Troubleshooting
TROUBLESHOOTING Problem Cause / Issue Solution The drone batteries are Please re-perform the remote inserted and the five Remote control and drone control and the flying drone indicator lights are connection are not successful connection flickering. Check if the remote control and the flying drone are powered Turn on the remote control and insert the drone battery. - Page 17 NOTES...
- Page 20 Need more information? We hope that this user guide has given you the assistance needed for a simple set-up. For the most up-to-date guide for your product, as well as any additional assistance you may require, head online to help.kogan.com...
Need help?
Do you have a question about the 4K GALAXY and is the answer not in the manual?
Questions and answers