Advertisement
Advertisement
Table of Contents

Related Manuals for O'Fresh MFS-26L


Summary of Contents for O'Fresh MFS-26L
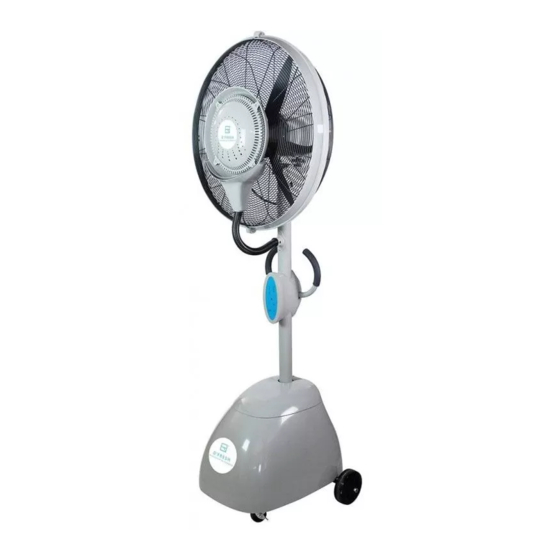
- Page 1 www.ofresh.fr MISTING FAN INSTRUCTION MANUAL...
- Page 2 Model m /min m /min m /min MFS-26L 1100 1250 1400 Note:No further notice if above indices change. MAINTENANCE 1 .Clean the fan periodically to keep it tidy and durable. 2. Cut off the power and make sure the blade stay still before cleaning, open the grill clips and loose the screws, remove the front grill and blade, use a soft cloth and a mild soap to clean the fan's exterior.
-
Page 3: Wiring Diagram
CAUTION 1. Follow the diagram to take out the fan body when open the packing carton of fan. 2. Do not insert objects or let fingers to enter to the fan guard. 3. Adjust the pitch angle of the fan within a predetermined range. 4. -
Page 4: Features And Applications
MIST Misting Indicator Timer Indicator Speed Indicator 0.5H Timer setting TIMER Misting ON/OFF ON/SPEED ON/SPEED MIST FEATURES AND APPLICATIONS 1. Use CAD optimized design with artistic looking. 2. The fan misting system adoptsthe centrifugal atomization optimized design, without nozzle and water filtration, reasonable structure, easy maintenance. - Page 5 7. Misting adjustment between "OFF" and "ON" when the fan running in misting. 8. The tank must be full filled with water before the fan running in misting. The tank is filled with water at the maximum misting state can be run continuously for 4 hours, when the tank is not enough water should be coupled with the water to obtain the effect of misting.
- Page 6 Fan motor Diagram 2 Male and famale splice pieces Side panel Male and famale Tube connector splice pieces Step 3: Connect water pump power cord and water pump tube Connect the two-pin male splice piece on end of the water pump power cord and the two-core famale splice piece from the stand pole, and then stuff inside the stand pole.
- Page 7 Diagram 4 U-groove Handle Rear cover of Positioning electric box buckle Bayonet water tank Positioning fixing board groove Step 5: Misting Testing a. Full fill the water tank with clean water, and cover the tank lid. b. Keep the ball valve from "on " to "off ", and make power on. Run the fan with remote control or press button by hand, and check if the motor and blade operate normally.
-
Page 8: Overall Dimension
OVERALL DIMENSION Structure Diagram... - Page 9 1. safety cover 2.misting plate 3. water outlet 4. water collecting plate 5. whorl bent connector 6. water receiving plate 7.water receiving plate cover 8. plug 9. misting motor 10. front grill 11. blade 12. rear grill 13. grill ring 14.
Need help?
Do you have a question about the MFS-26L and is the answer not in the manual?
Questions and answers