Table of Contents
Advertisement
Quick Links
1
Introduction
Thank you for buying this Trust 340 SPEEDSHARE WEB STATION. This
SPEEDSHARE WEB STATION allows you to create a flexible high performance
Ethernet network desktop system. This SPEEDSHARE WEB STATION allows you to
share a high speed broadband internet connection with one or more computers.
1.1
Accessing the Internet
Your Trust 340 SPEEDSHARE WEB STATION gives you direct access to a
broadband connection allowing you to surf the web, send and receive files and email
from other computers and/or share a printer which is connected to your network.
Your Trust 340 SPEEDSHARE WEB STATION can automatically acquire the
necessary IP address when a connection is made with the Internet, removing the
need to configure each computer individually on your network. It is possible however
to individually configure each computer with your Trust 340 SPEEDSHARE WEB
STATION.
2
Safety
Please read the following directions before first use.
1.
Always disconnect the power supply and remove the power supply cable before
connecting or installing any devices including network adapters.
2.
Never attempt to repair your Trust 340 SPEEDSHARE WEB STATION yourself.
All repairs should be done by a qualified individual.
This product conforms to relevant European directives and standards. The
Declaration of Conformity (DoC) can be found at www.trust.com/13602/CE.
3
Indicators
This chapter explains the features of your Trust 340 SPEEDSHARE WEB STATION.
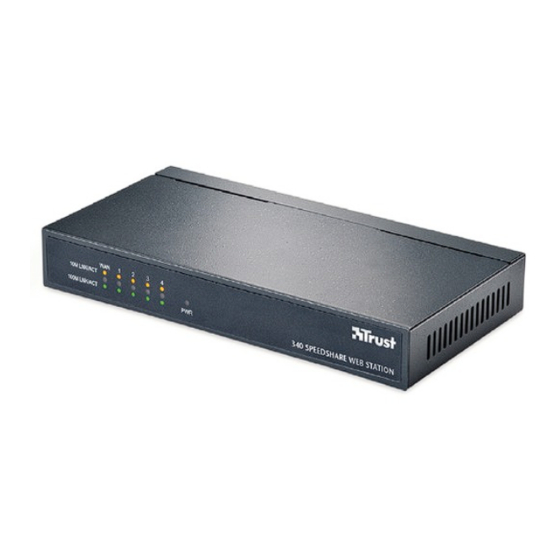
3.1
The Front Panel
Power LED Green; This shows when the WEB STATION is powered on.
10M Link/ACT Orange; When these LEDs are continuously lit the SPEEDSHARE
WEB STATION is connected successfully to the Internet through a ADSL/Cable
modem. If these LEDs are flashing it indicates that data is being sent or received.
100M Link/ACT Green; When these are lit a successful 100M connection is made.
Wan; This shows when a successful connection is made with the Internet.
LED 1-4; These correspond to each PC, workstation or hub connected to your Trust
340 SPEEDSHARE WEB STATION.
3.2
The Rear Panel
See Figure 1
1.
Four RJ-45 10/100 SPEEDSHARE WEB STATION connectors to connect to
PCs and Workstations.
TRUST 340 SPEEDSHARE WEB STATION
U K
1
Advertisement
Table of Contents

Subscribe to Our Youtube Channel
Related Manuals for Trust 340 SPEEDSHARE WEB STATION


Summary of Contents for Trust 340 SPEEDSHARE WEB STATION
- Page 1 100M Link/ACT Green; When these are lit a successful 100M connection is made. Wan; This shows when a successful connection is made with the Internet. LED 1-4; These correspond to each PC, workstation or hub connected to your Trust 340 SPEEDSHARE WEB STATION.
-
Page 2: Web Station
To reset your Trust 340 SPEEDSHARE WEB STATION use a paper clip or pen tip, press the reset button and hold it for 2 seconds. This will restore all of the Trust 340 SPEEDSHARE WEB STATION settings to the factory settings. - Page 3 This easy to use interface makes configuring your station easy. To access the web based interface open your browser and enter http://192.168.1.1 in the browser’s address bar and click Enter. This is the default address of your Trust 340 SPEEDSHARE WEB STATION. Login Once you have access to the web based set up interface you will need to enter a password.
-
Page 4: Setup Wizard
See Figure 9 6.3.2 WAN Type Your Trust 340 SPEEDSHARE WEB STATION is enabled to handle four WAN Types: Dial-UpxDSL (PPPoE), PPTP, Fixed IP xDSL, and Cable Modem. Your ISP (Internet service Provider) will provide the necessary information about which WAN type to select. Your ISP will provide all the needed information. Please refer to your ISP’s documentation for the proper settings. -
Page 5: Advanced Settings
See Figure 15 Advanced Settings Your Trust 340 SPEEDSHARE WEB STATION comes with a comprehensive list of advanced options. Please the following sections to learn about the key Advanced Settings. Note: If you are unsure of any of the following settings please use the factory default settings. -
Page 6: Administrator Settings
For further Networking Information please read the “Networking Sharing Manual”. You can find this manual on the Trust installer CD that came with this product. To open this manual click on “Read manual” on the Trust installer CD menu, or see the file named “Read Internet Sharing Manual”... - Page 7 Dynamic IP Address; This method automatically obtains an IP address from your ISP every time your web station connects to the Internet. It is necessary for your Trust 340 SPEEDSHARE WEB STATION to have an IP address to access your LAN (Local Access Network). It is possible to enable the DHCP (Dynamic Host Configuration Protocol) service which allows for dynamic IP addresses for each of your network clients.
-
Page 8: Troubleshooting
For further Networking Information please read the “Networking Sharing Manual”. You can find this manual on the Trust installer CD that came with the product. To open this manual click on “Read manual” on the Trust installer CD menu, or see the... -
Page 9: 10 Warranty Information
You will also have the chance to win some spectacular prizes. If you still have problems after trying these solutions, please contact one of the Trust Customer Care Centres. You can find more information at the back of this instruction manual.
Need help?
Do you have a question about the 340 SPEEDSHARE WEB STATION and is the answer not in the manual?
Questions and answers