Table of Contents
Advertisement
Quick Links
INSTRUCTION MANUAL
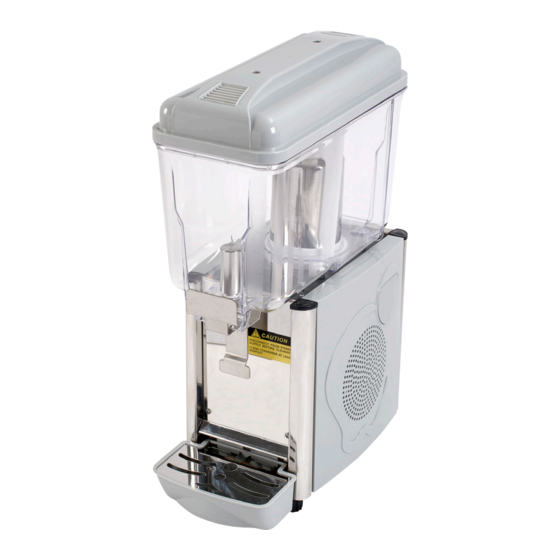
JD-1 & JD-2
JUICE DISPENSERS
This manual contains important information regarding your Adcraft unit. Please
read this manual thoroughly prior to equipment set-up, operation and maintenance.
Failure to comply with regular maintenance guidelines outlined in this manual may
void the warranty.
Advertisement
Table of Contents


Need help?
Do you have a question about the JD-1 and is the answer not in the manual?
Questions and answers