Advertisement
Quick Links
1
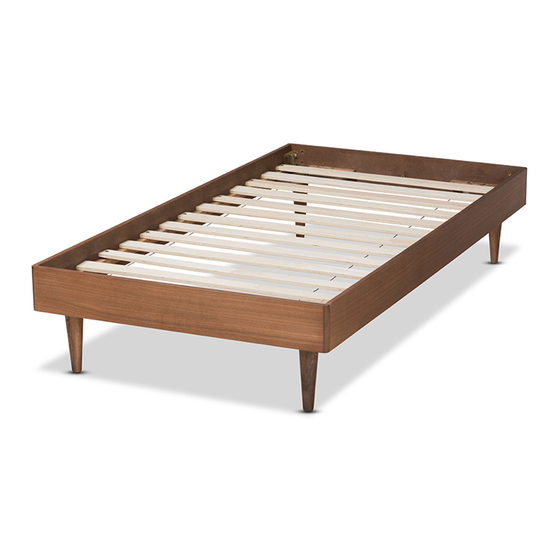
Assembled View
2
Parts List
A
Headboard Panel x 1
B
Footboard Panel x 1
C
Side Rail x 2
D
Long Support x 1
3
Hardware List
1
M4 Allen Key
x 1
6
Barrel Nut
x 3
11
M6 x 20mm JCB
x 8
Queen Bed
Assembly Instructions
Extra Holes
2
M5 Allen Key
x 1
7
8
Spring Washer
x 30
12
M6 x 40mm JCB
x 18
E
Support Leg
x 3
3
4
Center Rail
Bracket x 2
Flat Washer
9
M6 x 15mm JCB
x 30
13
M6 x 50mm JCB
x 16
Use 2 People
Note: Do not assemble
using power tools.
This can cause the bolts
to be overtightened
F
Post
Support Panel
x 4
H
Set of Bed Slats x 1
Wood Screw
5
Adjustable
(M4 x 32mm) x 18
Foot x 3
10
M8 x 50mm JCB
x 4
14
M6 x 90mm JCB
x 3
WII-0419
G
x 4
x 8
Page 1 of 5
Advertisement

Related Manuals for Baxton Studio Queen Bed MG97151


Summary of Contents for Baxton Studio Queen Bed MG97151
- Page 1 Queen Bed Assembly Instructions WII-0419 Assembled View Use 2 People Note: Do not assemble using power tools. This can cause the bolts to be overtightened Parts List Extra Holes Headboard Panel x 1 Support Leg Post Support Panel Footboard Panel x 1 Side Rail x 2 Long Support x 1 Set of Bed Slats x 1...
- Page 2 Queen Bed Assembly Instructions WII-0419 Assembled the Support Leg (E) to the Long Support (D). Note: Extra holes on top Fit the Post (F) to the Support Panel (G). Page 2 of 5...
- Page 3 Queen Bed Assembly Instructions WII-0419 Fit the Center Rail Bracket to the Extra Headboard Panel (A). Holes Short Tab of Metal Bracket (3) Fit the Center Rail Bracket to the Footboard Panel (B). Bolt the assembled Support Panel (G) to the Side Rail (C). Page 3 of 5...
- Page 4 Queen Bed Assembly Instructions WII-0419 Assemble the Side Rail (C) to the Headboard and Footboard Panel (A & B). Bolt the assembled Support Panel (G) to the Headboard and Footboard Panel (A & B). Page 4 of 5...
- Page 5 Queen Bed Assembly Instructions WII-0419 Bolt the Long Support (D) to the Center Rail Brackets (3) on the Headboard and Footboard Panel (A & B). Bolt & screw the Bed Slats (H) to the Side Rail (C). Page 5 of 5...
- Page 6 Queen Headboard Assembly Instructions WII-0419 Parts List Use 2 People Headboard Panel x 1 Note: Do not assemble using power tools. This can cause the bolts Headboard Headboard Support to be overtightened Side Panel Side Panel Bar x 2 (Left hand) x 1 (Right hand) x 1 Hardware List M6 x 60mm JCB...
- Page 7 Queen Headboard Assembly Instructions WII-0419 Assemble the Support Bars (D) to the Headboard Panel. Footboard, Rails & Slats are packed in separate Boxes with Bolts. Note: Bolts & Washers from Footboard, Rails & Slats Box. Footboard Assemble the Headboard Panel (A) to the Support Bars (D).