Advertisement
AquaSource ® is a registered trademark
of LF, LLC. All Rights Reserved.
ATTACH YOUR RECEIPT HERE
Serial Number
uestions, problems, missing parts? Before returning to your retailer, call our customer
service department at 1-866-417-7564, 8 a.m. - 8 p.m., EST, Monday - Friday.
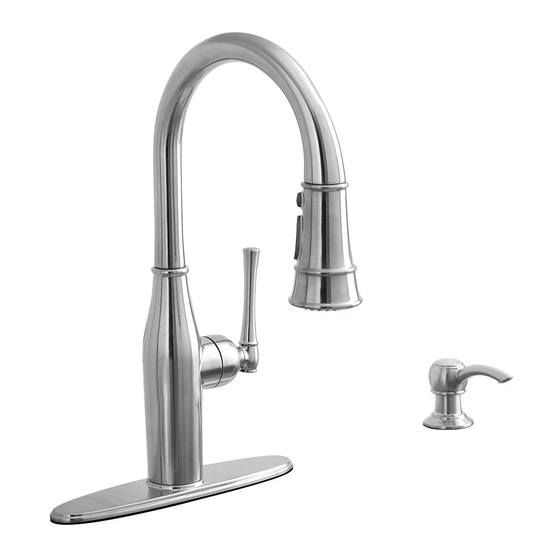
KITCHEN FAUCET
Purchase Date
1
ITEM #0017758
0016531
PULL-DOWN
MODEL #67354-1008D2
67354-1027H2
Advertisement
Table of Contents

Related Manuals for AquaSource 67354-1008D2


Summary of Contents for AquaSource 67354-1008D2
- Page 1 ITEM #0017758 0016531 PULL-DOWN AquaSource ® is a registered trademark KITCHEN FAUCET of LF, LLC. All Rights Reserved. MODEL #67354-1008D2 67354-1027H2 ATTACH YOUR RECEIPT HERE Serial Number Purchase Date uestions, problems, missing parts? Before returning to your retailer, call our customer...
- Page 2 PACKAGE CONTENTS PART DESCRIPTION QUANTITY Faucet Hose (Preassembled to Faucet (A)) Shank (Preassembled to Faucet (A)) Escutcheon (Preassembled to Faucet (A)) Base Plate (Preassembled to Faucet (A)) Rubber Washer (Preassembled to Shank (C)) Metal Washer (Preassembled to Shank (C)) Nut (Preassembled to Shank (C)) Flange Quick Connector (Preassembled to Hose (B)) Block (Preassembled to Faucet (A))
- Page 3 SAFTEY INFORMATION Please read and understand this entire manual before attempting to assemble, operate or install the product. If you have any questions regarding the product, please call customer service at 1-866-417-7564, 8 a.m. - 8 p.m., EST, Monday - Friday. •...
- Page 4 ASSEMBLY INSTRUCTIONS 1. Shut off water supplies. Remove old faucet. 2. For single hole installation, refer to diagram 2A. Place flange (I) on the sink (not included). For 3 hole installation refer to diagram 2B. Place base plate (E) and escutcheon (D) on the sink. Do not use flange (I) if you are using the escutcheon for 3 Hole installation.
- Page 5 ASSEMBLY INSTRUCTIONS Remove quick connector (J) from the hose (B) by unscrewing it counter clockwise. Retract hose (B) up through faucet (A), until the hose (B) fitting is flush with the bottom of shank (C). Do not pull fitting past the shank (C). Insert faucet (A) through holes in top of sink.
- Page 6 ASSEMBLY INSTRUCTIONS 6. To install soap dispenser, insert body assembly (N) through selected hole of sink. Secure body assembly (N) to sink with mounting nut (O). From under the sink screw the bottle (P) onto the shank of body assembly (N). Insert pump (Q) down into the body assembly (N).
- Page 7 CARE AND MAINTENANCE • Clean carefully by gently wiping with a grit-free damp cloth. Use only mild soap with water. Never use acids, harsh chemicals or abrasive detergents to clean surface. TROUBLESHOOTING If you have any questions regarding the product, please call our customer service at 1-866-417-7564, 8 a.m.
- Page 8 REPLACEMENT PARTS LIST For replacement parts, call our customer service department at 1-866-417-7564, 8 a.m. - 8 p.m., EST, Monday - Friday. PART DESCRIPTION PART # RP38090* Sprayer Assembly Inverter RP70288 Clip RP60076 O-Ring RP60075 RP20044 Cartridge Bonnet RP70289 Clip RP70290 Connect RP50125...
Need help?
Do you have a question about the 67354-1008D2 and is the answer not in the manual?
Questions and answers