Advertisement
AvalonMiner1246 User Manual
Overview
Thank you for purchasing our products. To ensure that you can fully
understand and install this product, please read the manual carefully.
Please keep it for future reference.
Safety regulation
Warning: in order to prevent equipment damage, falling, electric shock,
fire and other accidents that threaten personal safety, please install and
use in strict accordance with the instructions. Do not transform the
equipment or replace the parts by yourself.
•
Do not use power supply beyond rated voltage range.
•
Do not place equipment in unstable places.
•
When checking and repairing the equipment, please entrust
professional personnel to operate.
•
When the equipment is abnormal, cut off the power supply quickly and
contact the after-sales department.
Hardware connection
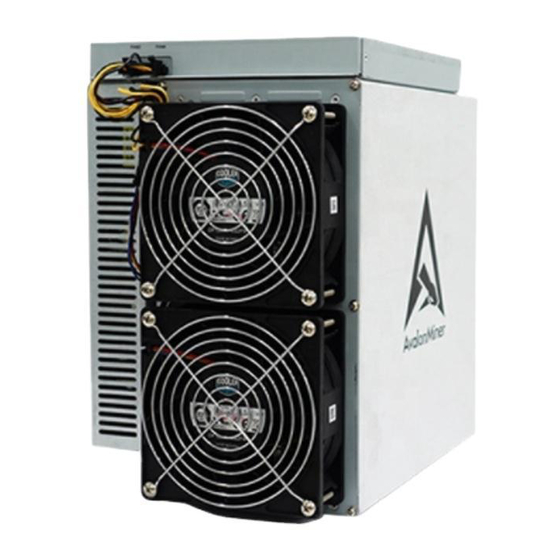
1. Network port connection;2 is the fan connection. Connect the 4 Pin fan
extension cable, as shown in the figure:
Advertisement
Table of Contents

Related Manuals for Canaan AvalonMiner1246


Summary of Contents for Canaan AvalonMiner1246
- Page 1 AvalonMiner1246 User Manual Overview Thank you for purchasing our products. To ensure that you can fully understand and install this product, please read the manual carefully. Please keep it for future reference. Safety regulation Warning: in order to prevent equipment damage, falling, electric shock, fire and other accidents that threaten personal safety, please install and use in strict accordance with the instructions.
- Page 2 3 is the fan connection, connecting the 4Pin fan extension cable; 4 is connecting the power supply with the control board and connecting it with 6pin cable, as shown in the following figure: 5 is to connect the hash board with the control board with 2 × 7pin cable, as shown below:...
- Page 3 Button and indication LED Button RESET:System reset button, system reset will not affect the network series. FUNC:Function button can be used to restore factory configuration, enter configuration mode, switch on light status during operation, etc...
-
Page 4: Indication Led
Indication LED • After power on, the indicator light flashes several times • After the device is started, the indicator light will be yellow for about three seconds. During this period, press the func key to enter the configuration mode. •... -
Page 5: System Setting
1.Right click ,Open network and Internet settings 2. Change the adapter options, disable WLAN and enable Ethernet. You can access it with your browser http://192.168.168.168/ Configure the device (modify static IP, etc.). After the device configuration is completed, it needs to be rebooted. You can click reboot on the left side of the console, or manually power off and restart. -
Page 6: Network Setting
Network setting Click Network on the left side of the console to set it as DHCP (dynamic access) or static IP (static). Note: after saving the network settings, you must restart it. You can click reboot on the left side of the console, or press the reset button to restart. -
Page 7: Firmware Upgrade
User Password Default username:root,Default password:root Click administrator on the left side of the console to set a new password and save it. Firmware Upgrade The upgrade package file format of this device is *. AUP, which can be downloaded through the official website or contact customer service. The firmware of the device can be upgraded by FMS software. - Page 8 button to restart, or disconnect the power supply and power on again. The system will work with the default factory configuration. Device guarantee In the process of use, the equipment may not work normally due to loose connection and abnormal damage of device wire. You can check and remove the fault by yourself.
- Page 9 board is not on, it is necessary to replace the MM control board. • If the MM control board LED is on but the fan does not rotate, check the fan connection line or replace the fan. Can’t mine 1、Faulty phenomenon •...
- Page 10 1. Check the power supply, temperature, network status and fan status, and click log in the left column, as shown in the figure below: : Check the following fields in the right interface 2. NETFAIL: The time of disconnection from the pool is recorded (if it has not been disconnected or has never been connected to the pool, here is all 0).
- Page 11 Item 4: the current output from the power supply to the hash board, which is related to the output power and voltage. Item 5: the output power of the power supply to the hash board. The normal value is between 3100 and 3300. ...
- Page 12 Miner Simple Makeup 1.The assembled hash boards, case shell and rear panel are assembled as follows:...
- Page 13 2. Place the chassis vertically, push the three hash board onto the guide rail of the chassis, and pay attention to the assembly direction of the hash board components, as shown in the figure:...
- Page 14 3. Assemble the hashboards in place, as shown in the figure: 4. Assemble the rear panel to the chassis, pay attention to the assembly direction, as shown in the figure,...
- Page 15 5. As shown in the figure, align the opening position of the power supply with the hook position of the power support, press it to level, and push the power supply horizontally according to the arrow direction in the figure until the snap pops up (with a click sound), indicating that the power supply is assembled in place.
- Page 16 7. Assemble mm board according to the direction shown in the figure, and pay attention to the position of locating pin. 8. As shown in the figure, place the conductive aluminum bar (positive pole) at the position shown in the figure, first assemble the set screw, but do not tighten it;...
- Page 17 screw 9. Connect the fan extension cable with MM board, pay attention to the connection sequence. 10. As shown in the figure, place the conductive aluminum bar (negative...
- Page 18 pole) at the position shown in the figure, first assemble the set screw, but do not tighten it; tighten other screws, and finally tighten the set screw. Screw 11. Connect the voltage regulating line of the power supply to the MM board, and connect the plug of the temperature sensing line to the MM board.
- Page 19 12. Hash, as shown in the assembly diagram. 13. Place the upper shell and fix it with flat head screw, as shown in the figure:...
- Page 20 14. Assemble the fan line in sequence as shown in the figure...
- Page 21 Upper FAN Below FAN Upper FAN Below FAN...
-
Page 22: Appendix I Operation Method Of Restoring Factory Settings
Appendix I operation method of restoring factory settings Step Remark Confirm that the miner is powered off Press and hold the func key。 Power on the miner Note that you need to keep the func key pressed all the time. Keep func pressed until the miner's red LED flashes. - Page 23 In the pop-up dialog box, select the firmware file to be upgraded (. AUP), click open. shown figure below: There will be progress prompts during the update process:...
- Page 24 There will be a prompt at the end of the update. If all are successful, A12 upgrades were successful. Otherwise, all IP addresses that failed to upgrade will be listed. For the miner that failed to upgrade, you can select them according to IP, click the button to restart them, wait for 3 minutes, and then try to upgrade these mining machines again.
- Page 25 TAvg Average chip temperature Fan1 Fan 1 rotating speed Fan2 Fan 2 rotating speed FanR Fan rotating percentage Average chip voltage Power supply status The meanings of items 1-6 follows: Item 1: error code. Other values indicate power failure or output short circuit.
- Page 26 point。 theoretical hashrate, Unit GHSmm GH/s. Note:the actual hashrate is the value obtained by deducting DH (calculation error rate) from theoretical hashrate. GHSavg Average Hashrate at 1 hour . According to the 1-hour average hashrate by the actual work submitted, this value is closest to 24-hour average...
-
Page 27: Appendix 5 Led Status
hashboard 1. PVT_V0 Voltage list of all chips of hashboard 0. PVT_V1 Voltage list of all chips of hashboard 1. PVT_R0 DH value list of all chips of hashboard 0. PVT_R1 DH value list of all chips of hashboard 1. Appendix 5 LED status 1.
Need help?
Do you have a question about the AvalonMiner1246 and is the answer not in the manual?
Questions and answers