brondell SWASH BL97 Owner's Manual
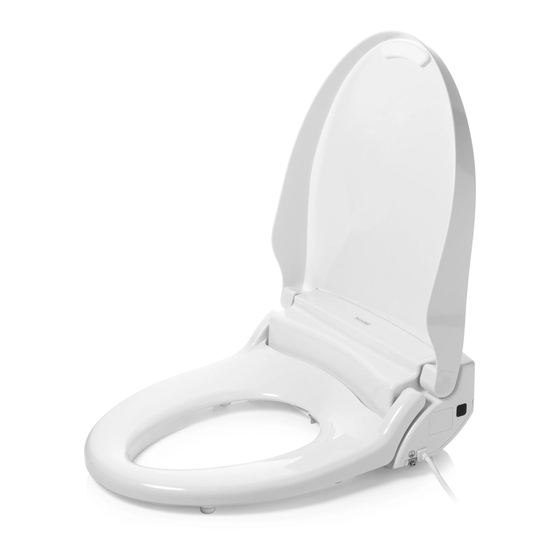
Advanced bidet seat
Hide thumbs
Also See for SWASH BL97:
- Owner's manual (8 pages) ,
- Installation manual (13 pages) ,
- Owner's manual (92 pages)
Advertisement
Advertisement
Table of Contents

Subscribe to Our Youtube Channel
Related Manuals for brondell SWASH BL97


Summary of Contents for brondell SWASH BL97
- Page 1 Owner’s Manual SWASH BL97 / EM617 ADVANCED BIDET SEAT...
- Page 2 PRODUCT INSTALLATION Installation Parts Mounting Bolt (2) T-Valve Connector with 2. Rubber Cone Washer (2) Rubber Washer 3. Flat Washer (2) 8. Bidet Hose 4. Nuts (2) 9. Remote Control 5. Mounting Plate 10. Remote Control Wall Mount 6. Adjustable Brackets (2) 11.
- Page 3 If your fixture only has top-side access to the mounting bolts that hold the seat to the toilet, you will likely need to purchase the Swash Bidet Seat Top Mount Hardware Kit, found on brondell.com. CHECK FOR A CONCEALED TOILET FILL VALVE Many modern toilets have sleek designs intended to cover and camouflage plumbing connections, which make a standard Swash installation difficult or impossible.
- Page 4 PRODUCT INSTALLATION Swash Installation Please read these instructions carefully before installing the Swash. Failure to do so could result in flooding, leaking or damage to the product. NOTE: Steps may vary by type of seat and toilet. 1. Existing Toilet Seat Removal a.
- Page 5 PRODUCT INSTALLATION Swash Installation c. Slide rubber cone washer, flat washer, and then nut onto mounting bolts under the toilet bowl and tighten to keep mounting plate in place. 6. Connect the Bidet Hose to the Seat Connect the plastic side of the bidet hose to the water inlet. Hand-tighten to secure.
- Page 6 4. Connect the Bidet Hose to the male end of the Swash Filter. be purchased online at brondell.com. 5. Turn the toilet water supply valve back on. FLOW FLOW Step 2...
Need help?
Do you have a question about the SWASH BL97 and is the answer not in the manual?
Questions and answers