rozum robotics PULSE Quick Start Manual
Hide thumbs
Also See for PULSE:
- Operator's manual (56 pages) ,
- Reference manual (52 pages) ,
- Hardware installation manual (23 pages)

Related Manuals for rozum robotics PULSE


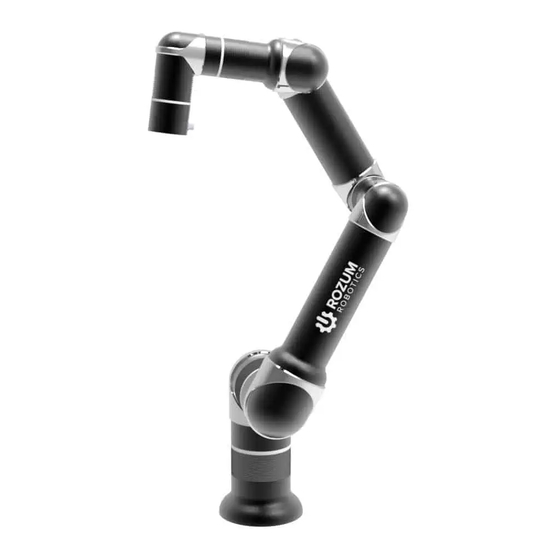
Summary of Contents for rozum robotics PULSE
- Page 2 ROZUM ROBOTICS PULSE ROBOTIC ARM GETTING STARTED WITH THE PULSE ARM It takes the SIX STEPS to get started with the PULSE ARM: STEP 1. Mount the arm. STEP 2. Connect the arm with the control box, the local network, and the peripheries STEP 3.
- Page 3 ROZUM ROBOTICS PULSE ROBOTIC ARM STEP 1. Mount the arm. 1. Unpack and position the arm vertically. 2. Holding the arm tight on the body, bolt it down onto a mounting surface using one of the following methods: Method 1. Insert four M8 bolts into the 9-mm dia. holes on the edges of the transition plate pre-assembled with the arm and tighten the bolts up.
- Page 4 ROZUM ROBOTICS PULSE ROBOTIC ARM STEP 2. Connect the arm with the control box, the local network, and the peripheries 1. Attach your selected end effector, using the mechanical and electrical interfaces on the wrist of the robotic arm as illustrated below:...
- Page 5 ROZUM ROBOTICS PULSE ROBOTIC ARM 2. Connect the arm with the control box, using the 48V hybrid cable from the supply package. The cable should run from the connector at the bottom of the robotic arm to the 48V connector on the back panel of the control box.
- Page 6 ROZUM ROBOTICS PULSE ROBOTIC ARM 5. Connect the arm directly to a personal computer (PC), using the Ethernet cable. 6. (Optional) To connect any required additional equipment (e.g., a sensor, a safeguard, a PLC) to the robotic arm, use the digital inputs and outputs on the back panel of the control box.
- Page 7 ROZUM ROBOTICS PULSE ROBOTIC ARM STEP 3. Switch the arm Do not move the arm manually until the initialization is over and the wrist LED on the arm is steady green! 1. Plug the power cable connector into the mains socket.
- Page 8 ROZUM ROBOTICS PULSE ROBOTIC ARM STEP 4. Set communication with the arm For the quick start, the robotic arm is connected directly to a PC. Therefore, to set communication with the arm, use a static IP. For the arm, the static IP is 10.10.10.20 by default.
- Page 9 ROZUM ROBOTICS PULSE ROBOTIC ARM 5. In the displayed Network Connections window, right-click the Ethernet icon and select Properties. 6. On the Networking tab in the displayed Ethernet properties window, double-click Internet Protocol Version 4 (TCP/IPv4). Rev. 1, in effect from Q2 2019...
- Page 10 ROZUM ROBOTICS PULSE ROBOTIC ARM 7. In the IP Version 4 (TCP/IPv4) Properties window, select Use the following IP address and set the IP address and the Subnet Mask fields to the values as shown below. For the last digit in the IP address field, you can use any value from 1 to 255, except for 20, since 10.10.10.20 is the default static IP address of the arm.
- Page 11 ROZUM ROBOTICS PULSE ROBOTIC ARM Linux OS 1. Switch on your PC. 2. Open Network Connections and double-click Ethernet to open the editing window as shown below. 3. In the displayed window, select the IPv4 Settings tab. Rev. 1, in effect from Q2 2019...
- Page 12 1 to 255, except for 20, since 10.10.10.20 is the default static IP address of the arm. 6. Click the Save button to confirm the settings. Now, you have all you need to start working with it via the PULSE DESK user interface! Rev. 1, in effect from Q2 2019 Page...
- Page 13 The browser page displays the starting screen of the PULSE DESK user interface. Now, you can start programming the PULSE arm using the interface. To help you make your first steps, we provide a sample PULSE DESK program in Step 6.
- Page 14 Creating a new program 1. On the screen displayed at PULSE DESK start, click the Main Menu button. 2. On the Main menu, select New program. PULSE DESK loads the Edit screen with the Wait for command already in the program body.
- Page 15 The elbow buttons are active in the LEARN mode only. When you switch to the PULSE DESK interface to perform any actions (e.g., to edit a point, add a command via the Commands menu), the mode is off. To switch back into the LEARN mode, you will have to create a new program.
- Page 16 ROZUM ROBOTICS PULSE ROBOTIC ARM 5. Press the Free Drive button on the elbow of the robotic arm to set the arm into the Free Drive mode. The LED turns blue and you can now drive the arm to any position manually.
- Page 17 ROZUM ROBOTICS PULSE ROBOTIC ARM PULSE DESK adds the point to the program body (default name Point 1), clearing the Wait for command. The Service panel displays Point 1 parameters—the coordinates and rotation angles of the tool center point (TCP) in the position.
- Page 18 ROZUM ROBOTICS PULSE ROBOTIC ARM 9. With the arm in the same pose, press the Open gripper button. The Open gripper command appears below Point 1 in the program body. 10. Press the Free Drive button to switch the arm back into the Free Drive mode. Drive the arm by hand guiding towards the nut so as to pick it up from its original location.
- Page 19 ROZUM ROBOTICS PULSE ROBOTIC ARM 14. Press the Free Drive button to switch the arm back into the Free Drive mode. Drive the arm by hand guiding to move the nut from its original location to another spot. 15. Once the gripper is at the required spot, press the Free Drive button again to freeze the arm in the pose.
- Page 20 ROZUM ROBOTICS PULSE ROBOTIC ARM 18. Add an intermediary waypoint to approach Point 2. To do this, select the command preceding the point in the program body. Click . In the displayed menu, select Point. A new command line (default name Point 4) appears in the program body preceding Point 2.
- Page 21 ROZUM ROBOTICS PULSE ROBOTIC ARM 19. In the parameter fields on the Service panel for Point 4, type in the same coordinates and rotation angles as for Point 2. The only change you need to make is to adjust the Z coordinate to a higher value so that the gripper at Point 4 would be slightly above Point 2.
- Page 22 The Open gripper and Close gripper command have no parameters to edit. 30. Click Next or Check in the Stepper to move on to check the created program. PULSE DESK switches to the Check stage screen as shown below, where you can start a test run of the program.
- Page 23 When PULSE DESK executes the last command, it stops and displays an appropriate warning. Click OK to return to the Check screen. Click Next to move on to execute the program. If you click Next, PULSE DESK displays the Run stage screen.
- Page 24 ROZUM ROBOTICS PULSE ROBOTIC ARM Executing and stopping the program On the Run stage screen, click Save&Run to start execution of the program. PULSE DESK executes the sequence of commands in the Program Body. The Save&Run is replaced with button.
Need help?
Do you have a question about the PULSE and is the answer not in the manual?
Questions and answers