Advertisement
Quick Links
IMPORTANT INSTALLATION AND WARRANTY INSTRUCTIONS
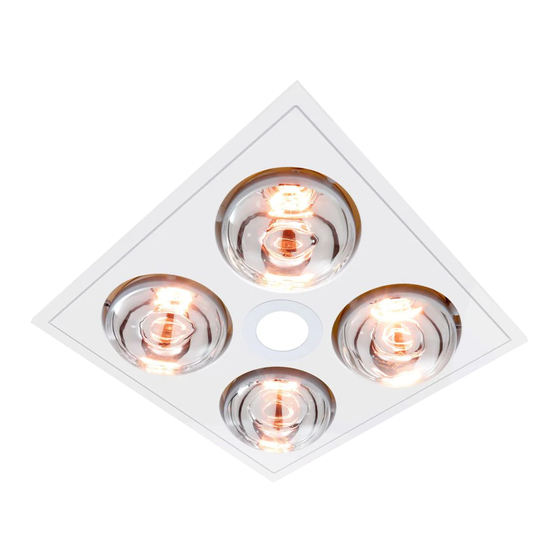
Thank you and congratulations on your purchase of the
Ventair 3 in1 Bathroom Fan, Heat & Light. Please read
these instructions carefully before installing and using the
product. Keep the instructions handy for future reference.
Electrical wiring must only be done by a licensed
issued completion of the installation.
LOCATION
The unit must be located and installed in accordance with
AS/NZS 3000 and local building codes and regulations
The unit can be installed in any room that requires direct
ceilings with a minimum height of 2.1 meters. At least
250mm height clearance in the ceiling cavity is required
The unit must also be installed at least 400mm away from
the walls.
Ensure adequate inlets exist through windows, vents or
POWER
AC220-240V, 50/60Hz electrical supply is required. The
unit can be connected to a lighting or power circuit if
loading permits. All electrical work must be carried out in
accordance with AS/NZS 3000 or latest edition thereof.
MOUNTING
1.The unit may be mounted either between
joists using the inbuilt clip fasteners or
against a joist using a screw through the
as a template. Place in the required location
and mark out the hole cutting size. Hole
size is 310mm x 300mm .
2.Before commencing cutting ensure that
the area behind the intended location is
clear of all cables, pipes and joists. Once
clear, cut out the section along the
previously marked lines.
3.Remove 4 heat lamps from the unit,then
remove the plug of the led downlight
inside the housing.Unfasten the fascia
retaining spring clips inside the housing
,and remove the fascia.Connet the
ducting(if required) to the outer grill of the
unit.Insert the unit into the square hole
being sure to pull the side springs inward
so that the body can pass through the hole
without damaging the plaster. Ensure that
the unit is held securely in place by the
clips. If required, additional screws can be
used to aid holding the unit in the ceiling.
this purpose.
4.Connect the led downlight plugs fristly
.Hold the fascia against the body of the
heater and the ceiling and attach the
securing spring clips to hold the fascia in
place.
5.Now screw in the four large heat lamps
.
into the lamp holder through the holes
provided in the fascia. The globes should be
electrical contact but don't over tighten.
1
2
3
4
5
Advertisement

Related Manuals for Ventair MYKA 4


Summary of Contents for Ventair MYKA 4
- Page 1 Hole size is 310mm x 300mm . Thank you and congratulations on your purchase of the Ventair 3 in1 Bathroom Fan, Heat & Light. Please read 2.Before commencing cutting ensure that these instructions carefully before installing and using the the area behind the intended location is product.
- Page 2 This unit must be installed by a quali ed licensed clectrician. Every electrical diagram. Ventair 3 in 1 is thoroughly inspected and tested before being 3.Remove the terminal cover on the heater unit and wire according released for sale. In addition to any warranties or conditions implied to the label adjacent to the terminal block.Make sure all cables are...
Need help?
Do you have a question about the MYKA 4 and is the answer not in the manual?
Questions and answers