Table of Contents
Advertisement
Quick Links
Model:R719A
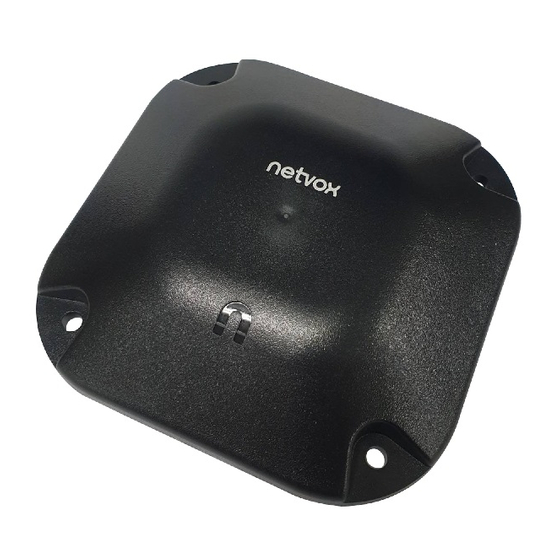
Wireless Surface-Mounted Parking Sensor
Wireless Surface-Mounted Parking Sensor
R719A
User Manual
Copyright©Netvox Technology Co., Ltd.
This document contains proprietary technical information which is the property of NETVOX Technology. It shall be maintained
in strict confidence and shall not be disclosed to other parties, in whole or in part, without written permission of NETVOX
Technology. The specifications are subject to change without prior notice.
Advertisement
Table of Contents

Related Manuals for netvox R719A

Summary of Contents for netvox R719A
- Page 1 This document contains proprietary technical information which is the property of NETVOX Technology. It shall be maintained in strict confidence and shall not be disclosed to other parties, in whole or in part, without written permission of NETVOX Technology. The specifications are subject to change without prior notice.
-
Page 2: Table Of Contents
Table of Content 1. Introduction ....................................... 2 2. Appearance ......................................2 3. Main Features ....................................3 4. Set up Instruction ....................................4 5. Data Report ....................................... 5 6. Installation ......................................9 6.1 Battery Installation .................................. 10 6.2 Device Installation .................................. 12 7. -
Page 3: Introduction
1. Introduction The R719A is a parking monitoring device which is the Class A device based on the LoRaWAN protocol of Netvox. It can monitor whether there is a parking space available in the parking lot. It is compatible with the LoRaWAN protocol. -
Page 4: Main Features
Improved power management for longer battery life Battery Life: ⁻ Please refer to web: http://www.netvox.com.tw/electric/electric_calc.html ⁻ At this website, users can find battery life time for variety models at different configurations. 1. Actual range may vary depending on environment. -
Page 5: Set Up Instruction
4. Set up Instruction On/Off Power on Insert batteries. (Users may need a screwdriver to open) The magnet approach to the top cover for 3 seconds. Note: Turn on The device is in the geomagnetic initialization state within 3 minutes after turning on. Please do not move the device or cause changes in the surrounding magnetic field. -
Page 6: Data Report
The device report interval will be programmed based on the default firmware which may vary. The interval between two reports must be ReportMinTime. Please refer Netvox LoRaWAN Application Command document and Netvox Lora Command Resolver http://loraresolver.netvoxcloud.com:8888/page/index to resolve uplink data. - Page 7 MaxTime BatteryChange Reserved 0x01 ReportReq (2bytes Unit:s) (2bytes Unit:s) (1byte Unit:0.1v) (4Bytes,Fixed 0x00) Config Status Reserved 0x81 ReportRsp (0x00_success) (8Bytes,Fixed 0x00) R719A 0x59 ReadConfig Reserved 0x02 ReportReq (9Bytes,Fixed 0x00) ReadConfig MinTime MaxTime BatteryChange Reserved 0x82 ReportRsp (2bytes Unit:s) (2bytes Unit:s) (1byte Unit:0.1v)
- Page 8 SetDetect 0x83 Status(0x00_success) Reserved (8Bytes,Fixed 0x00) ThresholdRsp GetDetect 0x04 Reserved (9Bytes,Fixed 0x00) ThresholdReq GetDetect 0x84 DetectThreshold(2bytes) Reserved (7Bytes,Fixed 0x00) ThresholdRsp (1) Configure the device geomagnetic threshold parameter to 50 (default is 40) Downlink: 0359003200000000000000 The device returns: 8359000000000000000000 (configuration successful) 8359010000000000000000 (configuration failed) (2) Read device parameters Downlink: 0459000000000000000000...
- Page 9 Example#2 based on MinTime = 15 Minutes, MaxTime= 1 Hour, Reportable Change i.e. BatteryVoltageChange= 0.1V. MaxTime Sleeping(MinTime) sleeping sleeping sleeping Wakes up and Wakes up and Wakes up and Wakes up and Wakes up and collects data collects data collects data collects data collects data REPORT 3.6V...
-
Page 10: Installation
6. Installation 1. R719A is installed in the middle of the parking space with 4 2. Place a magnet above the reed switch (the U-shaped part screws ( purchased by self). of the device) for 3 seconds to turn it on, connect to the... -
Page 11: Battery Installation
6.1 Battery Installation Warning: 1. When replacing the battery, it must be operated by professionals. 2. Please use two ER18505 batteries for the device, and the single battery specification is 3.6V. 3. Please note that the positive and negative poles of the battery are not reversed. Step 1: Unscrew the six screws of the rear lock cover on the back of the device with a screwdriver as the red area in Figure 1. - Page 12 Positive Pole Positive Electrode Negative Electrode Negative Pole Figure 3 Figure4 Step 4: After installing the battery as Figure 5. Close the plastic cover and the back cover again, and tighten the six screws. Figure 5...
-
Page 13: Device Installation
6.2 Device Installation There are three installation methods: fully buried installation, semi-buried installation and direct installation. The installation methods are as follows. Direct Installation Semi-Buried Installation Fully Buried Installation Ground 6.2.1 Device Interference Source There should be no metal materials such as aluminum alloy, iron, copper plate, etc. around the device. There should be no water around the device. -
Page 14: Important Maintenance Instruction
7. Important Maintenance Instruction Kindly pay attention to the following in order to achieve the best maintenance of the product: • Keep the device dry. Rain, moisture, or any liquid might contain minerals and thus corrode electronic circuits. If the device gets wet, please dry it completely.
Need help?
Do you have a question about the R719A and is the answer not in the manual?
Questions and answers