Table of Contents
Advertisement
Quick Links
INSTALLATION MANUAL
AIR
CONDITIONER
Please read this installation manual completely before installing
the product.
Installation work must be performed in accordance with the
national wiring standards by authorized personnel only.
Please retain this installation manual for future reference after
reading it thoroughly.
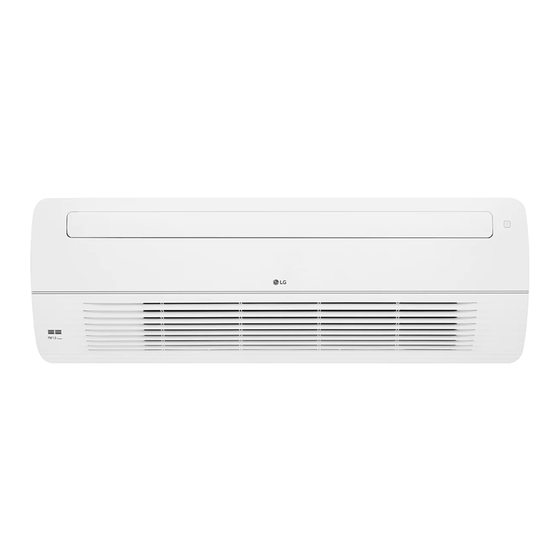
Ceiling Cassette - 1Way
MFL67737202
Rev.01_102618
Copyright © 2012 - 2018 LG Electronics Inc. All Rights Reserved.
www.lg.com
Advertisement
Table of Contents

Summary of Contents for LG AMNH12GTUC0
- Page 1 Installation work must be performed in accordance with the national wiring standards by authorized personnel only. Please retain this installation manual for future reference after reading it thoroughly. Ceiling Cassette - 1Way www.lg.com MFL67737202 Rev.01_102618 Copyright © 2012 - 2018 LG Electronics Inc. All Rights Reserved.
-
Page 2: Table Of Contents
TABLE OF CONTENTS Installation Parts Safety Precautions Installation Selection of the Best Location Ceiling Dimension and Hanging Bolt Location Installation of Decoration Panel Drain Piping Wiring Connection Installation of Wired Remote Controller Name and function of wired remote controller(Accessory) DIP Switch Setting Model Designation Airborne Noise Emission Limiting concentration... -
Page 3: Installation Parts
Installation Parts Installation Parts Panel type Grille type Air Outlet Air Intake Wired Remote Controller Intake Wired Remote Controller Intake Air Outlet (Accessory) (Accessory) Installation Tool Washer for Insulation for Plastic band Clamp metal Name Drain hose hanging bracket fitting Quantity 1 EA 2 EA... -
Page 4: Safety Precautions
Incorrect operation due to ignoring instruction will cause harm or damage. The seriousness is classified by the following indications. n LG Electronics is not responsible for Product`s malfunction or damage which caused by improper installation or misuse of operation guide. - Page 5 Safety Precautions • For installation, always contact the dealer or an Authorized Service Center. - There is risk of fire, electric shock, explosion, or injury. • Use a vacuum pump or Inert (nitrogen) gas when doing leakage test or air purge. Do not compress air or Oxygen and Do not use Flammable gases.
-
Page 6: Installation
Installation Installation Read completely, then follow step by step. Selection of the Best Location • There should not be any heat source or steam near the unit. • There should not be any obstacles to the air circulation. • A place where air circulation in the room will be good. •... -
Page 7: Ceiling Dimension And Hanging Bolt Location
Installation Ceiling Dimension and Hanging Bolt Location • The dimensions of the paper model for installation are the same as those of the ceiling opening dimensions. 1 385 1 285 Ceiling Level gauge 1 180 TT Chassis CAUTION • This air-conditioner uses a drain pump. 1 065 •... -
Page 8: Installation Of Decoration Panel
Installation Installation of Decoration Panel The decoration panel has its installation Before installing the decoration panel, direction. always remove the paper template. 1. Open the air outlet vane, and extract side covers. 2. Remove the air inlet grille from the decoration panel. 3. -
Page 9: Drain Piping
Installation Drain Piping • Drain piping must have down-slope (1/50 to 1/100): be sure not to Upward provide up-and-down slope to prevent reversal flow. Pipe clamp routing • During drain piping connection, be careful not to exert extra force not allowed on the drain port on the indoor unit. -
Page 10: Wiring Connection
Installation Wiring Connection - Open the control box cover and connect the Remote controller Precautions when laying power wiring cord and Indoor power wires. Use round pressure terminals for connections to the - Remove the control box cover for electrical connection power terminal block. -
Page 11: Installation Of Wired Remote Controller
Installation Installation of Wired Remote Controller 1. Please fix tightly using provided screw after placing remote controller setup board on the place where you like to setup. - Please set it up not to bend because poor setup could take place if setup board bends. Please set up remote controller board fit to the reclamation box if there is a reclamation box. - Page 12 Installation 4. Please connect indoor unit and remote controller using connection cable. Please check if connector is normally connected. Indoor Unit side Connecting cable 5. Please use extension cable if the distance between wired remote controller and indoor unit is more than 10 m.
-
Page 13: Name And Function Of Wired Remote Controller(Accessory)
Installation Name and function of wired remote controller(Accessory) Operation Display Windows Sub function Button Airflow Button Set/Cancel Button Function Setting Button Temperature Control Button Ventilation Button On/Off Button Reservation Button Operation Mode Up/Down/Left/Right Button Selection Button Wireless Remote Room temperature Button Controller Receiver Fan Speed Button ESC Button... -
Page 14: Dip Switch Setting
Installation DIP Switch Setting Function Description Setting Off Setting On Default Communication N/A (Default) Cycle N/A (Default) Group Control Selection of Master or Slave Master Slave Dry Contact Mode Selection of Dry Contact Wired/Wireless remote Mode controller Auto Selection of Manual or Auto operation Mode Installation Fan continuous operation... -
Page 15: Model Designation
Installation Model Designation Indoor Units Model Name A*N : Indoor units using R410A M : Multi Room Air conditioner Model type W : DC Inverter Heat pump Nominal Capacity Ex) 9 000 Btu/h Class → ‘09’, 18 000 Btu/h Class → ‘18’ Electrical rating G : 1 Ø, 220-240 V, 50 Hz / 1 Ø, 220 V, 60 Hz Chassis name... - Page 16 Memo 16 Indoor Unit...
- Page 17 İTHALATÇI FİRMA Arçelik-LG Klima Sanayi ve Ticaret A.Ş. Merkez Adresi : Gebze Organize Sanayi Bölgesi, İhsan Dede Cad. No: 139, 41480 Gebze Kocaeli Telefonu : (0262) 678 78 78 Telefaksı : (0262) 678 78 79 ÜRETİCİ FİRMA LG Electronics Inc.


Need help?
Do you have a question about the AMNH12GTUC0 and is the answer not in the manual?
Questions and answers