Advertisement
Quick Links
Advertisement

Related Manuals for Fisher-Price Little People GMJ12


Summary of Contents for Fisher-Price Little People GMJ12
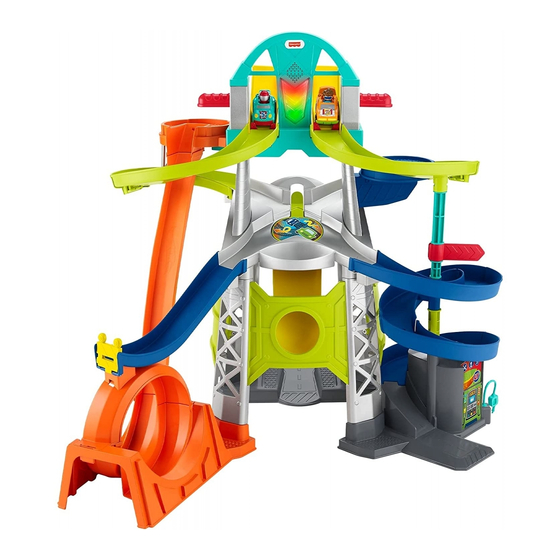
- Page 1 GMJ12 Launch & Loop Raceway! ASSEMBLY GUIDE...
-
Page 2: Before You Begin
BEFORE YOU BEGIN Keep these instructions for future reference as they contain important information. Adult assembly is required (because we need to fit this toy in the box). You’ll need a Phillips screwdriver (not included) for assembly and battery installation. Set aside about 45 minutes for assembly. - Page 3 PARTS...
- Page 5 CAUTION This package contains small parts. M3,5 x 1,6 mm M3 5 For adult assembly only.
- Page 6 Each track piece is numbered. Look for numbers on the underside of all of the tracks!
- Page 7 In camera mode, focus on the code. Then tap the pop-up to watch how to assemble the toy. Or visit: fisher-price.com/ assembly/GMJ12 The taller risers are designed to fit the sockets in the base one way. If a riser doesn’t...
- Page 8 The shorter risers are designed to fit the sockets in the bases one way. If a riser doesn’t seem to fit, turn it around or try assembling to the other base.
- Page 10 Choose the panel that has a hexagon and star shape on it. Match the hexagon on the panel to the hexagon on the riser.
- Page 11 Match the star on the panel to the star on the riser.
- Page 12 The remaining panel should have a heart and triangle shape on it. Match the heart on the panel to the heart on the riser. Match the triangle on the panel to the triangle on the riser.
- Page 13 Once assembled, the center tower assembly should look like this when looking at the top of it.
- Page 16 Track pieces are Trac numbered! Look for the numbers on the underside of the track when assembling.
- Page 20 Hint: Assembling the orange launcher may take a lot of force. To make it easier, support the green track and the turquoise launcher with your hand while you push down to assemble the launcher. Support here Support here...
- Page 21 For this assembly step, use the shorter post.
- Page 22 Turn blue track 9 to fit it to blue track 8.
- Page 23 Hint: After inserting the taller post into the shorter post, you may need to turn it to “snap” it to the track above.
-
Page 24: Install Batteries
INSTALL BATTERIES Locate the battery door on the top of the upper launch pad. Loosen the screw in the battery door and remove the door. Insert two AA (LR6) alkaline batteries. Replace the battery door and tighten the screw. Do not over-tighten. If this toy begins to operate erratically, you may need to reset the electronics. - Page 25 CRAZY RACING ACTION! Place the wheelies at the Place the wheelies at the top of the launchers top of the launchers Press the Press the Press the Press the red lever red lever red lever red lever Lower Lower the gate the gate Flip up the yellow Flip up the yellow...
-
Page 26: Fcc Statement (United States Only)
Battery Safety Information In exceptional circumstances, batteries may leak fluids that can cause a chemical burn injury or ruin your product. To avoid battery leakage: • Do not mix old and new batteries or batteries of different types: alkaline, standard (carbon-zinc) or rechargeable. •... -
Page 27: Great Britain
UNITED STATES Fisher-Price, Inc., 636 Girard Avenue, East Aurora, NY 14052. Consumer Services: 1-800-432-5437. CANADA Mattel Canada Inc., 6155 Freemont Blvd., Mississauga, Ontario L5R 3W2 Consumer Services/Service à la clientèle : 1-800-432-5437. www.service.mattel.com. GREAT BRITAIN Mattel U.K. Limited, The Porter Building, 1 Brunel Way, Slough SL1 1FQ, UK. - Page 28 ©2020 Matt el. GMJ12-0970-G1 PRINTED IN MEXICO 1102367840-DOM...
Need help?
Do you have a question about the Little People GMJ12 and is the answer not in the manual?
Questions and answers