Bosch B36CD Installation And Using Instructions
Refrigerator-freezer
Hide thumbs
Also See for B36CD:
- Installation and using instructions (104 pages) ,
- Installation and using instructions (35 pages)
Table of Contents
Advertisement
Quick Links
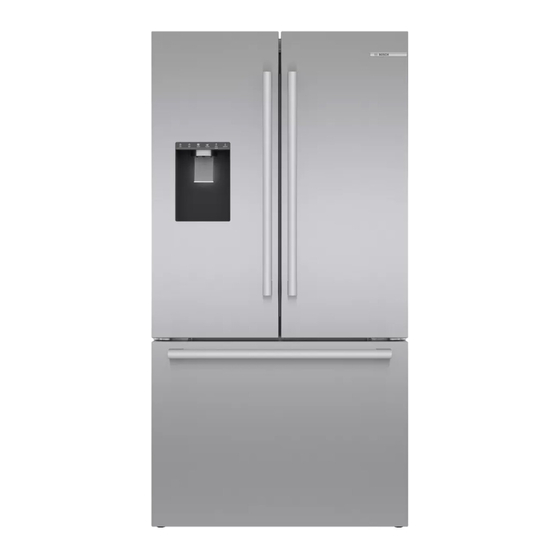
Refrigerator-freezer
Réfrigérateur / congélateur combiné
Refrigerador/congelador
B36CD...
en
Installation and Using Instructions ...................................... 2
fr
Notice de montage et d'utilisation .................................... 35
es
Instrucciones de uso y montaje ......................................... 69
Advertisement
Table of Contents

Related Manuals for Bosch B36CD


Summary of Contents for Bosch B36CD
- Page 1 Refrigerator-freezer Réfrigérateur / congélateur combiné Refrigerador/congelador B36CD... Installation and Using Instructions ........2 Notice de montage et d’utilisation ........35 Instrucciones de uso y montaje ......... 69...
- Page 2 en-us en Table of contents e n I n s t a l l a t i o n a n d U s i n g I n s t r u c t i o n s Light of ice and water dispenser....21 Important safety instructions .
-
Page 3: Important Safety Instructions
Important safety instructions en-us Important safety instructions READ INSTRUCTIONS - DO NOT DISCARD! Important safety instructionsI m p o r t a n t s a f e t y i n s t r u c t i o n s R EAD INSTRUCTIONS - DO NOT DISCARD! Children should be supervised to ensure Definitions ■... -
Page 4: Read Instructions - Do Not Discard
en-us Important safety instructions Important safety instructions READ INSTRUCTIONS - DO NOT DISCARD! The appliance, cord and accessories Risk of fire ■ should only be repaired or replaced by Portable multi-outlet power strips and the manufacturer or an authorized portable power supplies may overheat, service provider. -
Page 5: 8Intended Use
Intended use en-us 8Intended use 5 Installation and connection U se this appliance I n t e n d e d u s e only for cooling and freezing food, ice making ■ C ontents of package and water dispensing. I n s t a l l a t i o n a n d c o n n e c t i o n only in the home and in the home environment. -
Page 6: Installation Dimensions
en-us Installation and connection Installation dimensions ¾ ″ (1441 mm) ¹¹/ ″ ⁹/ ″ (93 mm) (268 mm) ¾ ″ ⅜ ″ (45 mm) (1102 mm) 90° 90° 118° ½ ″ (1765 mm) Minimum clearances Leave a clearance of 1/2 ˝ (12.7 mm) above the appliance. - Page 7 Installation and connection en-us Use a 2.5 mm Allen wrench to tighten the bottom Ventilation pre-assembled screws clockwise. Never cover or block ventilation openings. Aligning the appliance CAUTION To avoid damaging the floor, always move the ■ appliance with the height-adjustable feet Installing the door handle screwed upwards.
- Page 8 en-us Installation and connection Loosen the safety screw. Align refrigerator compartment doors Aligning the vertical gap of the doors: CAUTION Do not remove the safety screw. Remove any items contained in the doors. Note: Remove T20 screw and cover cap on the door hinge.
- Page 9 Installation and connection en-us Push up the adjustable part and turn by 60° until Aligning the horizontal gap between the doors and the desired position is reached. drawer: – The door height can be set at 2 levels, adjusted by 1/16" (1.6 mm) in each case. The higher level is followed by the lower.
- Page 10 en-us Installation and connection Loosen the upper screw on both sides. Aligning the drawers Do not remove the screws. Note: You can align the drawer vertically: Open the drawer as far as it will go and remove the bin. Remove the center screw on both sides. Lift the drawer and remove the lower screw on If you want to reset the drawer to the factory Note:...
- Page 11 Installation and connection en-us Loosen the upper and lower screw on both sides. You can adjust the angle of the drawer: Do not remove the screws. Note: Open the drawer as far as it will go and remove the bin. Remove the center screw on both sides.
-
Page 12: Saving Energy
en-us Installation and connection Saving energy If you follow the instructions below, your appliance will use less power. Note: The arrangement of the equipment does not affect the energy consumption of the appliance. Installing the appliance Keep the appliance out of direct sunlight. The appliance needs to cool less frequently at low ambient tempera- tures and therefore consumes less power. -
Page 13: Before Using For The First Time
Installation and connection en-us Before using for the first time Electrical connection Remove information material, adhesive tape and CAUTION protective foil. Remove the power cord from inside the Do not connect the appliance to electronic energy saver plugs. appliance. Clean the appliance. ~ "Cleaning"...
Need help?
Do you have a question about the B36CD and is the answer not in the manual?
Questions and answers