Advertisement
Advertisement
Table of Contents

Related Manuals for ekwb EK-Quantum Scalar Flow Indicator Bottom-Top D-RGB

Summary of Contents for ekwb EK-Quantum Scalar Flow Indicator Bottom-Top D-RGB
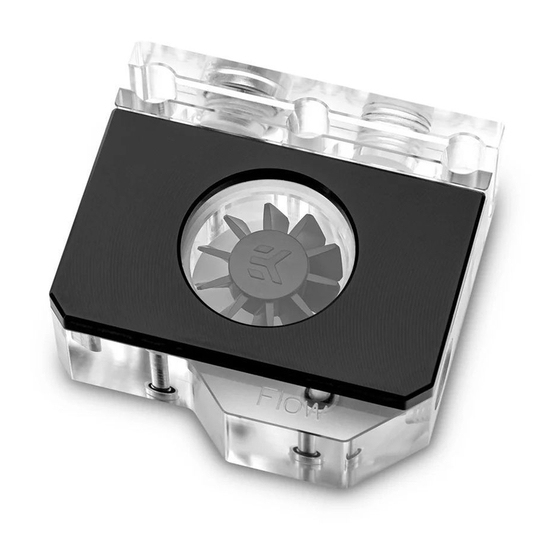
- Page 1 EK-Quantum Scalar Flow Indicator Bottom-Top D-RGB INSTALLATION MANUAL 1st Revision, July 20, 2020...
- Page 2 The following instructions are subject to change without notice. Please visit our website at www.ekwb.com for updates. Before you start using this product, please follow these basic guidelines: Carefully read the manual before beginning with the installation process.
- Page 3 TABLE OF CONTENTS INSTALLING THE EK-QUANTUM SCALAR FLOW INDICATOR TOP-BOTTOM D-RGB CONNECTING THE D-RGB LED STRIP SUPPORT AND SERVICE SOCIAL MEDIA - 3 -...
- Page 4 INSTALLING THE EK-QUANTUM SCALAR FLOW INDICATOR BOTTOM-TOP D-RGB STEP 1 Carefully detach the terminal cover together with LEDs from the GPU terminal. The latest EK water blocks come with no screws – all you have to do is pull the cover away from the terminal. With the older water block series, you may have to unscrew two screws (M4x8) to remove the cover.
- Page 5 STEP 3 Insert the two enclosed O-rings into the appropriate grooves on the backside of the Flow Indicator. O-Rings STEP 3 STEP 4 Use the three enclosed screws to attach the Flow Indicator (together with O-rings) to the water block. Be careful not to use excessive force when tightening the screws (ideal screwing torque is 0.5-0.7 Nm).
- Page 6 STEP 5 Reattach the terminal cover to the Flow Indicator. Be careful not to pinch the cable. STEP 5 STEP 6 Tubing Flow Direction In order to complete the loop, all ports should be used as marked in the picture. Make sure to use the correct inlet and outlet ports. EK EK-Fitting recommends EK Classic and EK Torque series fittings.
- Page 7 CONNECTING THE D-RGB LED STRIP Connect the 3-pin D-RGB LED connector from your Flow Indicator to the D-RGB header on your motherboard or controller. The lights will work if the pin layout on the header is as follows: +5V, Data, Empty, Ground.
- Page 8 SUPPORT AND SERVICE In case you need assistance, please contact: http://support.ekwb.com/ EKWB d.o.o. Pod lipami 18 1218 Komenda Slovenia - EU SOCIAL MEDIA EKWaterBlocks @EKWaterBlocks ekwaterblocks EKWBofficial ekwaterblocks...
Need help?
Do you have a question about the EK-Quantum Scalar Flow Indicator Bottom-Top D-RGB and is the answer not in the manual?
Questions and answers