Advertisement
Quick Links
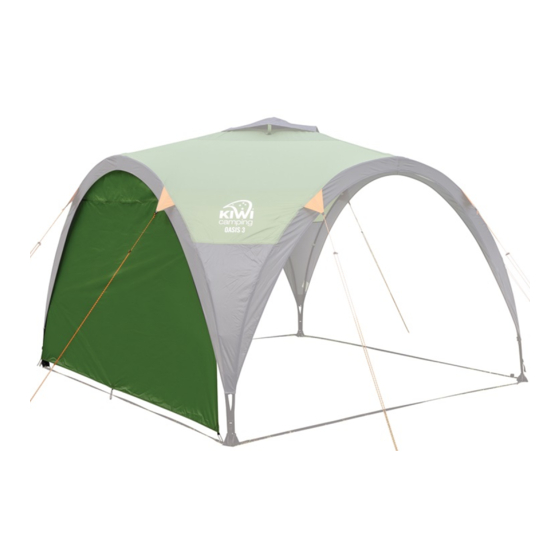
Oasis 3 Shelter
Model No. KC074-822
FIRE SAFETY WARNING
1. KEEP ALL FLAME AND HEAT SOURCES AWAY
FROM THIS TENT FABRIC!
2. Never place your stove, campfire, heater or
other flame source in or near your shelter.
3. Never cook, light or refuel a stove or other heat
source in or near your shelter.
Do not operate gas appliances in your shelter.
4. Do not hang lights or heating devices near the
walls of your shelter.
5. Maintain adequate ventilation inside your
shelter at all times.
6. Familiarise yourself with the fire safety rules
and regulations of the grounds where you are
camping.
7. Keep children away from all heat and fire
sources.
8. Do not store flammable liquids inside your
shelter.
9. Do not smoke in your shelter.
10. Extinguish or turn off all appliances, fires and
heat sources before going to sleep.
11. Never use aerosols or insect repellent sprays
in or around the fabric of your shelter. It can
damage the water proofing and is not covered
by our warranty.
Your shelter includes:
16 x pegs
8 x ropes
4 x black STEEL poles (5240mm x 19mm)
4 x black STEEL poles (1470mm x 19mm)
1 x centre hub (connector)
4 x pad feet
PITCHING INSTRUCTIONS
1. Select a dry, level site and clear the ground of any
sharp objects. Remove the shelter from its carry
bag, untie fabric ties and unroll the shelter.
2. Assemble the peak connector poles.
3. Insert the ends of the peak connector poles into
the centre hub.
Center Hub
4. Partially assemble the four leg poles with ridge
hub.
Note: Do not assemble the last pole on each side
of the ridge hub at this time.
Ridge Hub
5. Insert end of peak connector pole into the ridge
hub. Repeat for the remaining three leg poles with
ridge hub.
Note: Make sure metal pin locks into slot on top of
ridge hub, you may have to twist peak connector
from side to side.
Slot
Metal Pin
Peak Connector
Pole
6. Unfold canopy and pull over frame. Fold back one
flap on canopy to allow easy access to inside of
shelter frame and underside of canopy.
Advertisement

Summary of Contents for Kiwi Camping Oasis 3
- Page 1 1. Select a dry, level site and clear the ground of any hub. Repeat for the remaining three leg poles with sharp objects. Remove the shelter from its carry Oasis 3 Shelter ridge hub. bag, untie fabric ties and unroll the shelter.
- Page 2 11. Attach hook end of canopy tension strap to square 14. Fine tune the canopy so it remains taut and slot on the pad feet. Repeat for the remaining positioned correctly over the frame. 7. Locate the hook and loop three pad feet.
- Page 3 SHELTER CARE INSTRUCTIONS IMPORTANT: WARRANTY INFORMATION PLEASE READ ALL OF THE SHELTER CARE 1. Under certain conditions (cold weather, high The warranty period for this shelter is found on INFORMATION AND INSTRUCTIONS INCLUDED WITH humidity etc.) condensation may form on the the packaging and full details are on the Kiwi THIS SHELTER BEFORE USING YOUR SHELTER FOR inside of your shelter.


Need help?
Do you have a question about the Oasis 3 and is the answer not in the manual?
Questions and answers