Table of Contents
Advertisement
Quick Links
IMPORTANT! READ AND FOLLOW THESE INSTRUCTIONS
CAREFULLY AND KEEP FOR FUTURE REFERENCE
make sure you give this instruction to the new owner.
WARNING
WARNING - Incorrect installation can be dangerous;
WARNING - Do not use the safety barrier if any components are damaged or missing;
WARNING - The safety barrier must not be fitted across windows;
WARNING - Never use without mounting cups;
This safety barrier is for domestic use only;
This safety barrier is suitable for use with children up to 24 months of age;
Never use with a child able to climb or dislodge/open gate;
The surfaces that the gate is to be fixed to must be suitable for the purpose and
must be structurally sound;
If the barrier is to be used at the top of the stairs, it should not be positioned
below top level;
If the safety barrier is used at the bottom of the stairs, it should be positioned
at the front of the lowest tread possible;
This gate has an automatic close system;
This gate is intended for indoor use and is not to be exposed to outdoor elements;
Install this gate away from heaters and other sources of heat.
INSTRUCTIONS
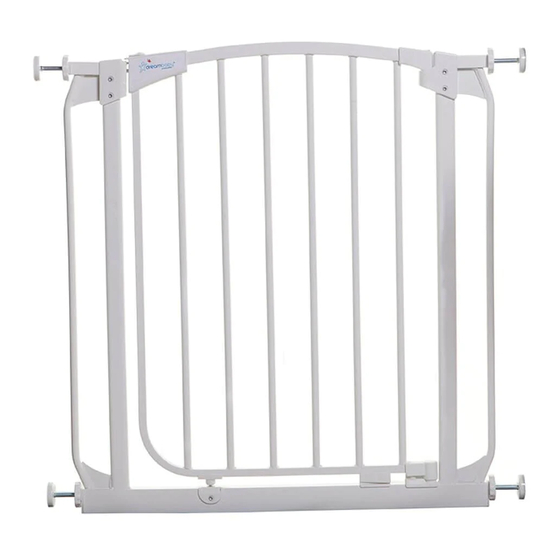
Chelsea Auto-Close Security Gate
With Stay-Open Feature
If you sell or give away this product,
This safety gate complies with EN1930:2011
F160/F190 fits openings 71-82cm (28-32in).
1
F160(N) B/W
F190(N) B/W
Advertisement
Table of Contents

Subscribe to Our Youtube Channel
Related Manuals for dreambaby Chelsea


Summary of Contents for dreambaby Chelsea
- Page 1 INSTRUCTIONS F160(N) B/W F190(N) B/W Chelsea Auto-Close Security Gate With Stay-Open Feature IMPORTANT! READ AND FOLLOW THESE INSTRUCTIONS CAREFULLY AND KEEP FOR FUTURE REFERENCE If you sell or give away this product, make sure you give this instruction to the new owner.
-
Page 2: Parts List
PARTS LIST NOTICE TO CUSTOMERS THE GAP IN THIS GATE IS NOT A FAULT. THE GAP WILL DISAPPEAR WHEN THE GATE IS CORRECTLY INSTALLED. Gate Panel PLEASE INSTALL GATE ACCORDING TO MANUFACTURER’S INSTRUCTIONS. Upper Locking Set Release Switch with Latch Right Upper Corner Tension Knobs Bolts with Rubber Pads... - Page 3 To use with Gate Extensions. Extension Frame Gate Frame Tension Knob with Rubber Pads Extension Pin Tension Bolt Insert Extension pins into the holes on the outside of the Gate Frame (2A / 2B). Next, slip Extension Frames over the Pins. Finally, slide the Tension Knobs and Bolts with Rubber Pads.
- Page 4 To Install, place the gate in the opening so that the bottom of the Gate Frame is completely flat on the floor (3A), and it is perpendicular to the openings and the floor (3B & 3C). For use on stairs (3E). Then fasten the Mounting Cups to the wall with screws or double-sided adhesive tape (3D).
- Page 5 Partially slide the Bolts with Rubber Pads and Tension Knobs outwards from the Gate Frames / Extension Frames into Mounting Cups. Tighten both of the bottom Tension Knobs (5A) by turning them clockwise at the same time (5A & 5B). NOTE: Make sure the bottom of the gate frame Tighten remains completely flat on the floor.
-
Page 6: Operation
OPERATION To open the gate: Slide the Gate Release Switch (7A). Lift the Gate Panel upward (7B). Gate swings open in both directions (7C). Slide Gate opens in Lift Gate Panel both directions Gate Release up to open Switch To close the gate: Release the Gate and it will swing closed automatically. Try this action several times and make sure: •... - Page 7 For easy walk through use Smart Stay Open System: To engage the Smart Stay Open System swing gate in chosen direction to its maximum opening (9A). Gate will stay open. Close as required. Caution: When using the Stay Open System, the automatic closing feature is not in operation. Keep gate closed when children are present.
-
Page 8: Maintenance And Care
• Indicator Lines must be correctly aligned. Keep 1mm (0.04in) gap. • Any additional and replacement parts should be obtained from Tee-Zed Products. CONTACT DETAILS Tee-Zed acknowledges that its customers may be entitled to www.dreambaby.com.au Tee-Zed Products Pty Ltd, statutory consumer guarantees and does not seek to exclude www.dream-baby.co.nz PO Box 2022, Bondi Junction NSW 1355 or limit them.
Need help?
Do you have a question about the Chelsea and is the answer not in the manual?
Questions and answers