Advertisement
Quick Links
Advertisement

Related Manuals for Detech EDS GOLD CATCHER


Summary of Contents for Detech EDS GOLD CATCHER
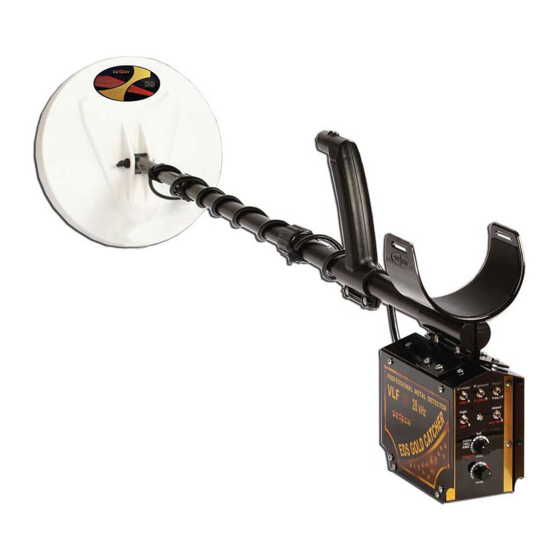
- Page 1 EDS GOLD CATCHER...
-
Page 2: Assembling Your Detector
ASSEMBLING YOUR DETECTOR Your detector is equipped with an entirely new type telescopic shaft. It consists of three parts: upper, middle and lower shaft. The lower shaft is made of fiber glass enforced polymer. And the middle and upper shafts are of alluminium alloy, which makes them extremely strong, and very light at the same time. - Page 3 ASSEMBLING YOUR DETECTOR 1. Unscrew the num-lock ring of the upper shaft and pull out the middle shaft (it will move together with the lower shaft and the coil). Look for the coincidence of the white lines of the upper and the middle shaft. We recommend to pull out until the snap button clicks into the second adjustment hole of the upper shaft.
- Page 4 ASSEMBLING YOUR DETECTOR The length of the handling should be adjusted in a way that the detector does not become tiring or uncomfortable after long use. The detector grip should rest in your hand with your arm relaxed, with the shaft extending out in front of you.
- Page 5 AUTO MODE OF OPERATION First we’ll introduce the easiest mode of operation of the detector. Further in the instructions we’ll call it AUTO mode. The important thing for this mode is that there would not be necessary to make manual ground adjustments to the different ground conditions.
-
Page 6: Manual Mode Of Operation
MANUAL MODE OF OPERATION The AUTO mode of operation is the easiest one, but it does not give you the best performance as sensitivity and depth of the detector. In the chapter below we’ll introduce the Manual mode of operation. This mode of operation is recommended for very experienced detector operators. - Page 7 AUTO MODE OF OPERATION IMPORTANT NOTE: When operating on very heavy and wet grounds, especially if using the bigger sized coils (10" and 12.5") while passing the coil over an open hole in the ground, even if there is no metal in it, is possible to hear false signal, as if in the hole there was a metal target.
- Page 8 MANUAL MODE OF OPERATION Continue with this, and on normal grounds at the 7th -8th clockwise turn towards the “-” position of the GND adjust control (Figure 7 - rear panel) the threshold tone won’t change while lowering the coil to the ground.
- Page 9 MANUAL MODE OF OPERATION The affect of the hole When you operate the detector on heavy and wet soils conditions, especially when you use bigger sized coil, while passing over an open hole you’ll hear audio signal from the detector, even if in the hole there is no any metal object.
- Page 10 DISCRIMINATION The disc control is enabled when you switch the all metal/disc. to the disc. position .The fully counterclockwise position is marked in red - nugget. In this position you won’t have any audio discrimination of metallic objects. You should know, that in heavily mineralized ground tiny pieces of gold can sometimes look like iron to the metal detector, and small iron pieces can look like gold.
- Page 11 NUGGET HUNTING The easiest mode of operation for nugget hunting is the Auto mode (see the AUTO MODE of operation chapter). Have in mind that the disc. control should be in the nugget red zone(Figure 9). In this position, as in the AMD zone you won’t have audio discrimination of the metallic objects in the ground.
- Page 12 BEACH HUNTING For beach hunting we recommend the operation of the detector in its AUTO mode of operation. Lets start with the beach hunting on normal dry beaches. These beaches are the easiest for searching, and allow the highest increase of sensitivity level, even switching to high of the high/low switch. Of course, if there are no strong electromagnetic fields nearby.
- Page 13 CONTROLS The sens control is often thought of as a depth control and it is, but it can also be used to make the detector more stable if interference caused by ground mineralization or electrical fields are experienced. The sens control works in conjunction with the adjustments of the high/low switch.
- Page 14 CONTROLS The detector has two sound modes - one tone and mixed. When the relevant switch is on its one tone position, when the detector registers a target, no matter its conductivity, you’ll hear it with one and the same tone. When the switch is on its mixed position, the detector separates the metals by sound- ferrous - which will be registered with a low pitched tone, and non-ferrous- which will be registered with higher pitched tone.
- Page 15 FALSE SIGNALS AND SOLUTIONS A false signal occurs when something sounds like a good target, but it is not. These signals are produced by undesirable or discriminated targets like large pieces of iron, hot rocks or by electrical pulse-type electromagnetic interference.
- Page 16 SEARCHCOILS Your detector is equipped with 6" and 10"DD closed design searchcoils. They have very good ground balance, stable operation, excellent depth of penetration, very good pinpointing, accurate target identification, excellent sensitivity, high temperature stability. The closed design allows easy sweeps close over the ground.
- Page 17 BATTERIES Your detector is standardly powered by 6 Ni-MH batteries, size AA (R6),1800 mAh, which allow you to use the detector for 20-30 hours. The time of use depends on how many signals your detector will locate and process and whether you use headphones. The use of headphones will increase the time of battery use.
-
Page 18: Specifications
SPECIFICATIONS Operating Frequency ....Freq.1 - 28.024 kHz; Freq.2 - 27.910 kHz Audio Frequency ............simple tone - 570 Hz low pitch tone - 250 Hz high pitch tone - 1100 Hz Weight (with batteries included)............1600 g Length (extended) ..............57"(1450 mm) (unextended).............. -
Page 19: Maintenance
MAINTENANCE Your detector is a high quality electronic instrument. Though ruggedly constructed and designed to withstand the normal treasure hunting demands proper care is essential. Operate your detector as recommended in this instruction manual. Remove the batteries from the detector if you are not going to use it for extended period of time.
Need help?
Do you have a question about the EDS GOLD CATCHER and is the answer not in the manual?
Questions and answers