Advertisement
Quick Links
To our valued customer and music enthusiast,
With the purchase of your DRIVE I – MK 2 from ACCUSTIC ARTS
incorporates the most modern technology to achieve excellent sound and quality. To make sure that you
have pleasure for as long as possible with your CD-Transport we kindly ask you to thoroughly read this
instruction manual through to the end.
We wish you many enjoyable hours of listening to music with your new unit.
SCHUNK AUDIO ENGINEERING – The home of ACCUSTIC ARTS
1 DRIVE I – MK 2 highlights
Premium CD drive in top-loader design
CD positioning in drive using exceptionally precise clamper, whereby the integrated magnet inside
the clamper guarantees ideal pressing and smooth running
CDM Pro 2FL – drive module with cast metal frame and involved mechanical decoupling
Generously dimensioned magnetically shielded toroidal core transformer;
75 VA (watts) maximum transformer power
4 separate generously dimensioned power supply units for laser control, digital signal processing,
display control and display heating
Extremely fine digital output stage with the following-features:-
- extra large power supply unit with voltage stabilisation
- jitter minimising output stage
- professionally designed balanced output (XLR) with HF-transformer
- professionally designed unbalanced output (RCA) with HF-transformer
- professionally designed unbalanced output (BNC) with HF-transformer
Resonance minimising aluminium housing
Shielded separate compartment in housing inside area for drive mechanism, mains power
components, digital signal processing and display control
Drawer with indirect blue lighting for logo (lighting can be switched off)
Standby function
ACCUSTIC ARTS
ACCUSTIC ARTS
®
system remote control SRC II
®
DRIVE I – MK 2 is „Handmade in Germany"
®
you have opted for a product which
®
2
Advertisement

Related Manuals for Accustic Arts DRIVE I MK 2


Summary of Contents for Accustic Arts DRIVE I MK 2
- Page 1 To our valued customer and music enthusiast, ® With the purchase of your DRIVE I – MK 2 from ACCUSTIC ARTS you have opted for a product which incorporates the most modern technology to achieve excellent sound and quality. To make sure that you have pleasure for as long as possible with your CD-Transport we kindly ask you to thoroughly read this instruction manual through to the end.
- Page 2 WARNING: CAUTION: TO REDUCE THE RISK OF FIRE OR RISK OF ELECTRIC SHOCK ELECTRIC SHOCK DO NOT EXPOSE DO NOT OPEN THIS PRODUCT TO RAIN OR MOISTURE The lightning flash with arrowhead symbol, within an equilateral triangle, is intended to alert the user to presence of uninsulated “dangerous voltage” within the product’s enclosure that may be of sufficient magnitude to constitute a risk of electric shock to persons.
- Page 3 2 Important safety instructions Read these instructions. Keep these instructions. Follow all instructions. Do not use this appliance near water. Never use this appliance near hot surfaces. Never use this appliance outside and always place it in a dry environment. ...
- Page 4 1 x AC mains cable (type depends on your country) ® system remote control – SRC II 1 x ACCUSTIC ARTS 2 x batteries for the remote control 1 x replacement fuse (type depends on your mains voltage) 4 Positioning The DRIVE I –...
- Page 5 Pin 3: Inverting (cold; 180°) These pin assignments comply with the standard adopted by the Audio Engineering Society. Refer to the operating manual of your other units to verify that the pin assignments of their connectors correspond to ® your ACCUSTIC ARTS unit.
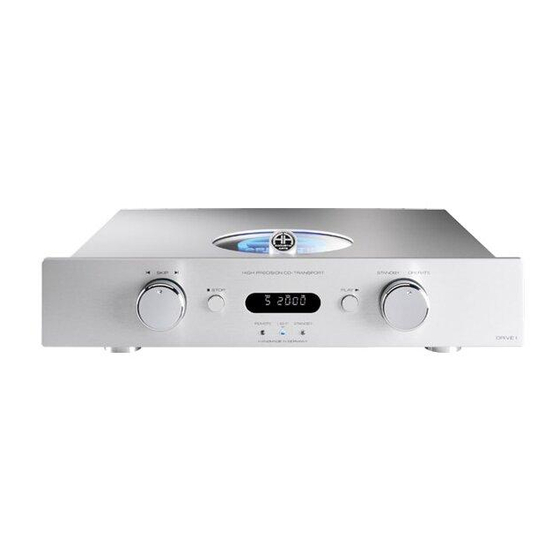
- Page 6 Fig. 2: Front view SKIP : Rotary switch for track selection I : go to the next/later track I : go to the current or previous track STOP : Push-button to stop the running disc REMOTE: IR receiver for remote control LIGHT: Switchable Multifunction component: switch &...
- Page 7 ® ), use a digital output of the DRIVE I – MK 2 and connect this to the corresponding ACCUSTIC ARTS digital input of the D/A converter. You can use these digital outputs also to connect a recording device, e.g. a mini disc or CD recorder.
-
Page 8: Important Safety Precautions
6 Reproduction of a CD 6.1 Start-up and loading a CD First of all switch-on the device by pressing the mains power switch 2 and set the rotary switch 10 to the position OPERATE and the blue LED 7 in the middle lights up. The laser unit of the DRIVE I – MK 2 now initialises for approx. - Page 9 6.3 Multifunction component: switch & LED This multifunction component is a switch with an integrated blue LED 7 LIGHT: 1. Function = switch: please press the switch to turn off/on the drawer lighting. 2. Function = LED: When the LED lights the unit is completely turned-on and the rotary switch 10 is set to position OPERATE.
- Page 10 I M P O R T A N T ! Program mode PROG SHIFT VOLUME Selection of additional functions: Controls the volume of other ACCUSTIC ARTS 1.) Push SHIFT -key; function remains units, e.g. POWER I active for 10 seconds after every...
- Page 11 . 6.5.5 VOLUME Use the VOLUME key to adjust the volume of an ACCUSTIC ARTS® integrated amplifier (e.g. POWER I or preamplifier (e.g. PREAMP I). Please note: The DRIVE I – MK 2 itself is not equipped with a volume control.
-
Page 12: Total Time
6.6.1 REP (= REPEAT) Press SHIFT once (red LED lights up) Press the REPEAT key to activate the repeat mode and in the display REPEAT appears. You can repeat tracks in every mode, i.e. also in SHUFFLE or PROGRAM mode. ... -
Page 13: Troubleshooting
7 Looking after your equipment ® The DRIVE I – MK 2 from ACCUSTIC ARTS does not require special treatment in excess of the usual care taken with high quality devices. Clean the housing with a dry or slightly moistened cloth. Please do not use any aggressive detergents or detergents which contain silicon. - Page 14 Malfunction Playback of the CD is bad or is continuously interrupted Cause 1 Due to finger prints the CD is badly soiled, therefore the error correction has to interfere all the time or the error on the CD cannot be corrected. Solution Clean the CD carefully with a soft cloth Cause 1...
Need help?
Do you have a question about the DRIVE I MK 2 and is the answer not in the manual?
Questions and answers