Table of Contents
Advertisement
Quick Links
Thank you for purchasing this quality product.
Be sure to check all packing material carefully for
small parts which may have come loose inside
the carton during shipment.
Count all parts and hardware, compare with the parts
list below to be sure all parts are present.
PARTS
ITEM
DESCRIPTION
1
Pedestal
2
Leg
3
Table Top
4
Mounting Base
HARDWARE
ITEM
DESCRIPTION
A
Flat Washer
B
Bolt
(IN 697W HARWARE
C
Wrench
PACKAGE)
D
Screw
(IN 697W HARWARE
E
Allen Key
PACKAGE)
F
Adjustable Glide
3
4
STEP 2
Table Locks must be in the locked position at all times unless in use.
Tighten screws periodically. With use, screws will become loose.
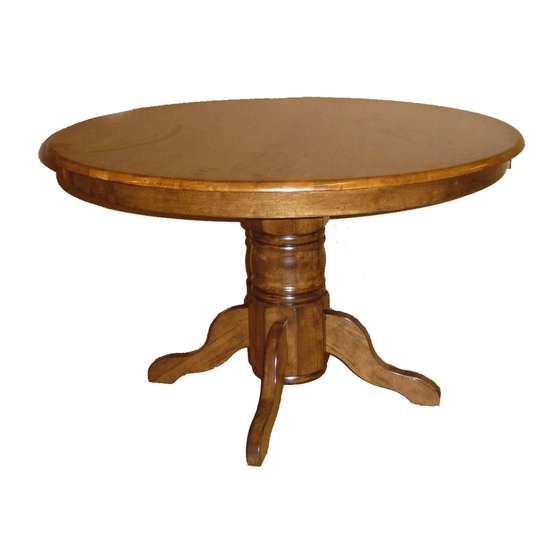
48"– 66" Round Extension Table Top
& 697W1 Pedestal Base for 696W1
QTY
1
4
1
1
QTY
8
8
1
4
1
4
D
Check tightness of all screws every 6-8 weeks.
ASSEMBLY INSTRUCTIONS
For information or replacement parts, please contact
Whittier Wood Products customer service directly by calling
toll free at 800-653-3336
or writing to P.O. Box 2827 • Eugene, Oregon - USA 97402
We will replace any parts which are defective, missing,
or damaged during assembly.
Business hours: Mon.-Fri. 7:00 to 5:00 Pacific time.
A message can be left 24 hours, 7 days a week.
2
STEP 1
Place all wooden parts on a clean and
flat, soft surface to prevent them from
E
being scratched.
3
696W1
C
A
B
F
1
1
2
STEP 3
Rev. 2/05
Advertisement
Table of Contents

Related Manuals for Whittier Wood Round Extension Table Top


Summary of Contents for Whittier Wood Round Extension Table Top
- Page 1 48"– 66" Round Extension Table Top & 697W1 Pedestal Base for 696W1 For information or replacement parts, please contact Whittier Wood Products customer service directly by calling Thank you for purchasing this quality product. toll free at 800-653-3336 Be sure to check all packing material carefully for or writing to P.O.
- Page 2 This wood product has not been coated with any type of clear sealer or finish. CHOOSING THE FINISH: 3. ALWAYS follow the stain manufacturer’s instructions. Parawood 1. Choose a fi nish that will meet your expectations for the product you are fi nishing. Are you matching existing furniture or do you is a porous hardwood and often looks best when following the want a “natural”...
Need help?
Do you have a question about the Round Extension Table Top and is the answer not in the manual?
Questions and answers