Weber GENESIS II Owner's Manual
Hide thumbs
Also See for GENESIS II:
- Assembly manual (109 pages) ,
- Owner's manual (56 pages) ,
- Manual (28 pages)
Table of Contents
Advertisement
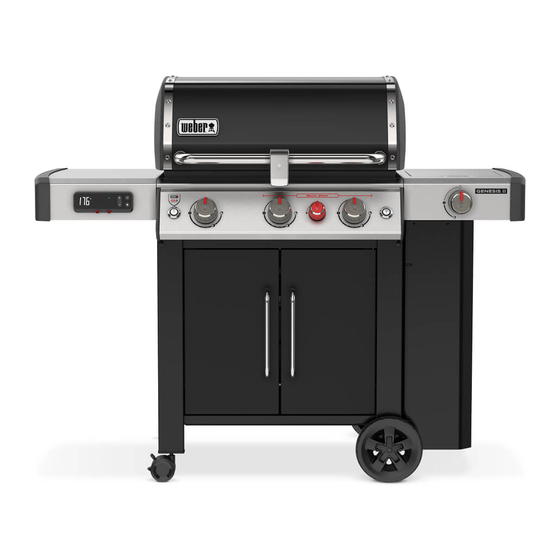
EX-335 • SX-335
REGISTER TODAY.
We are so glad that you have joined us on the journey to barbecuing greatness. Register
your grill and gain access to fun and engaging WEBER information, including tips, tricks
and how to get the most out of your barbecuing experience.
PHONE
Keep this Owner's Manual for future reference, thoroughly read through it, and
if you have any questions please contact us today.
APP
EMAIL
weber.com
53112
082820
enUS
Advertisement
Table of Contents


Need help?
Do you have a question about the GENESIS II and is the answer not in the manual?
Questions and answers