Advertisement
Printed in Mexico
. . . . . . . . . . 2, 3
Care and Cleaning
of the Washer. . . . . . . . . . . . . . . . . . . . 13
Features . . . . . . . . . . . . . . . . . . . . . . . . . . 12
Loading and Using
the Washer . . . . . . . . . . . . . . . . . . . . . . 11
Operating instructions . . . . . . . . .4-10
Installation Instructions
Troubleshooting Tips
. . . . . 19-24
Consumer Support
Consumer Help Indicator . . . . . . . . . 10
Consumer Support. . . . . . . . . . . . . . . . 26
Parts and Accessories. . . . . . . . . . .3, 26
Warranty . . .
.
. . . . . . . . . . . . . . . . . . . . . . 25
Write the model and serial
numbers here:
Model # _____________
Serial # ______________
You can find
them under
the lid of the
washer.
Installation Instructions
. 14-18
English/Français/Español
Owner's Manual &
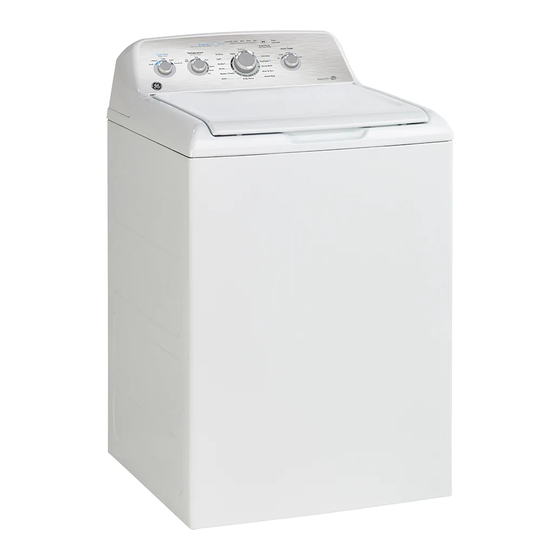
GTW223
GTW331
GTW451
GTW490
GTW550
GTW580
233D2527P004 R.1
29-6395
02-21
Advertisement


Need help?
Do you have a question about the GTW223 and is the answer not in the manual?
Questions and answers
I have a new GE top loading washing machine model GTW223BMR0WW. I have theh owner's manual but it's one manual for several similar machines. I don't have a temperature button and it looks like it depends on the load. I have been searching on different sites to see if anyone could help me figure out the temperature setting. I only have two buttons on the machine. I usually only wash with cold water
The available temperature settings on the GE top-loading washing machine model GTW223BMR0WW are:
- Hot
- Warm
- Cool
- Cold
- Tap Cold
This answer is automatically generated
How do I know what the water temperature will be with the load settings. They're is no temperature setting on this model.
For the GE GTW223, the water temperature is determined by the settings you choose and features used:
1. When using the Stain PreTreat feature, the washer automatically selects an initial water fill temperature based on the type of stain. For example, cool or warm water is used for stains like tomato sauce, dirt, or grass.
2. When hot wash is selected, the water delivered to the washer should be between 120°F to 150°F (50°C to 66°C).
3. If you use Precise Fill, the washer automatically adjusts the water amount (not temperature) based on load size and type. You can still select the wash temperature separately based on the cycle.
To control water temperature, select the appropriate wash cycle and options like Stain PreTreat or hot wash.
This answer is automatically generated