Table of Contents
Advertisement
Duct Mount
Atomizing Humidifier
Mister 50 (24V)
Mister 50-1
Manual for:
• Installation
• Operation
• Maintenance
CAUTION: Read installation,
operation, and maintenance
instructions carefully for safe
operation. Exercise the usual
precautions when working
with electricity.
Table of Contents
Introduction ........................................1
Specifications ......................................1
Capacity Selection Guide ..................2
Output Capacity ..................................3
Location Selection ........................4
Physical Installation ......................5
Electrical Installation ....................7
Start Up ........................................8
Operation ..........................................9
To Clean and Inspect ..................10
To Check for Leaks......................10
To Clean Spray Nozzle................11
To Clean Solenoid Valve ............12
Unit Diagram and Parts List ............13
Warranty ..............................Back cover
252903-001 7/16/04
Advertisement
Table of Contents

Related Manuals for Fedders Herrmidifier Mister 50


Summary of Contents for Fedders Herrmidifier Mister 50
-
Page 1: Table Of Contents
Duct Mount Atomizing Humidifier Mister 50 (24V) Mister 50-1 Manual for: • Installation • Operation • Maintenance CAUTION: Read installation, operation, and maintenance instructions carefully for safe operation. Exercise the usual precautions when working with electricity. Table of Contents Introduction ...1 Specifications ...1 Capacity Selection Guide ...2 Output Capacity ...3... -
Page 2: Introduction
Introduction Introduction The benefits of a properly humidified environment (35- 50% Relative Humidity) are many. They include both personal comfort as well as the preservation of furniture, draperies, carpets, wooden floors and cabinets, paintings, pianos, etc. Your home will be more comfortable at a lower temperature (i.e.: 68°... -
Page 3: Capacity Selection Guide
Air Tightness of Home Sq. Footage of Tight Home Home (GPD) 1000 1500 2000 2500 3000 10.0 4000 14.5 The above calculations are for reference only and are based on the following: • Inside temperature 70° F/35% Relative Humidity • Outside Temp 20° F /70% Relative Humidity •... -
Page 4: Output Capacity
Output Capacity Output Capacity Increasing or decreasing the nozzle size or water pressure to the humidifier can vary the output capacity of this humidifier. It is recommended that the humidifier not be used at water pressures below 40 PSI, otherwise, the mist may be affected. The following chart illustrates the capacity of different nozzles at varying water pressures. -
Page 5: Installation Location Selection
Selecting a Location for the Unit When selecting a location for the installation of your humidifier, certain conditions must be met for its proper operation. The recommended location for this humidifier is on the supply plenum, approximately 3” downstream of the furnace. In narrow plenum arrangements, the humidifier should be mounted on the narrow side of the duct. -
Page 6: Physical Installation
Installation Physical installation Remember to select a location that is readily accessible for periodic inspection and cleaning of your humidifier. 1. Read the instructions carefully prior to installing this product to ensure safe operation. Failure to follow these instructions could damage the humidifier or cause a hazardous condition. - Page 7 16. Install the saddle valve (from parts bag) per instructions printed on valve packaging. 17. Place the compression nut on one end of the water tubing, with the threads facing toward the tubing end. 18. Slide the Delrin sleeve (from parts bag) over the tubing with the short beveled end toward the nut.
-
Page 8: Electrical Installation
Installation ELECTRICAL INSTALLATION This humidifier is intended to be wired directly to the integrated control panel on your furnace. The electrical tap will provide power to the humidifier whenever the circulating air blower is in operation. Read the instructions in the furnace installation manual carefully before attempting installation or operation of the humidifier. -
Page 9: Start Up
Start Up 1. Adjust the humidistat to the ON position and turn the furnace on. 2. Adjust the house thermostat to cause the furnace to operate. The burner and blower should turn on BEFORE the humidifier. 3. The solenoid valve will make an audible click when it operates, either on or off. -
Page 10: Operation
Operation Operation of Humidifier Your atomizing mister type humidifier operates by dispersing a fine mist into the warm air plenum of your furnace. The water is then evaporated and carried into the home by the furnace air flow. This humidifier is recommended for areas where water mineral content is low. -
Page 11: Maintenance To Clean And Inspect
Like your heating system and air conditioning unit, periodic maintenance and cleaning are required to ensure the safe and efficient operation of your humidifier. To improve the efficiency of your humidifier, and to reduce the possibility of a health hazard, it is recommended that you take the following precautions: •... -
Page 12: To Clean Spray Nozzle
Maintenance If the power to the solenoid valve coil is correct, the following symptoms indicate that the spray nozzle requires cleaning: • Larger spray pattern • Non symmetrical spray pattern • Constant water stream • Not spraying water To Clean the Spray Nozzle 1. -
Page 13: To Clean Solenoid Valve
If the power to the solenoid valve coil is correct, the following symptoms indicate that cleaning the solenoid vavle is required: • Sluggish valve operation • Excessive noise • Constant water spray • Streaming water To clean the solenoid valve: 1. -
Page 14: Unit Diagram And Parts List
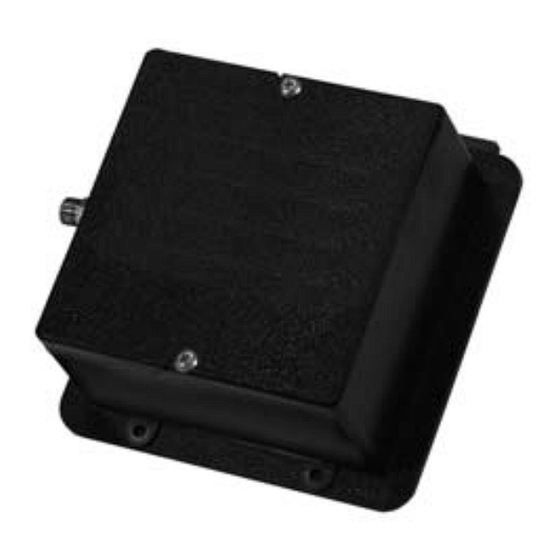
Unit Diagram Humidifier... -
Page 15: Parts List
Assembly Part Number 351367-101 Item Descripton Drip Sleeve Nozzle O-Ring Adapter Nipple Slide Case Thermostat Solenoid (24 volt) Valve Assembly Solenoid (120 volt) Valve Assembly Street Elbow Adapter, Brass Filter, Conical Cover Humidistat 24 volt (not shown) Humidistat 120 volt (not shown) Plastic Tubing 1/4”... -
Page 16: Warranty
CareCo Service Dept., 415 Wabash Ave., P.O. Box 200, Effingham, Illinois, 62401, or call 1-866-829-2440 or email fiaqcustomerservice@fedders.com. Humidifiers which have been installed or become part of real estate cannot be returned. CareCo will receive, freight prepaid, only removable parts or components of such defective humidifiers.
Need help?
Do you have a question about the Herrmidifier Mister 50 and is the answer not in the manual?
Questions and answers