Table of Contents
Advertisement
Quick Links
Advertisement
Table of Contents

Related Manuals for AEG LAVATHERM 55370AH3


Summary of Contents for AEG LAVATHERM 55370AH3
- Page 1 User Manual LAVATHERM 55370AH3 Tumble Dryer...
-
Page 2: Table Of Contents
14. INSTALLATION......................20 FOR PERFECT RESULTS Thank you for choosing this AEG product. We have created it to give you impeccable performance for many years, with innovative technologies that help make life simpler features you might not find on ordinary appliances. Please spend a few minutes reading to get the very best from it. -
Page 3: Safety Information
ENGLISH SAFETY INFORMATION Before the installation and use of the appliance, carefully read the supplied instructions. The manufacturer is not responsible if an incorrect installation and use causes injuries and damages. Always keep the instructions with the appliance for future reference. - Page 4 Read it carefully before installation (Refer to the Installation leaflet). The appliance can be installed as freestanding or • below the kitchen counter with correct space (Refer to the Installation leaflet).
-
Page 5: Safety Instructions
ENGLISH be washed in hot water with an extra amount of detergent before being dried in the tumble dryer. Items such as foam rubber (latex foam), shower caps, • waterproof textiles, rubber backed articles and clothes or pillows fitted with foam rubber pads should not be dried in the tumble dryer. - Page 6 • This appliance complies with the • Do not use water spray and steam to E.E.C. Directives. clean the appliance. • Clean the appliance with a moist soft 2.3 Use cloth. Only use neutral detergents. Do not use abrasive products, abrasive...
-
Page 7: Product Description
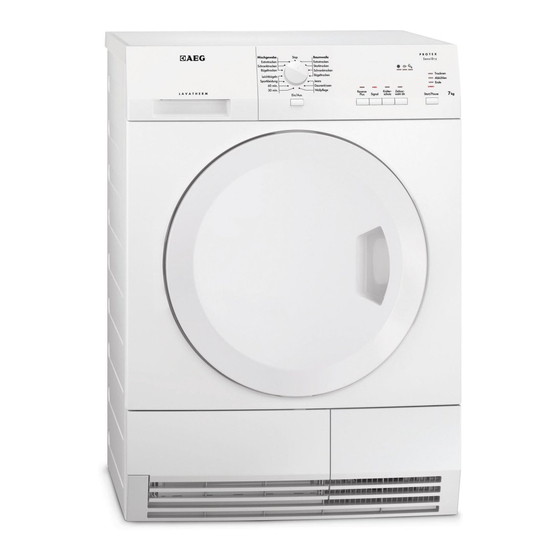
ENGLISH 3. PRODUCT DESCRIPTION Water container Adjustable feet Control panel Heat exchanger door Appliance door Heat exchanger cover Filter The knob to lock the heat exchanger cover The button to open the heat exchanger door Rating plate Airflow slots The load door can be installed by the user in the opposite side. -
Page 8: Accessories
4. ACCESSORIES 4.1 Stacking kit The accessory for through draining of the condensed water into a basin, siphon, gully, etc. After the installation, the water container is drained automatically. The water container must stay in the appliance. The installed hose must be on the height from minimum of 50 cm to maximum of 1 m from floor level. -
Page 9: Control Panel
ENGLISH 5. CONTROL PANEL Programme dial Heat exchanger - heat exchanger check On/Off button Water container - drain the water Reverse Plus button container Buzzer button Start/Pause button Anti-crease button Cycle phase indicators: Drying Delay Start button Cooling Indicators: Filter - clean filter 6. - Page 10 Programmes Properties / Fabric mark Load Leisure clothing such as jeans, sweat-shirts of different material 7 kg Jeans thicknesses (e.g. at the neck, cuffs and seams). To dry one or two duvet and pil- 3 kg lows (with feather, down or syn- Pillows thetic fillings).
- Page 11 ENGLISH 6.1 Programmes and options selection Options Programmes Reverse Plus Anti-crease Cotton; Extra Dry Cotton; Cupboard Dry + Cotton; Cupboard Dry Cotton; Iron Dry Jeans Pillows Wool Refresh Synthetic; Extra Dry Synthetic; Cupboard Dry Synthetic; Iron Dry Easy Iron Sports Time 60’...
-
Page 12: Options
Energy Programme Spun at / residual humidity Drying time consump- tion Cupboard Dry 1200 rpm / 40% 57 min. 0,64 kWh 800 rpm / 50% 65 min. 0,72 kWh 7. OPTIONS Reverse Plus Anti-crease To dry more lightly the sensitive and Extends anti-crease phase (30 minutes) at temperature sensitive textiles (e.g. -
Page 13: Appliance Door
ENGLISH • If an item has the internal layer made • Use an applicable programme for of cotton, turn it inside out. Make sure cotton jersey and knitwear to prevent that the cotton layer is always external the items to shrink. •... -
Page 14: Hints And Tips
9.7 Starting a programme If the drying cycle is completed, the LED above the Start/Pause button flashes. To start the programme: If the Buzzer option is on, the acoustic signal sounds intermittently for 1 minute. If you do not turn off the appliance, the crease guard phase starts. -
Page 15: Care And Cleaning
ENGLISH the indicator: End is on - the maximum 3. Select 1 of available programmes. dry laundry is set 4. Push at the same time and hold 6. To memorise the setting, push at the Reverse Plus and down the same time the Reverse Plus and Delay Start buttons. -
Page 16: Exchanger Door
11.3 Cleaning the heat exchanger If the indicator Heat exchanger flashes, do the inspection of the heat exchanger and its compartment. If there is a dirt, clean it. To do the inspection: 1. Open the door. Pull the filter. -
Page 17: Airflow Slots
ENGLISH 6. Close the heat exchanger cover. 7. Lock the blockage until it snaps. 8. Put the filter back. 11.4 Cleaning the drum WARNING! Disconnect the appliance before you clean it. Use a standard neutral soap detergent to clean the inner surface of the drum and drum ribs. -
Page 18: Troubleshooting
12. TROUBLESHOOTING Problem Possible cause Remedy The tumble dryer is not connected Connect in at mains socket. Check to mains supply. fuse in fuse box (domestic installa- tion). The loading door is opened. Close the loading door. The tumble dry-... -
Page 19: Technical Data
ENGLISH Problem Possible cause Remedy Too small laundry volume. Do the selection of time pro- gramme. The time value must be related to the load. To dry 1 item or small quantities of the laundry Drying cycle too we recommend to use short times. short. -
Page 20: Installation
Left—on mode power absorption 0,44 W Off mode power absorption 0,44 W Type of use Household Permitted ambient temperature + 5°C to + 35°C Level of protection against ingress of solid IPX4 particles and moisture ensured by the pro-... - Page 21 ENGLISH 15. ENVIRONMENT CONCERNS marked with the symbol with the Recycle the materials with the symbol household waste. Return the product to Put the packaging in applicable your local recycling facility or contact containers to recycle it. Help protect the your municipal office.
- Page 22 www.aeg.com...
- Page 23 ENGLISH...
- Page 24 www.aeg.com/shop...
Need help?
Do you have a question about the LAVATHERM 55370AH3 and is the answer not in the manual?
Questions and answers