Advertisement
Quick Links
Advertisement

Related Manuals for urban ambiance UHP9210


Summary of Contents for urban ambiance UHP9210
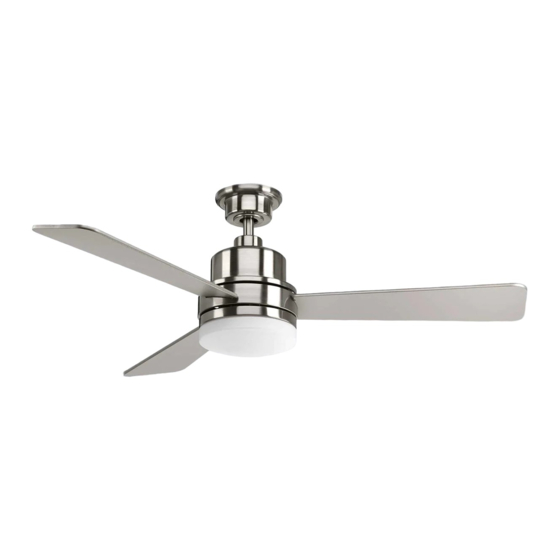
- Page 1 UHP9210 UHP9211 UHP9212...
-
Page 2: Table Of Contents
Safety Rules Unpacking Your Fan Installing Your Fan Making the Electrical Connections Operating Your Fan Care of Your Fan Troubleshooting Specifications Table of Contents... -
Page 3: Safety Rules
READ AND SAVE THESE INSTRUCTIONS To reduce the risk of electric shock, insure electricity Avoid placing objects in path of the blades. has been turned off at the circuit breaker or fuse box To avoid personal injury or damage to the fan and other before beginning. -
Page 4: Unpacking Your Fan
Unpack your fan and check the contents. You should have the following items: Blade attachment hardware 5. Fan Motor Assembly 1. Mounting Bracket (inside canopy) (10 Screws) 6. Blades (3) 2. 4.5” Ball/Downrod Assembly (hanger pin Electrical hardware & Balancing kit 7. -
Page 5: Installing Your Fan
Tools Required Figures 1, 2, and 3 are examples of different ways to mount the electrical box. Phillips screw driver or straight slotted screw driver, adjustable wrench, step ladder, and wire cutters. Figure 3 Mounting Options Note: You may need a longer downrod to maintain proper blade clearance when installing If there isn’t an existing electrical box, then on a steep, sloped ceiling. - Page 6 Hanging the Fan 7. Re-tighten the set screws on the collar on Turn Canopy Ring to Remove top of the motor housing. REMEMBER to turn off the power. Follow 8. Make sure the grommet is properly installed the steps below to hang your fan properly. in the collar cover, then slide the collar cover on the downrod until it rests on the motor NOTE: This fan is recommended for...
- Page 7 Installing Fan to the Electrical Box UL Listed Electrical Ceiling WHEN MOUNTING THE FAN ON A SLOPED Mounting CEILING, THE STANDARD BALL/DOWNROD Bracket MOUNTING METHOD MUST BE USED. THE Washers Hook MOUNTING PLATE MUST BE MOUNTED SO Mounting THAT THE SLOT OPENINGS ARE ON THE Screws LOWER SIDE BY SLIDING THE MOUNTING 120V Wires...
-
Page 8: Making The Electrical Connections
Making the Electrical 3. Secure the UC9031 wall control to the outlet box using the two 6-32” x 3/4” Connections INSTALLATION THIS WALL CONTROL screws provided. REQUIRES THAT THE THREE-CONDUCTOR CABLE WITH GROUND WIRE BE RUN BETWEEN 4. Secure the face plate over the wall control REMEMBER to disconnect the power. - Page 9 Finishing the Fan Attaching the Fan 3. Make sure that canopy is tightened securely to ceiling mounting bracket and that the Blades Installation ceiling mounting bracket is tightened securely to the electrical box. 1. Insert the blade through the slot cut-off in STANDARD CEILING MOUNTING 4.
- Page 10 Installing the Light Kit Light Kit Fitter Assembly/ Glass Adaotor Bowl White CAUTION - To reduce the risk of electrical Blue Molded shock, disconnect the electrical supply circuit Adaptor Plugs to the fan before installing the light kit. Black White THE GLASS IS FRAGILE, USE CARE Light Kit Assembly...
-
Page 11: Operating Your Fan
Speed settings for warm or cool weather depend on factors such as room size, ceiling height, number of fans, and so on. The fan shipped from the factory with the reversing switch positioned to circulate air Warm weather - (Forward) A downward air downward. -
Page 12: Care Of Your Fan
Troubleshooting Care of Your Fan Here are some suggestions to help you Problem Solution maintain your fan. Check main and branch circuit fuses or breakers Fan will not start 1. Because of the fan’s natural movement, Check line wire connections to the fan and switch wire connections in some connections may become loose. -
Page 13: Specifications
FAN POWER AIRFLOW CONSUMPTION AIRFLOW GROSS CUBE EFFICIENCY SPEED VOLTS SIZE WEIGHT WEIGHT FEET (WITHOUT LIGHTS) (HIGHER IS BETTER) WATTS CFM/WATT 1425 18.08 20.72 52” 3132 High 4742 11. Specifications...