Table of Contents
Advertisement
Quick Links
PRO-STOPWATCHES
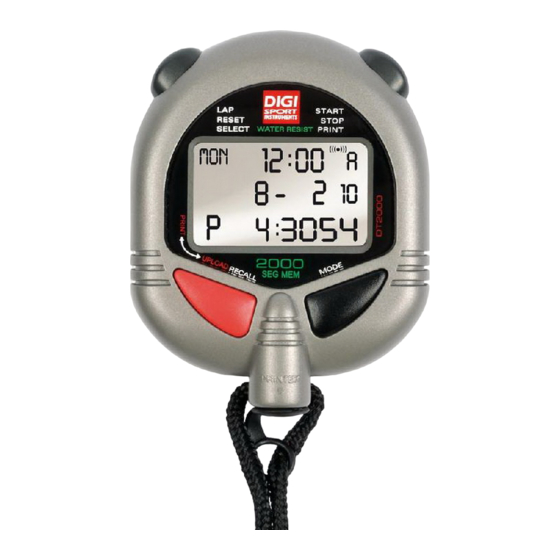
DT2000
2000 memories stopwatch USB version
Features:
Memory
2000 dual split recallable memories
Multiple event memories (capability to memorize
lap times of different races)
Selective review during operation
Other features :
User selectable lap/split or lap/speed chronograph display
Average and best lap time display
Automatic release of lap time after 10 seconds to allow progress monitoring
Base 3 stroke/frecuency
Dual timers which start one after another for use in training programs
Normal countdown timer if 2
Time, alarm, and calendar
12/24 hours and European calendar user option
Lithium battery CR2032 3V
Impervious to water splashes
PC upload kit accessory: DT2000U (optional)
For transferring data from stopwatch to PC
Printer DT500P (optional)
For printing data during operation or selectively by race later
DT2000 Size : 6 cm x 7.5 cm x 2 cm
DT2000 weight : 130 g
nd
timer is not set
COMPOSITION :
- 1 pro-stopwatch DT2000
- 1 nylon bag
- 1 wrist-strap
- 1 instruction manual
Advertisement
Table of Contents

Subscribe to Our Youtube Channel
Related Manuals for DigiSport DT2000

Summary of Contents for DigiSport DT2000
- Page 1 For transferring data from stopwatch to PC Printer DT500P (optional) For printing data during operation or selectively by race later DT2000 Size : 6 cm x 7.5 cm x 2 cm DT2000 weight : 130 g COMPOSITION :...
- Page 2 INSTRUCTION MANUAL DT2000 FEATURES: - Hour, minute, seconds, month, date, day and alarm 12/24 hour and month/date or date/month display user selectable - 2000 memories - Segregated memory (capability to memorize LAP times of different races) - User Selectable LAP/SPLIT or LAP/SPEED display - Average and best lap time display - Automatic release of LAP time after 10 seconds to allow progress monitoring.
- Page 3 6. Pressing C button once any time during this TIMER setting sequence will complete the setting and the timer is ready to start upon pressing the A button. 7. Press A to start countdown with the “1 ” at the top right corner blinking and the timer setting counting down. When the 1st timer approaches zero, the timer gives 4 beeps and the 2nd timer starts counting down immediately.
- Page 4 1. Unscrew and remove the back cover. 2. Unscrew the battery contact. 3. Replace with fresh Lithium battery CR2032 or equivalent. 4. Before putting in the fresh battery makes sure that the triangular contact is in the triangular slot under the battery. 5.
Need help?
Do you have a question about the DT2000 and is the answer not in the manual?
Questions and answers