Table of Contents
Advertisement
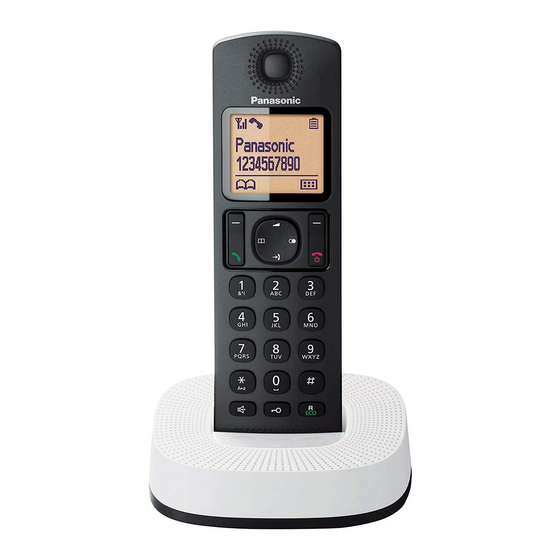
Model shown is KX-TGC310.
Before initial use, see "Getting Started"
on page 8.
Thank you for purchasing a Panasonic product.
Please read these operating instructions before using the unit and save them for
future reference.
TGC3xxCX(en)_0309_ver011.pdf
Operating Instructions
1
Digital Cordless Phone
Model No.
KX-TGC310CX
KX-TGC312CX
KX-TGC313CX
2015/03/09
9:58:39
Advertisement
Table of Contents


Need help?
Do you have a question about the KX-TGC310 Series and is the answer not in the manual?
Questions and answers