
Related Manuals for hilmor 1963826

Summary of Contents for hilmor 1963826
- Page 1 Digital Adjustable Torque Wrench Operation and Maintenance Instructions Model 1963826...
-
Page 2: Table Of Contents
TABLE OF CONTENTS Introduction ......................2 Key Features ......................3 Wrench Components ..................4 Setup Instructions ...................5 Memory Presets ....................6 Operating Instructions ................7-8 Technical Specifications ................9 Maintenance, Safety & Limited Warranty ..........10 See hilmor.com for other languages. -
Page 3: Introduction
HVAC/R technicians. Incorrect application could result in accidents, injuries or death. Refer to page 10 for safety warnings. -
Page 4: Key Features
• Nine programmable memory settings allow for quick access to the most common torque levels. Precise Readings • Digital adjustments help ensure torque measurement accuracy. Extra Confidence • LED lights and buzzer indicate that desired torque has been reached. See hilmor.com for other languages. -
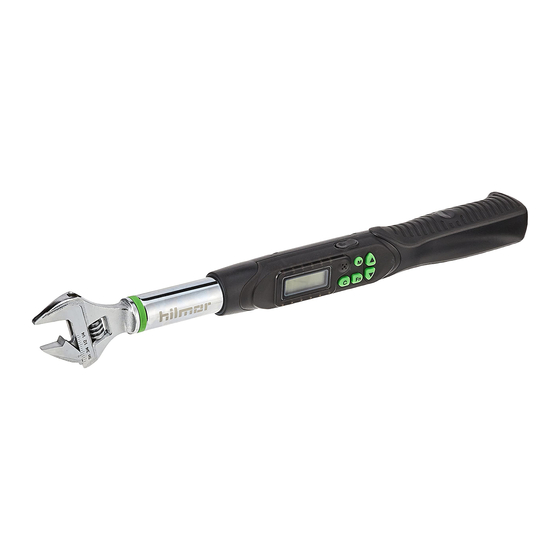
Page 5: Wrench Components
WRENCH COMPONENTS Communication Port Buttons Positioning Portion Battery Compartment Knurl Battery Cap Digital Display Buzzer 12 14 LED Indicator Power On/Clear Button Presetting Number Selection Button Torque Value Unit Selection/Setting Button Presetting Number Up/Down Button Units P(Peak Hold)/T(Track) Mode 301 Chestnut Street, East Longmeadow, MA 01028 + 1-800-628-8810... -
Page 6: Setup Instructions
SETUP INSTRUCTIONS Battery Installation: 1. Remove the battery cap at the back end of the hilmor Digital Adjustable Torque Wrench. 2. Insert two AA batteries, with the + side facing into the battery compartment. 3. Put on the battery cap and twist to the LOCKED position. -
Page 7: Memory Presets
MEMORY PRESETS 1. The hilmor Digital Adjustable Torque Wrench has nine memory settings. These are displayed at the bottom of the display by the symbols. 2. To use a different preset, press the button repeatedly until you arrive on the desired preset number. -
Page 8: Operating Instructions
3. LED lights along the sides of the display will increase as the hilmor Digital Adjustable Torque Wrench gets closer to the desired torque. A buzzer will also sound as torque is applied, speeding up as torque is increased. - Page 9 2. As the flare nut is tightened, the actual torque value will appear on the screen and increase as more torque is applied. 3. LED lights along the sides of the display will increase as the hilmor Digital Adjustable Torque Wrench gets closer to the desired torque value. A buzzer will sound as torque is applied, speeding up as torque is increased.
-
Page 10: Technical Specifications
14 ˚ F to 140 ˚ F ADDITIONAL INFORMATION: • The hilmor Digital Adjustable Torque Wrench has an automatic shutoff feature. It will shut off after four minutes of inactivity to conserve battery life. Simply press the power button to restart. -
Page 11: Maintenance, Safety & Limited Warranty
• Tightening to a torque level of 110% or more of the maximum torque range can result in loss of accuracy. • Do not shake, drop or use the hilmor Digital Adjustable Torque Wrench as a hammer. Store the hilmor Digital Adjustable Torque Wrench in its kit box in a safe location when not in use. - Page 12 301 Chestnut Street, East Longmeadow, MA 01028 hilmor.com 1-800-628-8810...
Need help?
Do you have a question about the 1963826 and is the answer not in the manual?
Questions and answers