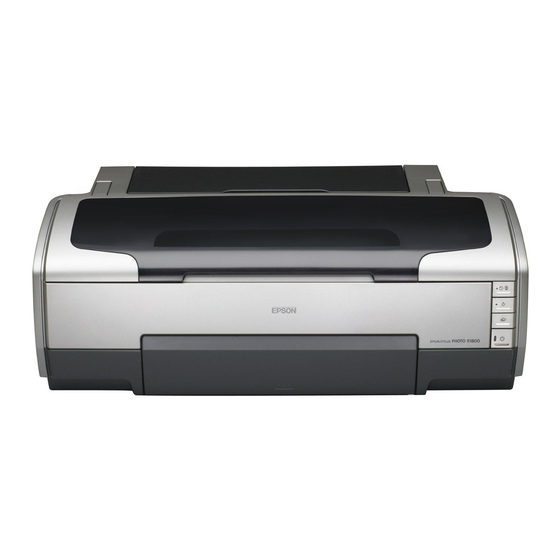
Epson Stylus Photo R1800 Start Here Manual
Epson stylus photo r1800: quick start
Hide thumbs
Also See for Stylus Photo R1800:
- Service manual (235 pages) ,
- User manual (119 pages) ,
- Manual (19 pages)
Advertisement
1
1
Unpack
Unpack
1
Remove everything from the box.
Matte sheet support
NOTE: For instructions on using special media accessories, see your
User's Guide.
2
Remove all the tape and packing material from the printer.
Epson Stylus
Start
Start
Here
Here
Ink cartridges
Printer
Printer Software
CD-ROM
Roll paper holders
®
Photo R1800
FireWire
1394) cable
CD position
check paper
Single sheet guide
CPD-19344R1
Printed in XXXXXX XX.XX-XX
Small CD
®
(IEEE
insert
User's Guide
CD/DVD tray
XXX
Advertisement
Table of Contents

Summary of Contents for Epson Stylus Photo R1800
- Page 1 Remove everything from the box. Printer Roll paper holders Matte sheet support NOTE: For instructions on using special media accessories, see your User’s Guide. Remove all the tape and packing material from the printer. ® Photo R1800 Start Here Ink cartridges...
-
Page 2: Install Ink Cartridges
Turn On the Printer Plug the printer’s power cord into a grounded electrical outlet. NOTE: Do not connect the printer to your computer yet. Wait until you are instructed to connect the USB cable in section 5, “Install Software.” Press the Power button to turn on the printer. -
Page 3: Load Paper
Ink button and close the printer cover. The ink light flashes as your printer charges ink for about 2 1/2 minutes. CAUTION: Don’t turn off the printer or interrupt charging while the light is flashing or you’ll waste ink. Load Paper Load Paper Flip open the paper support and pull up the extensions. -
Page 4: Install Software
Close button to close the message. FireWire Connect one end of the FireWire cable to the back of your printer and the other end to your computer. NOTE: If your computer uses i.Link or another 4-pin FireWire connection, you will need to connect a 6-pin to 4-pin FireWire (IEEE 1394) cable. - Page 5 Connect your printer to your computer with EITHER a USB cable or a FireWire cable. Connect the square end of your USB cable to the back of your printer and the flat end of the USB cable to your computer. (You can connect to any open port.)
- Page 6 Connect your printer to your computer with EITHER a USB cable or a FireWire cable. Connect the square end of your USB cable to the back of your printer and the flat end of the USB cable to your computer. (You can connect to any open port.)


Need help?
Do you have a question about the Stylus Photo R1800 and is the answer not in the manual?
Questions and answers