Table of Contents
Advertisement
Quick Links
Advertisement
Table of Contents

Related Manuals for watt box WB-800CH1U-IPVM-8


Summary of Contents for watt box WB-800CH1U-IPVM-8
- Page 1 ™ WB-800CH1U-IPVM-8 QUICK START GUIDE...
-
Page 2: Package Contents
WATTBOX™ 800CH1U-IPVM-8 Quick Start Guide PACKAGE CONTENTS • (1) WB-800CH1U-IPVM-8 • (4) Screw-in feet and screws • (1) 2-meter (6-foot) power cord • (1) Locking clip (to secure IEC power cord) • (2) Rack mounting brackets • (8) Mounting bracket screws •... -
Page 3: Rear Panel
WATTBOX™ 800CH1U-IPVM-8 Quick Start Guide REAR PANEL 1. Power input – Input for 3-prong IEC power cord, with detachable locking clip. 2. Circuit breaker – 15A resettable breaker that trips when over amperage conditions occur. Press to reset. 3. Bonding Point – Post for bonding equipment. 4. -
Page 4: Front Panel
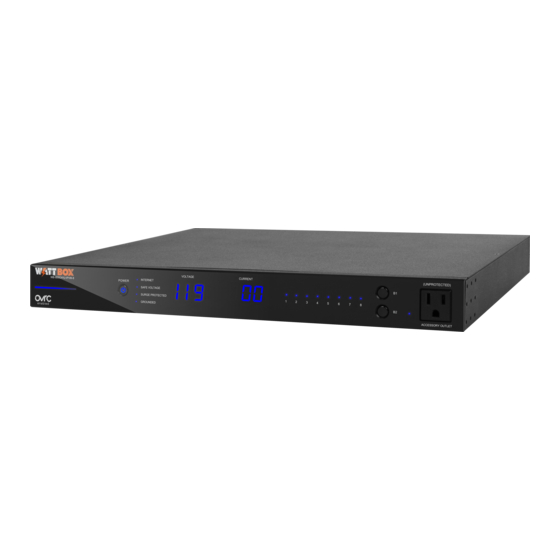
WATTBOX™ 800CH1U-IPVM-8 Quick Start Guide FRONT PANEL 1. AC Power button – Press to manually toggle the outlets on or off. Outlets configured as Disabled or Reset Only are not affected. 2. LED indicators – See the status of the internet, Safe Voltage, surge protection, and whether the unit is properly grounded. - Page 5 WATTBOX™ 800CH1U-IPVM-8 Quick Start Guide HOW TO SEQUENCE THROUGH INDIVIDUAL OUTLETS • Tap B1 to sequence through outlets 1-8 (moving left to right). • Tap B2 to sequence through outlets 8-1 (moving right to left). As you sequence through the outlets, the corresponding outlet LED flashes to indicate which outlet number you are on. The displays show the corresponding Current for the outlet specified.
-
Page 6: Led Operation
WATTBOX™ 800CH1U-IPVM-8 Quick Start Guide LED OPERATION Note: LEDs on the front and back of the WattBox function identically. Internet Blue (Solid) All host sites/IP addresses are communicating with the WattBox. Blue (Flashing) Host ping partial fail. At least one host site/IP address ping is communicating with the WattBox. - Page 7 WATTBOX™ 800CH1U-IPVM-8 Quick Start Guide POSITIONING OPTIONS The WB-800CH1U-IPVM-8 can be placed in a cabinet or mounted to the rack. Cabinet Placement Attach supplied feet to the bottom of the WattBox for cabinet placement. pg.7...
- Page 8 WATTBOX™ 800CH1U-IPVM-8 Quick Start Guide Rack Mounting Attach mounting brackets to the WattBox using the supplied hardware, then install the WattBox into the rack using standard rack screws (not included). pg.8...
-
Page 9: Connections And Setup
ADJUST | SET EA-AMP-HYB-2D-1000 BACK Router Internet WB-800CH1U-IPVM-8 Mobile Apps OvrC Web Server 1. If attaching a WattBox UPS battery pack to the power conditioner, connect an Ethernet cable between the UPS Link ports on the power conditioner and the UPS. - Page 10 WATTBOX™ 800CH1U-IPVM-8 Quick Start Guide CLAIMING THE WATTBOX ON OVRC The WB-800 has many powerful features that are accessed through OvrC, our award-winning remote management tool. If you are not familiar with OvrC, visit OvrC.com. To find training for OvrC, log in to SnapAV.com, click on the Training tab, and then launch Snap University.
-
Page 11: Important Safety Instructions
WATTBOX™ 800CH1U-IPVM-8 Quick Start Guide IMPORTANT SAFETY INSTRUCTIONS Read and observe the following safety points at all times. NOTICE For indoor use only. Internal components are not sealed from the environment. The device can only be used in a fixed location such as a telecommunication centre, or a dedicated computer room. - Page 12 WATTBOX™ 800CH1U-IPVM-8 Quick Start Guide WARNING – Power Sources, Grounding, Polarization This plug is designed to be inserted into a NEMA 5-15 (three-prong grounded) outlet only. Do not force the plug into an outlet that is not designed to accept it. Never dismantle the plug or to alter the power cord, and do not attempt to defeat the grounding feature by using a 3-to-2 prong adapter.
-
Page 13: Fcc Warning
WATTBOX™ 800CH1U-IPVM-8 Quick Start Guide WARNING – No User Serviceable Parts Inside If the WattBox is not operating properly, do not remove any part of the unit (cover, etc.) for repair. Unplug the unit and consult the warranty section of the owner’s manual. CAUTION –... - Page 14 WATTBOX™ 800CH1U-IPVM-8 Quick Start Guide • Reorient or relocate the receiving antenna. • Increase the separation between the equipment and receiver. • Connect the equipment into an outlet on a circuit different from that to which the receiver is connected. •...
-
Page 15: Troubleshooting
WATTBOX™ 800CH1U-IPVM-8 Quick Start Guide TROUBLESHOOTING Symptom Possible Cause Remedy WattBox is not WattBox is not turned on. If the WattBox power button does not show blue, press it. receiving power No power is being supplied. Make sure the AC power plug is plugged into a properly (No LEDs are grounded 120V (nominal) wall outlet. -
Page 16: Specifications
WATTBOX™ 800CH1U-IPVM-8 Quick Start Guide SPECIFICATIONS Outlets Type NEMA 5-15 Number of Outlets 8 Rear, 1 Front IP Controlled All rear outlets (8) AC Power Line Voltage 120V AC, 60 Hz AC Input Connection IEC C-14 Power Cord Length 6 Feet Circuit Breaker Rating UL Power Rating 1440W... - Page 17 WATTBOX™ 800CH1U-IPVM-8 Quick Start Guide DIMENSIONS pg.17...
-
Page 18: Warranty
WATTBOX™ 800CH1U-IPVM-8 Quick Start Guide WARRANTY Limited Warranty Find details of this product’s Limited Warranty at snapav.com/warranty, or request a paper copy from Customer Service at (866) 424-4489. Find other legal resources, such as regulatory notices and patent information, at snapav.com/legal. pg.18... -
Page 19: Logging Into The Web Interface
LOGGING IN TO THE WEB INTERFACE You need to enter the username and password to access the web interface. The default entries are below; be sure to change these to maintain proper security (and log them below). Default Custom Username wattbox Password wattbox...
Need help?
Do you have a question about the WB-800CH1U-IPVM-8 and is the answer not in the manual?
Questions and answers