Table of Contents
Advertisement
Advertisement
Table of Contents

Related Manuals for OnePlus Nord N200 5G


Summary of Contents for OnePlus Nord N200 5G
- Page 1 OnePlus Nord N200 5G...
-
Page 3: Table Of Contents
Device Layout ........................2 Installing the SIM Card ....................4 Charging the Battery .......................6 Power On & Off / Reboot..................... 6 Setup Your Phone ......................6 Screen View..........................6 OnePlus Switch........................7 Lock and Unlock Settings................... 7 Wireless Settings........................8 Internet ............................8 Phone............................8 Message..........................8 Contacts .......................... -
Page 4: Introduction
Introduction Support This guide provides you with the information you need to get started. Note: Some content and illustrations may differ from your device depending on the region, service provider, software version, or OS version, and are subject to change without prior notice. Note: This device is not suitable for people who have a visual impairment due to the touchscreen keyboard. -
Page 5: Device Layout
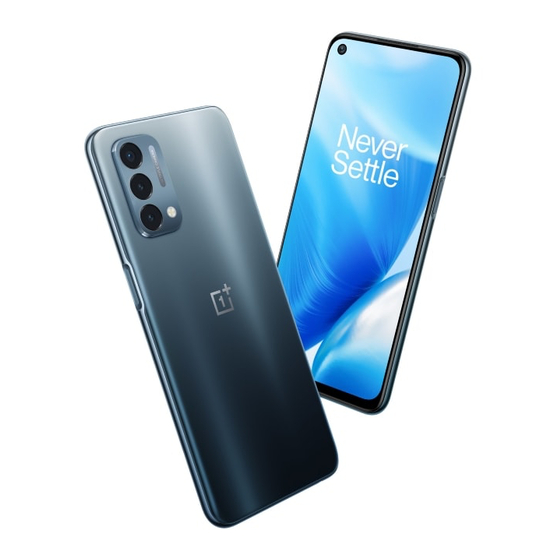
Device Layout Front View Fingerprint sensor & Receiver Power button Front Camera Nano SIM Tray Volume buttons Headphone Jack... - Page 6 Back View USB Type-C port Speaker Microphone Microphone Rear Camera Flash...
-
Page 7: Installing The Sim Card
Installing the SIM Card Insert the SIM (Subscriber Identity Module) card provided to start using the device. 1. Insert the ejection pin into the hole beside the card tray. 2. Pull out the card tray. 3. Put the Nano SIM card on the card tray with the gold-colored contacts facing down. - Page 8 4. Insert the card tray back into the slot. Please use the SIM Tray Ejector (found in the box) to remove the SIM tray from the device and insert Nano SIM cards in the tray. This device supports only Nano SIM cards. Micro S Standard Nano...
-
Page 9: Charging The Battery
5G, including setting up your Google account & sync, setup Fingerprint Unlock/Face Unlock and more. Screen View The OnePlus Nord N200 5G uses a 20 : 9 aspect ratio display, providing an immersive viewing experience. This is a 6.49-inch screen with a fine and smooth effect. -
Page 10: Oneplus Switch
3. Once your fingerprint is registered, you can touch and hold the fingerprint icon on the screen to unlock it. Face Unlock You can set the OnePlus Nord N200 5G to unlock the screen by recognizing your face. 1. To set up Face Unlock, go to enter Settings ( ) >... -
Page 11: Wireless Settings
Note: Face Unlock is less secure than fingerprint or password. Wireless Settings Connecting to a Wi-Fi network 1. Enter the Settings ( ) , choose Wi-Fi & Network ( ) > Wi- Fi to turn Wi-Fi on/off. 2. Tap the name of a desired network to connect, entering the password if necessary. -
Page 12: Gallery
, display message based on specific scenes. Gestures You can personalize OnePlus Nord N200 5G’ s gestures control settings. Navigation bar can be configured to hide or replace by navigation gestures. Off-screen gestures can be assigned to different apps and features for quick and easy access. -
Page 13: File Manager
simulating chromatic printing effect. • Tap Settings ( ) > Display ( )> Reading Mode to turn on Reading mode manually or add apps for Reading mode. File Manager File Manager has been enhanced with new features such as FileDash, LockBox and so on, you can hide private documents, photos and files in LockBox. -
Page 14: Trademarks And Copyrights
Trademarks and Copyrights and " ONEPLUS "are trademarks or registered trademarks of OnePlus Technology(Shenzhen) Co., Ltd. Google and Android are trademarks of Google LLC. LTE is a trademark of ETSI. The Bluetooth® word mark and logos are registered trademarks owned by Blue tooth SIG, Inc. is under license. -
Page 15: Additional Information
during a 9-1-1 call.* * Availability of this feature depends on upgrades to the (a) wireless network and (b) 9-1-1 calling system that are required to be installed by the local 9-1-1 response agency or public safety answering point (PSAP); these upgrades may not be available everywhere within our wireless coverage area or your roaming area. -
Page 16: Health / Safety / Warranty Guide
information, charges for features and services, and restrictions and details, including important limitations on availability and reliability of 9-1-1 emergency service when using Wi-Fi calling. Health / Safety / Warranty Guide FCC Regulations: This device complies with part 15 of the FCC Rules. Operation is subject to the following two conditions: (1) This device may not cause harmful interference, and (2) This device must accept any interference received, including interference that may cause... - Page 17 level, the actual SAR level of the device while operating can be well below the maximum value. This is because the device is designed to operate at multiple power levels so as to use only the power required to reach the network. In general, the closer you are to a wireless base station antenna, the lower the power output.
-
Page 18: Important Legal Information
hearing aid compatibility contains two types of ratings: M-Ratings: Rating for less radio frequency interference to enable acoustic coupling with hearing aids. T-Ratings: Rating for inductive coupling with hearing aids in telecoil mode. Not all phones have been rated. A phone is considered hearing aid compatible under FCC rules if it is rated M3 or M4 for acoustic coupling and T3 or T4 for inductive coupling. - Page 19 Due to software updates, your experience of the software interface (including but not limited to software features, user interfaces, and interaction experiences) may differ from the interface presented in this guide at the time of purchase. The software interface is subject to change.
Need help?
Do you have a question about the Nord N200 5G and is the answer not in the manual?
Questions and answers