
Subscribe to Our Youtube Channel
Related Manuals for Shark Powered Lift-Away NV620UKT


Summary of Contents for Shark Powered Lift-Away NV620UKT
- Page 1 Powered Lift-Away® Upright Vacuum NV620UKT INSTRUCTIONS s h a r kc l e a n . c o . u k...
-
Page 2: Table Of Contents
THANK YOU CONTENTS for purchasing the Shark® Powered Lift-Away® Upright Vacuum� REGISTER YOUR PURCHASE � � � � � � � � � � � � � � � � � � � � � � � � � � � � � � � � � � � � � � � � � � � 4 Important Safety Instructions �... -
Page 3: Important Safety Instructions
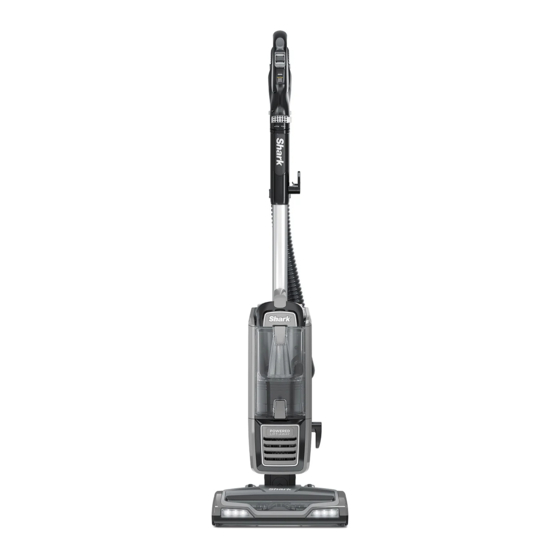
29 Make sure the dust cup and all filters Your vacuum cleaner consists of a 12 Only use Shark branded filters and are in place after routine maintenance. motorised nozzle, wand, hose, and/ accessories. Damage caused by use of 23 DO NOT use to pick up: or vacuum pod. - Page 4 GETTING TO KNOW YOUR POWERED LIFT-AWAY® UPRIGHT VACUUM WELCOME! Congratulations on your purchase. Use this instruction manual to learn about your new vacuum’s great features. From assembly to use to maintenance, you will find it all in here. MAIN UNIT A Surface Selector B Handle Release Button C Suction Control Slide...
-
Page 5: Assembly
ASSEMBLY ASSEMBLY (Click) (Click) (Click) (Click) (Click) Insert Wand into Floor Nozzle. 2. Insert Handle into wand. 3. Place Pod onto wand and slide down to connect. 4. Connect Hose into back of pod, until it clicks into place. 5. Attach Hose Clip to wand. For proper operation, ensure all parts are firmly clicked into place. -
Page 6: Settings
OPERATING THE VACUUM OPERATING THE VACUUM SETTINGS CLEANING MODES POWER SURFACE SETTINGS UPRIGHT POWERED LIFT-AWAY® Press power button to turn the vacuum Slide the selector switch to the appropriate surface To engage brush-roll, turn on Press the Lift-Away® button to on or off. -
Page 7: Emptying The Dust Cup
EMPTYING THE DUST CUP CLEANING AND REPLACING THE FILTERS IMPORTANT: Unplug the power cord before performing any maintenance. CLEANING FILTERS Regularly rinse the filters to maintain your vacuum’s suction power. To prevent damage from cleaning chemicals, rinse filters with cold water only. Allow all filters to air-dry for at least 24 hours before reinstalling them to prevent liquid from being drawn into electronic parts. -
Page 8: Checking For Blockages
MAINTENANCE CHECKING FOR BLOCKAGES To keep your vacuum’s suction power optimal, follow these instructions. Make sure unit is off and cord unplugged. CHECK FOR BLOCKAGES STEP 1 STEP 2 POD BLOCKAGES WAND BLOCKAGES Detach hose from vacuum pod, and check Detach wand from floor nozzle and handle, opening on back of pod for blockages. -
Page 9: Available Accessories
AVAILABLE ACCESSORIES TROUBLESHOOTING GUIDE Crevice Tool This slim crevice tool is great for cleaning WARNING: To reduce the risk of shock and unintended operation, turn tight spaces, between sofa cushions, and in power off and unplug unit before servicing� hard-to-reach areas. Upholstery Tool Vacuum is not picking up debris�... -
Page 10: Guarantee Terms And Conditions
When you register your guarantee we’ll have your details to hand if we ever need to get in touch. You can also receive tips and advice on how to get the best out of your Shark vacuum and hear the latest news about new Shark ®... - Page 11 Illustrations may differ from actual product. We are constantly striving to improve our products, therefore the specifications contained herein @sharkcleaninguk are subject to change without notice. LIFT-AWAY, POWERED LIFT-AWAY and SHARK are registered trademarks of @sharkcleanuk SharkNinja Operating LLC. © 2021 SharkNinja Operating LLC NV620UKT�IB�MP�210303�Mv1...
Need help?
Do you have a question about the Powered Lift-Away NV620UKT and is the answer not in the manual?
Questions and answers