Table of Contents
Advertisement
Quick Links
ON/OFF button
used to turn
buttons used to
dehumidifier on
change humidity
and off
MODE button
used for optional
ventilation feature
SAFETY INSTRUCTIONS
1. 120 Volts may cause serious injury from electric shock. Disconnect electrical power before starting installation or servicing.
Leave power disconnected until installation/service is completed.
2. Dropping may cause personal injury or equipment damage. Handle with care and follow installation instructions.
1. Read all instructions before beginning installation.
2. Improper installation may cause property damage or injury. Read instructions before installation, service or maintenance.
3. Do not use in pool applications. Pool chemicals can damage the dehumidifier.
4. Do not use solvents or cleaners on or near the circuit board. Chemicals can damage circuit board components.
5. Wait 24 hours before running the unit if it was not shipped or stored in the upright position
6. Do not use dehumidification to prevent window condensation in the winter. To address window condensation, use ventilation
to lower indoor humidity in the winter.
Up/Down
setting
Inlet
WARNING
READ AND SAVE THESE INSTRUCTIONS
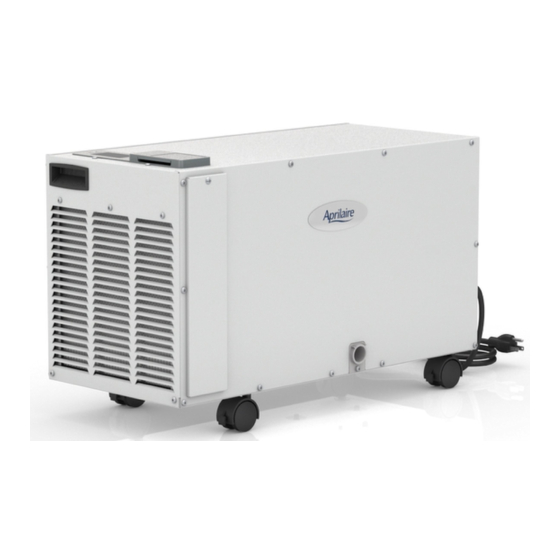
Model 1850F Dehumidifier
Installation and Operating Manual
Dehumidifer Control
Filter Access
Door
CAUTION
Drain
Outlet
Power
Switch
90-1952
1
Advertisement
Table of Contents

Related Manuals for Aprilaire 1850F


Summary of Contents for Aprilaire 1850F
-
Page 1: Safety Instructions
Model 1850F Dehumidifier Installation and Operating Manual ON/OFF button Up/Down Dehumidifer Control Outlet used to turn buttons used to dehumidifier on change humidity and off setting MODE button used for optional ventilation feature Drain Power Switch Inlet Filter Access Door... -
Page 2: Table Of Contents
Warranty ......................11 SPECIFICATIONS Model 1850F Weight 70 lbs. -
Page 3: Set Up Dehumidifier For Installation
SET UP DEHUMIDIFIER FOR INSTALLATION IMPORTANT: Cut the strap securing the compressor FIGURE 1 – Remove Shipping Bracket shipping support bracket and remove the strap, shipping bracket screws, and bracket. See Figure 1. REMOVE SHIPPING BRACKET CLIP OFF PLASTIC STRAP 90-1944 LOCATION CONSIDERATIONS •... -
Page 4: Drain Installation
DRAIN INSTALLATION The drain outlet on the dehumidifier can be hard piped using 3/4” nominal drain tubing or the provided fitting and 1/2” clear PVC tubing can be used to drain the dehumidifier. Always maintain a constant downward slope from the dehumidifier to the drain and do not allow soft tubing to curl up which may result in air lock. -
Page 5: Setting The Desired Humidity Level
SETTING THE DESIRED HUMIDITY LEVEL 1. Press the ON/OFF button to turn the dehumidifier control ON. The display will show ENERGY SAVINGS TIPS the current setting, and the dehumidifier blower will turn on to start sampling the air. 2. The UP and DOWN arrow buttons allow the humidity level to be set from 40% to 80% Energy Savings Tip #1: Adjust the humidity relative humidity. -
Page 6: Maintenance
MAINTENANCE CLEAN OR REPLACE THE AIR FILTER After initial installation the air filter should be checked and cleaned every 6 months. The CLEAN FILTER service reminder will display on the on-board control screen every 6 months. To clear the service message, press the UP and DOWN arrows simultaneously for 3 seconds. Filter Cleaning Procedure 1. -
Page 7: Model 76 - External Control Or Crawl Space/Sealed Attic Control And Wiring
MODEL 76 – EXTERNAL CONTROL OR CRAWL SPACE/SEALED ATTIC CONTROL AND WIRING When the dehumidifier is located in a crawl space, sealed attic, or other hard to access Model 76 Control area, a Model 76 can be installed in the living space and will operate as a remote control. Refer to the Model 76 Installation Instructions and Owner’s Manual for installation and operating instructions. -
Page 8: Troubleshooting
TROUBLESHOOTING Technical Support is available Monday through Friday, 7:00 a.m. to 5:00 p.m. CST, at (800) 334-6011. Use the guides on the following pages to identify and correct system faults. Contact Technical Support before replacing the unit or any components and for additional troubleshooting. DIAGNOSTIC CODES When an error occurs, the Diagnostic Code along with SERVICE REQUIRED will be displayed on the control screen. - Page 9 TROUBLESHOOTING (CONTINUED) TABLE 1 – Diagnostic Codes (continued) Diagnostic Code Failure Mode Action Reset Float Switch Open 1. Empty the condensate pan. Self-Correcting 2. Check the float switch connection at the control board. 3. If not using a float switch, verify jumper is between float switch terminals on dehumidifier control board.
-
Page 10: Service Parts
SERVICE PARTS 90-1947 Part Description Part No. Part Description Part No. Filter, 12” x 12” x 1” EZK 5499 Sensor, High Temperature, Deh 5456 Internal Control Board, Deh 5444 Capacitor, 45MFD, 370VAC, 70pt/95pt Deh, 5458 (compressor) User Interface Assembly, Deh 5445 Capacitor, 12MFD, 450VAC, 95pt Deh, (fan) 5468... -
Page 11: Warranty
WARRANTY REGISTRATION Visit us on-line at www.aprilaire.com to register your Aprilaire product. If you do not have on-line access, please mail a postcard with your name, address, phone number, email address, product purchased, model number, date of purchase and dealer name and address to: Research Products Corporation, P.O. - Page 12 P.O. Box 1467 • Madison, WI 53701-1467 • Phone: 800/334-6011 • Fax: 608/257-4357 • www.aprilairepartners.com 10010677 9.15 Printed in U.S.A. B2206280C © 2015 Aprilaire – A division of Research Products Corporation...
Need help?
Do you have a question about the 1850F and is the answer not in the manual?
Questions and answers