Table of Contents
Advertisement
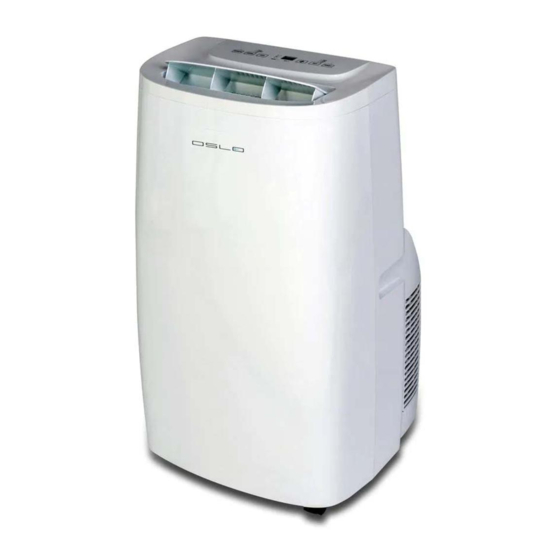
Portable Air Conditioner
OSP1-10
Use and Care Manual
4010450
Thank you very much for selecting this new model of Portable Air Conditioner, please read this Use and
Care Manual carefully before installing and using this appliance. Please keep this Use and Care Manual
properly for future reference.
210204
1
Advertisement
Table of Contents

Subscribe to Our Youtube Channel
Related Manuals for Oslo OSP1-10


Summary of Contents for Oslo OSP1-10
- Page 1 Portable Air Conditioner OSP1-10 Use and Care Manual 4010450 Thank you very much for selecting this new model of Portable Air Conditioner, please read this Use and Care Manual carefully before installing and using this appliance. Please keep this Use and Care Manual properly for future reference.
-
Page 2: Table Of Contents
Contents Safety Instructions………………………………………………….………………………………………………1 Features & Identification of Parts………………………………...……………………………………………….3 Operations and Settings………………………….………..…………………………………………………...4 Installation and Adjustment……………………...…..………...………………………………………………….7 Drainage Instructions………………………………...…………………………………………………………..10 Multiple Protection Functions ………………………………………..……………………………………….…11 Maintenance and Service……………………….……………………………………………………………….11 Troubleshooting…………………………..……………...…………………………………………………..….13 Warranty…………………………… …….....………………………………………………………………14... -
Page 3: Safety Instructions
Safety Instructions 1. All wiring must comply with local and national electrical codes and be installed by a qualified electrician. If you have any questions regarding to the following instructions, please contact a qualified electrician. 2. The unit must be installed in accordance with national wiring regulations. Check available power supply and resolve any wiring problems before installation and operation of this unit. - Page 4 property damage, be sure it repaired by manufacturer or professionals. ※ After the air conditioning installation, please ensure that the wires plug in good condition and securely inserted into the power socket, and always maintain the power cord placement rules orderly, avoid someone stumbled or pull the plug out. ※...
-
Page 5: Features & Identification Of Parts
※ Make sure to cut off the power before disassembling or installing the filter. ※ Remark: Do not use this unit in cooling mode if the ambient temperature is higher than 35℃. Features and Identification of Parts Features New appearance with compact design, more luxury and upscale. ... -
Page 6: Operations And Settings
Control panel Chassis Horizontal louver Upper filter assembly Remote control receiving window Drain cover and stopper Top panel Lower filter assembly Front shell Remote control Universal wheels Round connector and exhaust hose Handle Adapter of exhaust hose Back shell Window kits Winding pillar Operations and Settings Control Panel... - Page 7 3. Remote Control Operation LCD display window Up and down button Power button Fan speed button Mode button Timer button Auto-swing button Sleep button Power: Press this button to start the unit when it is energized or stop the unit when it is in operation. Mode: Press this button to select operation mode.
- Page 8 Use alkaline batteries only. Do not use rechargeable batteries. When replace batteries, always replace both batteries with new batteries, do not mix old and new batteries. If the air conditioner will not be used for an extended period of time, remove the batteries from the ...
-
Page 9: Installation And Adjustment
Handle Installation & Adjustment Installation Notes: Keep this mobile air-conditioner in upright position at least 2 hours before first installation. This air-conditioner may be moved indoor conveniently; keep the unit in upright position while moving it. The air-conditioner shall be placed at flat surface. Do not install or operate this air-conditioner in bathroom or other wet environments. - Page 10 Extend seal plate parts and adjust it to the length of window, keep both ends to meet window edge, fix it with screws then. Note: Keep two ends of window seal-plate to meet the window edges well, to assure seal effect. ...
-
Page 11: Drainage Instructions
Important notes: The exhaust hose is 280mm-1500mm long and this length is determined based on the specification of the air-conditioner (s). Do not use prolonged the hose or replace it with other different hoses as this may affect the functions of the air-conditioner. The exhaust hose must be smooth or it may lead air-conditioner overheat and damage. -
Page 12: Multiple Protection Functions
Notes: Drain hose must be installed when there’s no water in the tray. It is suggested that not to use continuous drainage when unit is in COOL mode, to ensure enough water recycle in the unit to enhance the system cooling effects. ... - Page 13 Clean the dirty air outlet or louvers with wet soft cloth and detergent. Any chemical solvent is prohibited to use for unit cleaning or put such things near the unit for a long time. Any thinner, alcohol-glazer or other similar solvents is prohibited for unit cleaning. Filter cleaning Clean the filter once every two weeks, or it would influence the unit function if filter clogged with dust.
-
Page 14: Troubleshooting
Install the filter into place gently to avoid any damage to filter. 4. End of Season Storage Screw off the drain cover and pull out the stopper to drain condensate water completely. (Note: the tilt angle of the unit must be≦30 Keep unit running in fan mode for half day to dry inside of unit completely to prevent from going moldy. - Page 15 effects The doors and windows are Close the door and window, remove open, the room is crowded or other heat sources, and add new air- there are other heat sources conditioners Dirty filter Clean or replace the filter mesh Air inlet or air outlet clogged Remove the obstruction The unit is being placed at Put the unit at a flat and firm place...
-
Page 16: Warranty
One Year Limited Warranty NEPO USA warrants the accompanying Air Conditioner to be free of defects in material and workmanship for the applications specified in its operation instruction for a period of One (1) year from the date of original retail purchase in the United States. If the unit exhibits a defect in normal use, NEPO USA will, at its option, either repair or replace it, free of charge within a reasonable time after the unit is returned during the warranty period.
Need help?
Do you have a question about the OSP1-10 and is the answer not in the manual?
Questions and answers