Sign In
Upload
Download
Table of Contents
Contents
Add to my manuals
Delete from my manuals
Share
URL of this page:
HTML Link:
Bookmark this page
Add
Manual will be automatically added to "My Manuals"
Print this page
×
Bookmark added
×
Added to my manuals
Manuals
Brands
Celcook Manuals
Microwave Oven
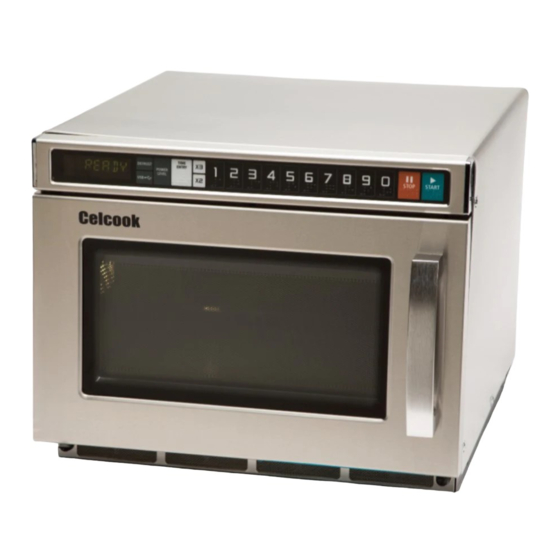
CCM1200
Instruction manual
Celcook CCM1200 Instruction Manual
Commercial microwave oven
Hide thumbs
1
2
3
4
5
6
7
8
9
10
11
12
13
14
15
16
17
18
19
20
21
22
23
24
Table Of Contents
25
page
of
25
Go
/
25
Contents
Table of Contents
Troubleshooting
Bookmarks
Table of Contents
Important Safety Instructions
Grounding Instructions
Radio Interference
Utensil Test
Countertop Installation
Cleaning Instructions
Operation
Control Panel and Features
Default Cook Times
Troubleshooting
Advertisement
Quick Links
Download this manual
CCM1200
CCM1800
CCM2100
Commercial Microwave Oven
Instruction Manual
Read these instructions carefully before using your microwave
oven and keep in a safe place for future reference.
Please call Celco if you need assistance or for more information:
905-364-5200 / 1-866-772-3526
Table of
Contents
Previous
Page
Next
Page
1
2
3
4
5
Advertisement
Table of Contents
Need help?
Do you have a question about the CCM1200 and is the answer not in the manual?
Ask a question
Questions and answers
Related Manuals for Celcook CCM1200
Microwave Oven Celcook CEL1000T Instruction Manual
Commercial (21 pages)
Microwave Oven Celcook CEL1000D Instruction Manual
Commercial (21 pages)
Microwave Oven Celcook CCM1800 Instruction Manual
Commercial microwave oven (25 pages)
Microwave Oven Celcook CEL1100HT Instruction Manual
Commercial microwave oven (25 pages)
Microwave Oven Celcook CMD1000T Instruction Manual
Commercial microwave oven (21 pages)
This manual is also suitable for:
Ccm1800
Ccm2100
Table of Contents
Print
Rename the bookmark
Delete bookmark?
Delete from my manuals?
Login
Sign In
OR
Sign in with Facebook
Sign in with Google
Upload manual
Upload from disk
Upload from URL


Need help?
Do you have a question about the CCM1200 and is the answer not in the manual?
Questions and answers